
Exhibitor's Registration Setup
This article illustrates how you can set up the exhibitor registration pipleline.
After you have set up the registration form in the exhibitor registration pipeline there are a few more functionalities that you can manage in the exhibitor's registration set-up. This article will take you to the additional functionalities of the registration set-up.
Please note the toggle called “Exhibitor registration is ”if this toggled is off everything else except this toggle disappears and any registration links already sent to exhibitors won’t work and the Signup button won’t work for exhibitors.
However, please keep in mind that even if exhibitor registration is toggled off, it’s still possible to import the exhibitor or create it in the admin panel.

The exhibitor registration form now includes reCaptcha to prevent automated bots and spam from accessing and submitting information.
User will not be able to complete the registration without adding the reCAPTCHA
Exhibitor Categories:
From here you can create different exhibitor categories for your events. These categories will appear on the exhibitor badge.
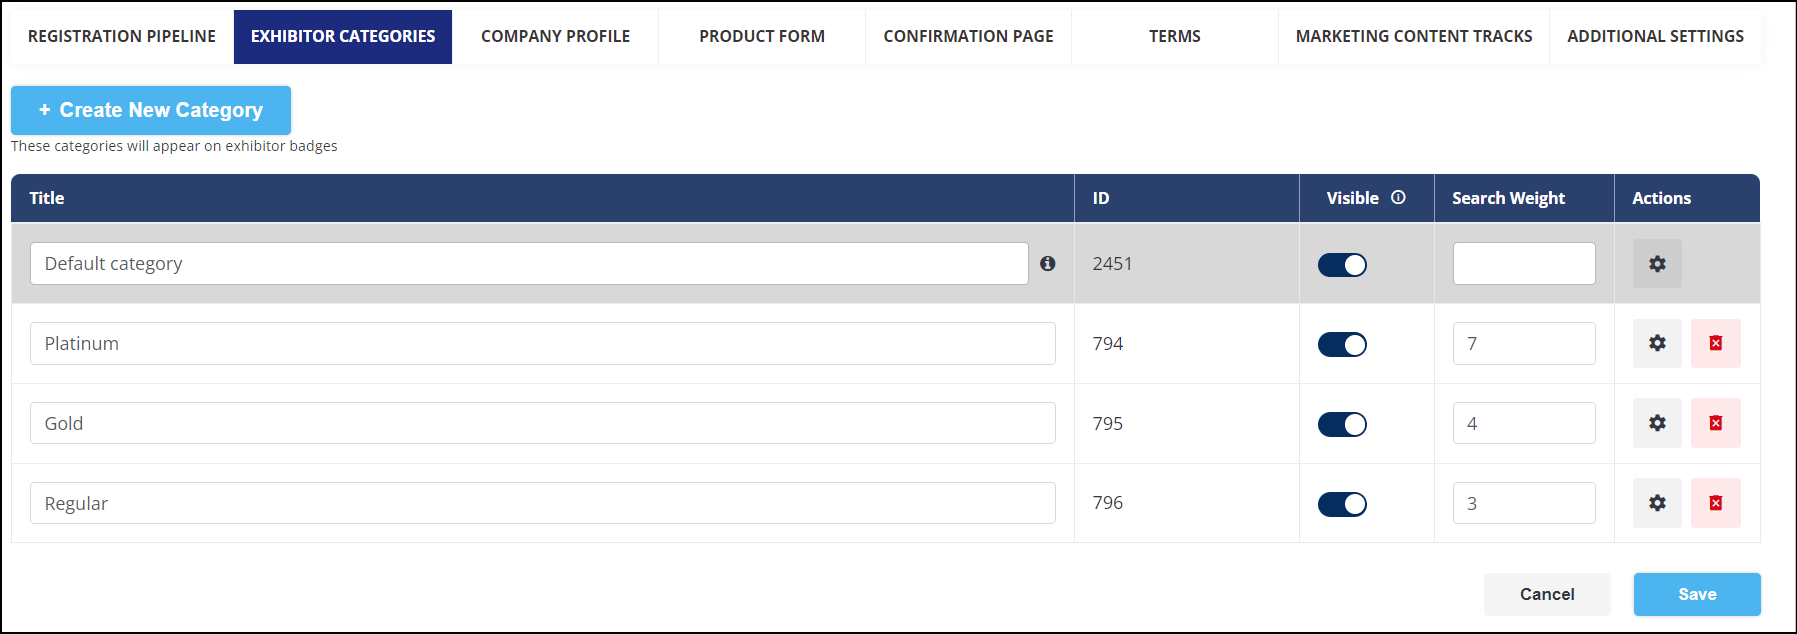
Visible: makes that category visible during the registration process, meaning you are able to hide the category if it should not be available for the exhibitor to choose when registering.
Also, if the visible toggle is disabled for any exhibitor category, exhibitor accounts under that category will not be visible on frontend
”Search weight” is used for displaying the exhibitors in search on the marketplace in a preferred order. Exhibitor categories with bigger numbers will have a higher priority in search results. For the example in the above snippet, you can see that the category Platinum has the number “7” which means that the exhibitors within this category will show at the top of the search results, followed by the exhibitors in the Gold and Regular category. If the weight field is left blank, the system will consider it as a “0” and exhibitors in this category will be shown at the bottom of search results.
Duplicating Exhibitor Category: The organizer can duplicate any existing exhibitor category, replicating all the settings of that category. The duplicated category will be generated with the original category name followed by (1,2,3...N)," where N represents the number of duplications. Organisers can duplicate the default category as well.
Initially, all categories are to be sorted by ID, with the latest created ones appearing first. However, organiser have the flexibility to adjust the order of the categories by dragging them to the desired position.
Duplicated category will be available for configuration after you have Saved the changes. This mechanics works the same way as we add new participant category at /admin/registration/categories
Exhibitor Category Settings: Read Here How to set Exhibitor Packages/Exhibitor Limitations on the category level?
Company Profile: This is an old functionality and does not work anymore.
From this tab, you can set up the form for the company profile. You can simply drag the required forms from the left menu and drop them to the desired position on the right-hand side.
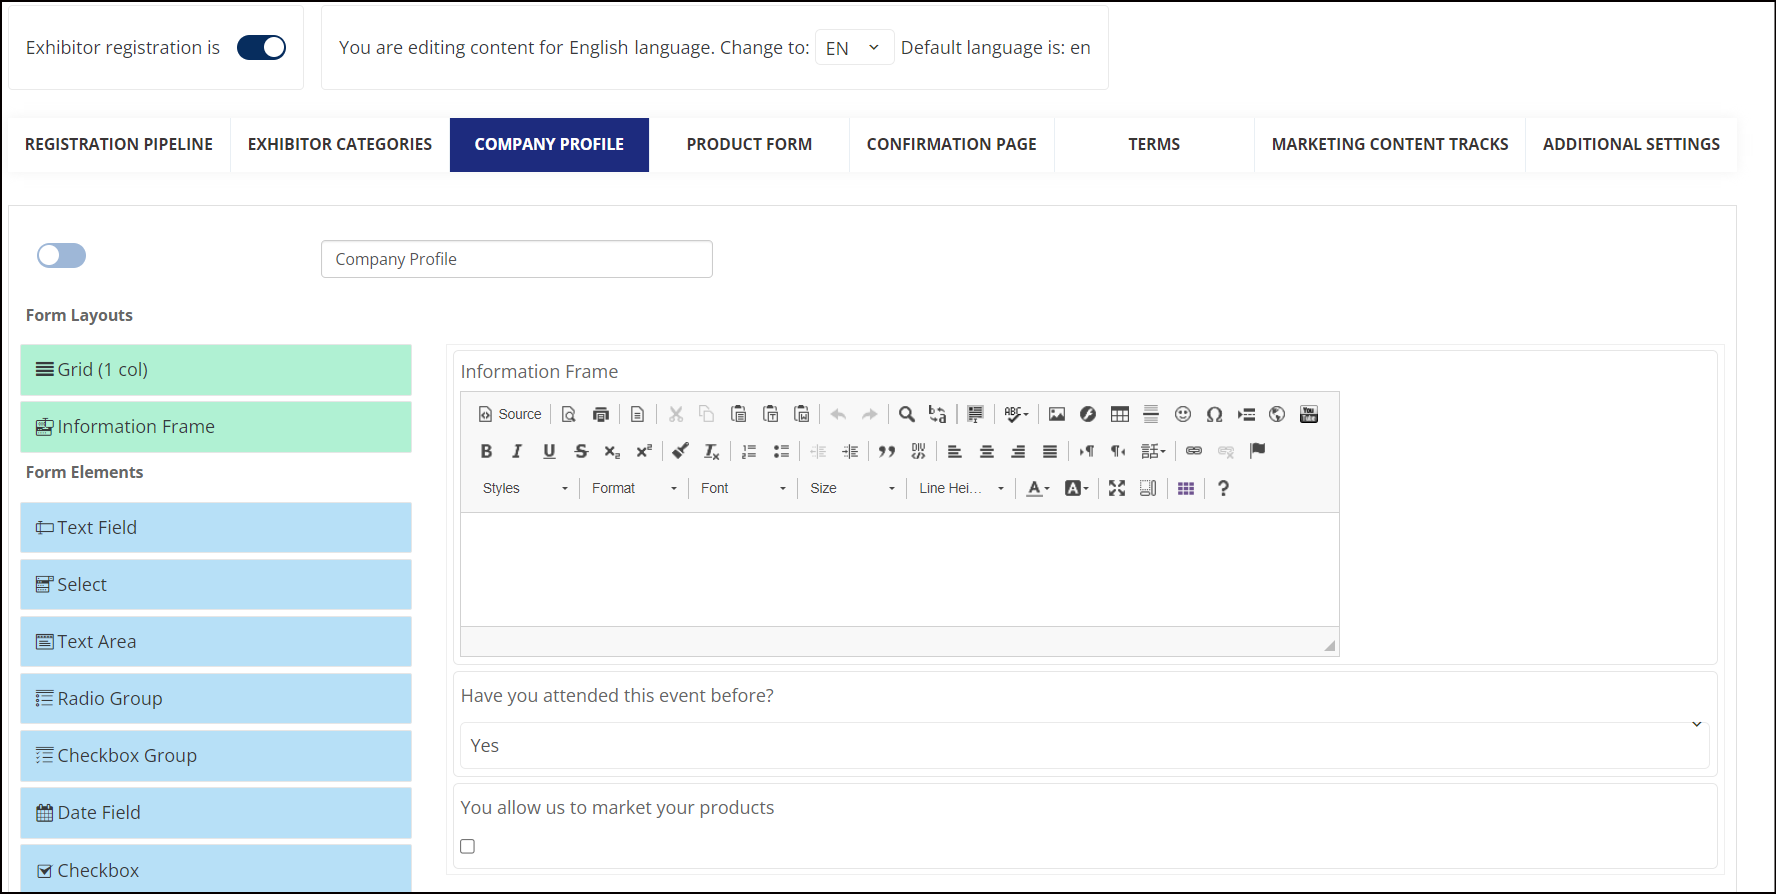
Like the visitor registration form, organizer can hide any question from the exhibitor registration pipeline. Only question added on Custom Registration pages can be hidden
Marketing Content Tracks
You may enable the marketing content from this tab which lets the exhibitor upload files such as press releases, brochures, and price lists. You can also upload marketing and sales content to boost your profile. These documents can be downloaded by the users browsing the exhibitor’s profile.
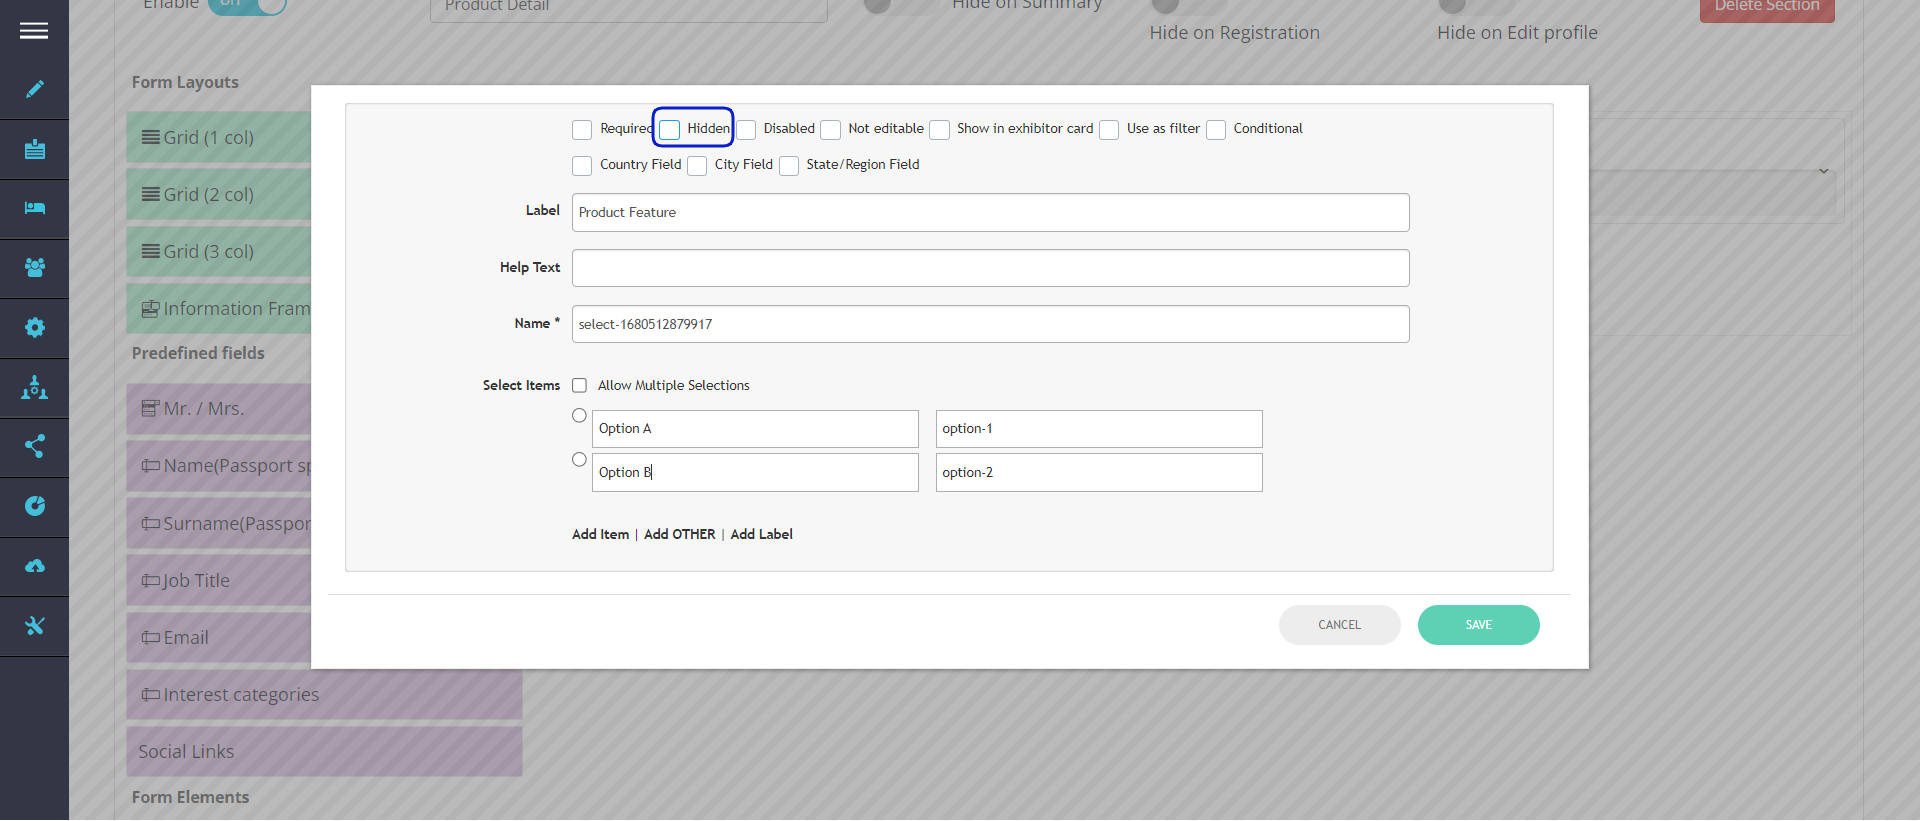
Product Form
This tab allows the organizer to create questions that exhibitor needs to fill in while they are adding products from their frontend profile. Read More: Product Form and Custom Product Filters
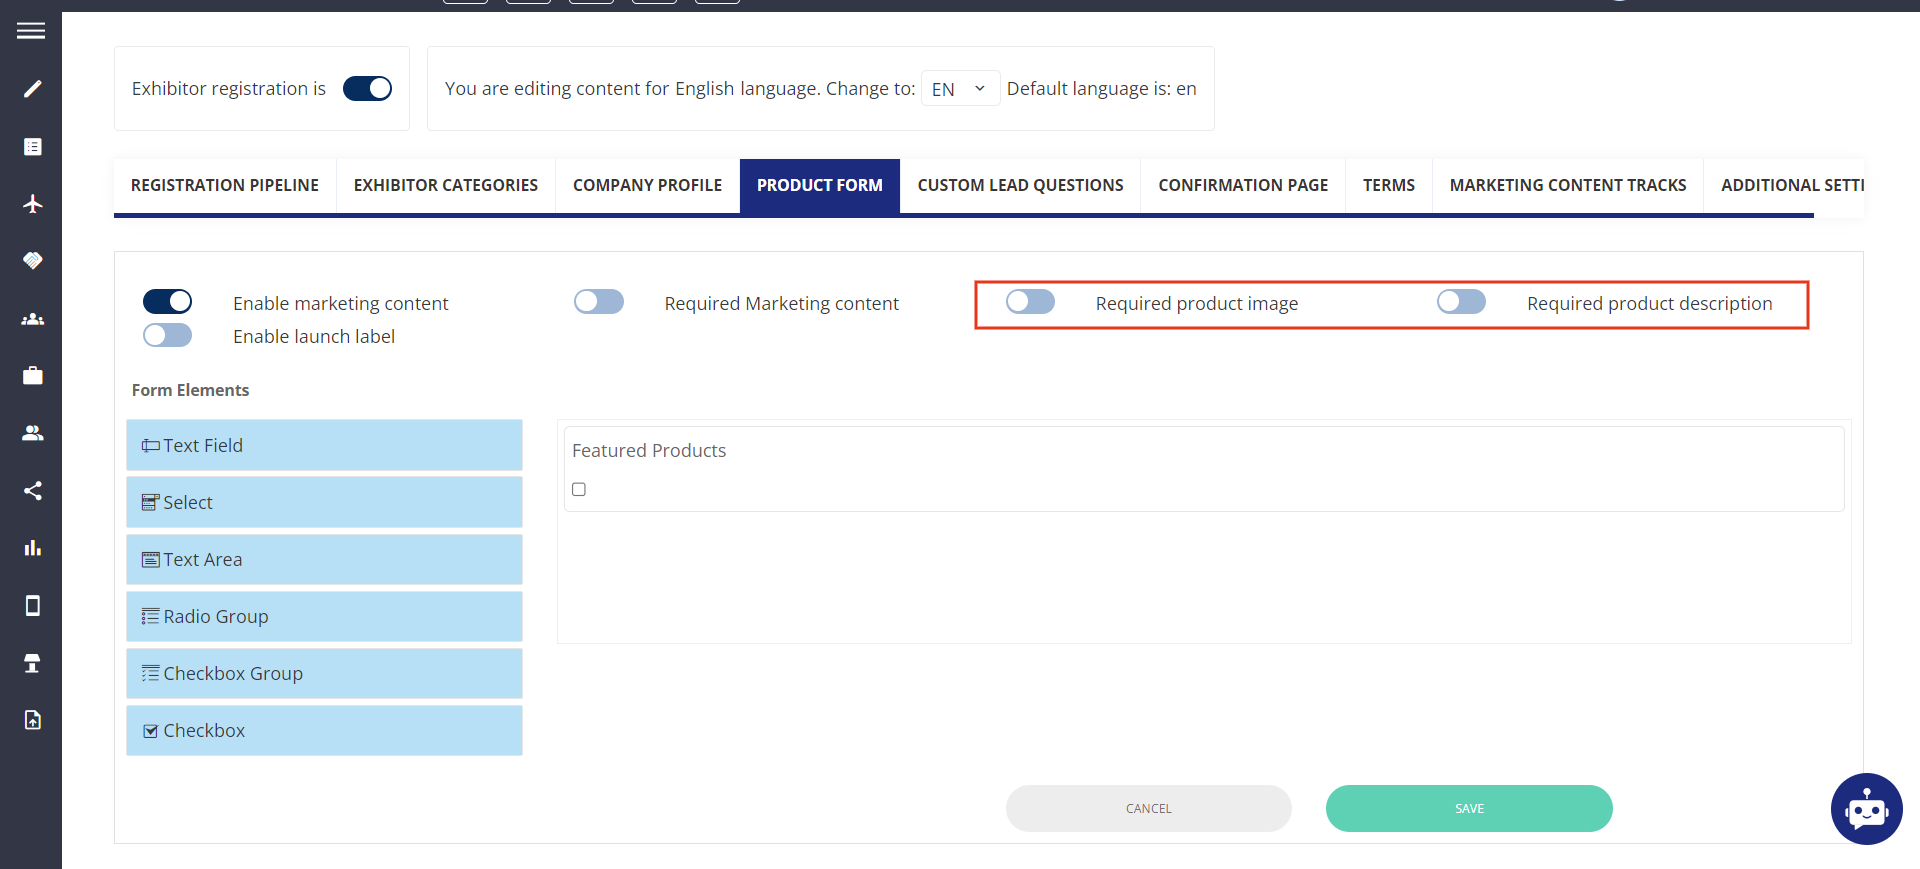
Product Form
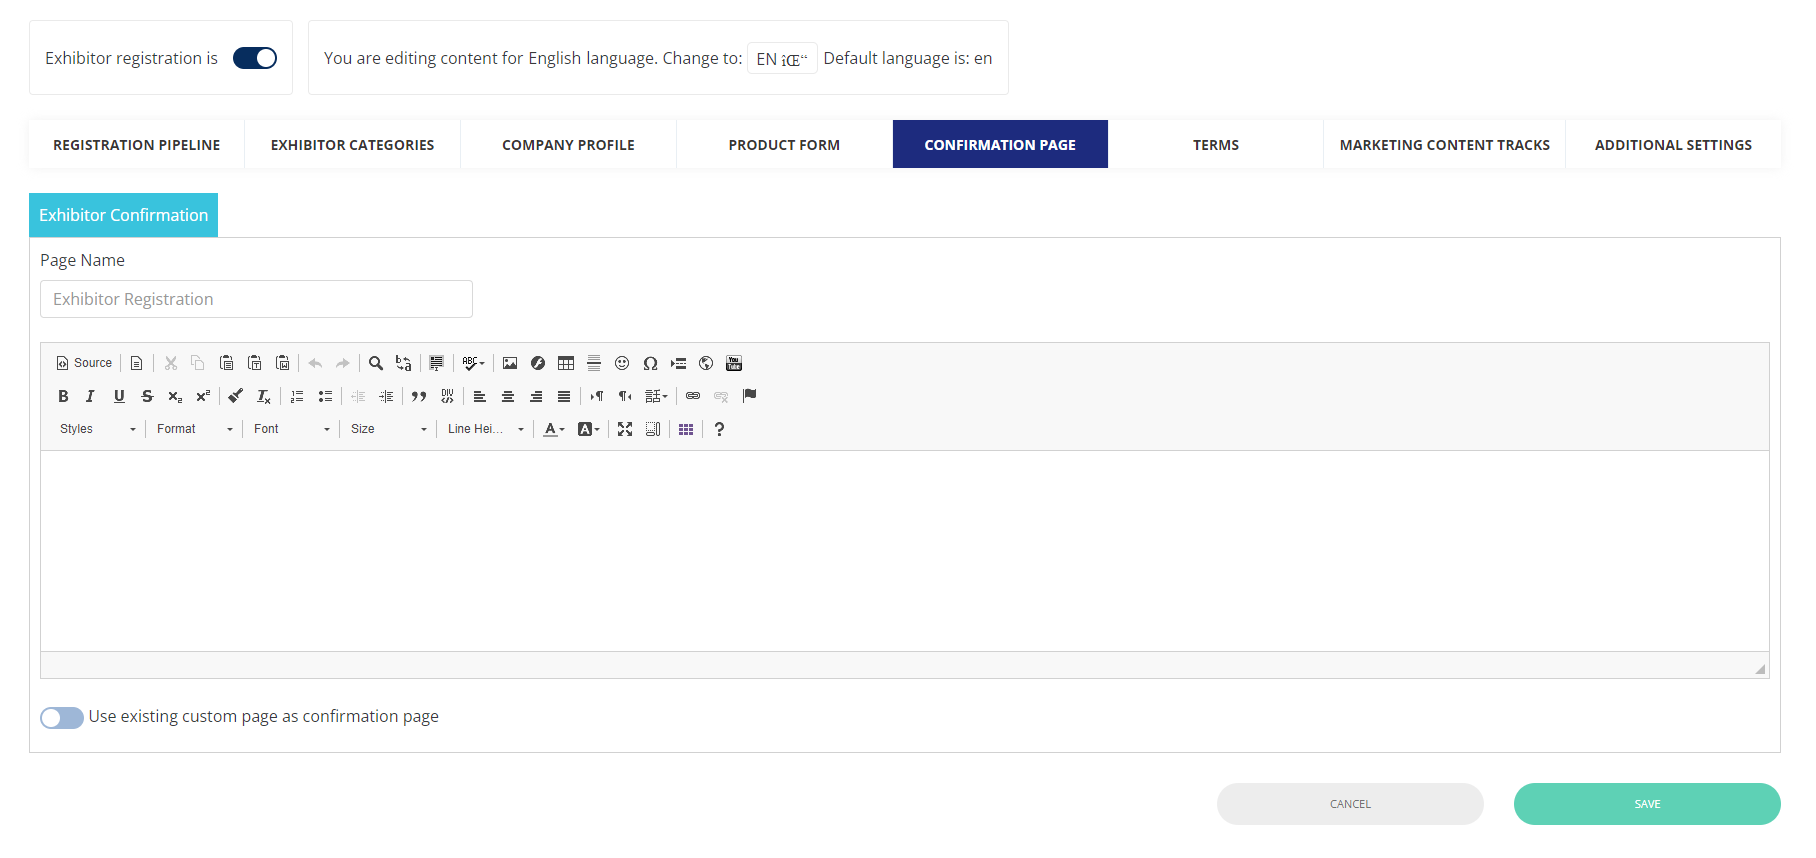
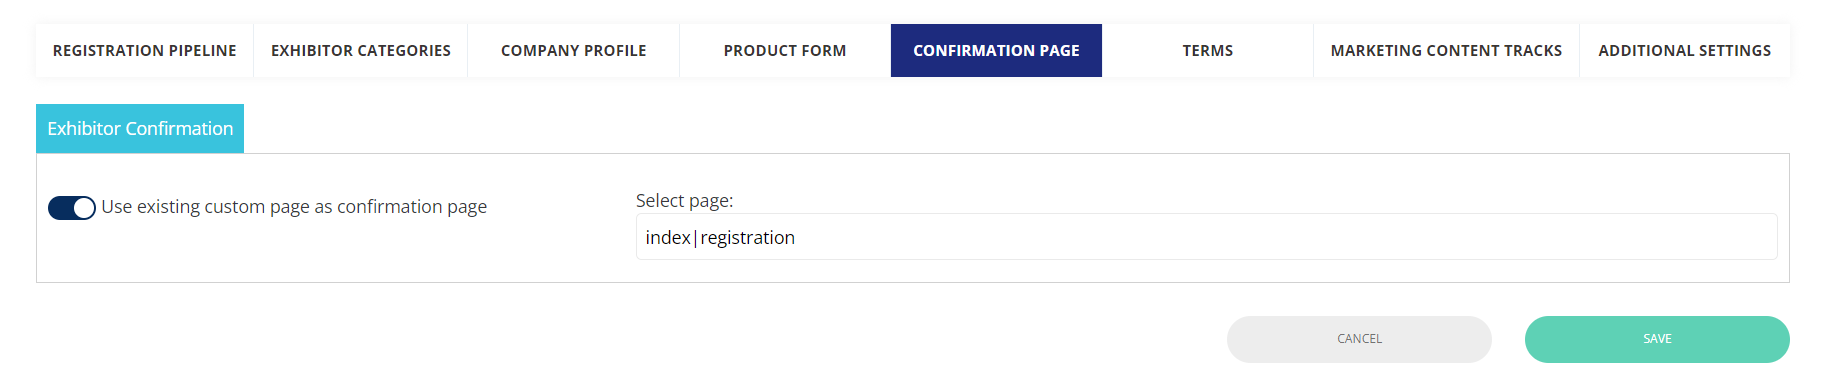
Confirmation Page:
From here you can set the page to which the exhibitors will land after they have successfully completed their registration.
You can also choose an existing page that you have set up on the website builder as the confirmation page. Simply toggle the "Use existing custom page as confirmation page" ON and from the drop-down select the page that you want to set as the confirmation page.
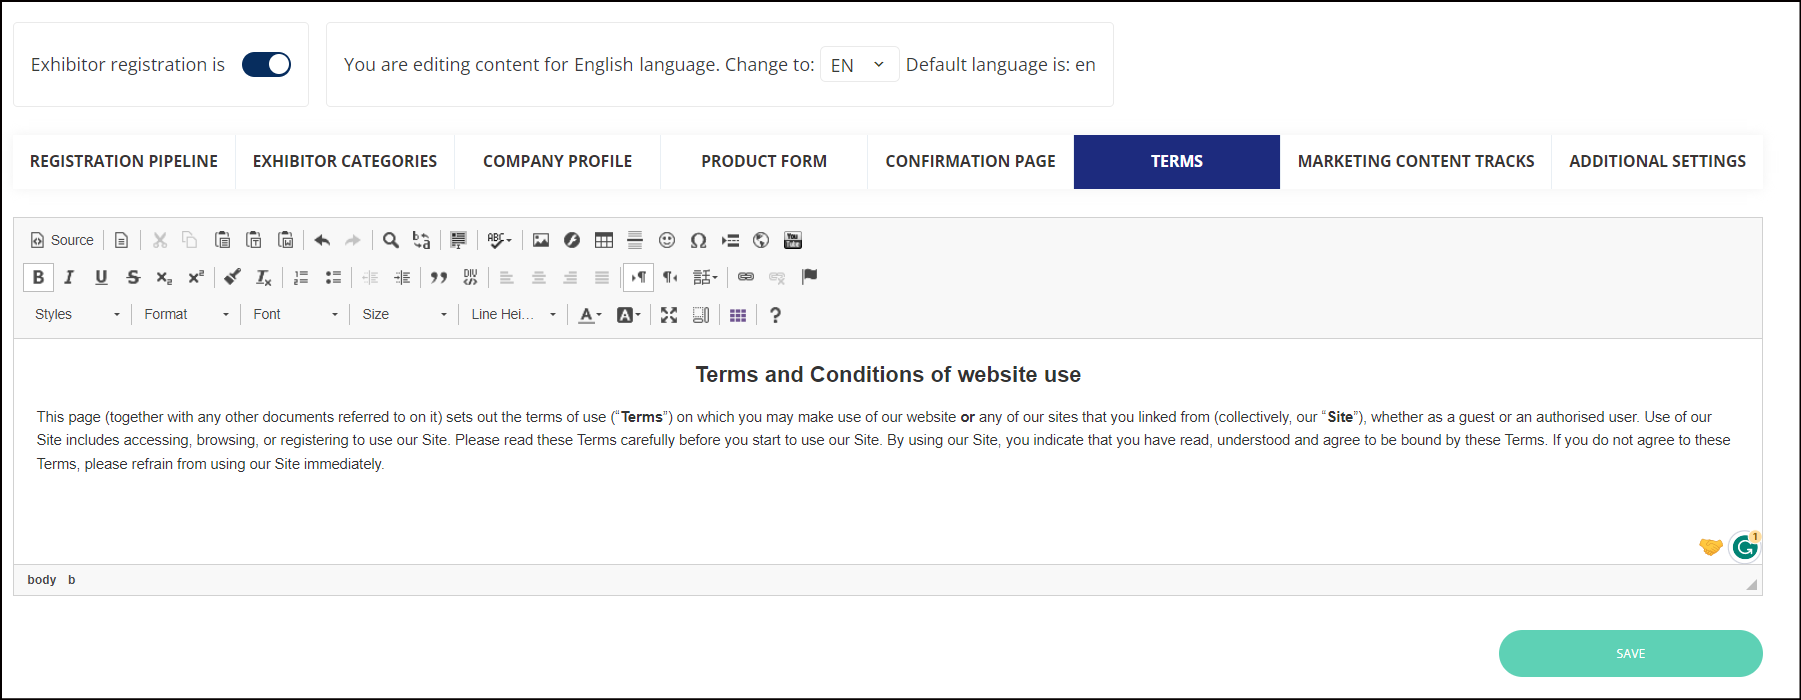
Terms:
From here you can add the terms and conditions related to your event that you want exhibitors to read and accept before registering for the event.
Additional Settings: You can manage the Additional settings of the exhibitor's registration.
.