
Manual Settings
This section allows the organiser to configure the Exhibitor Manual as per the event requirements. This article will illustrate how you can configure different sections in the exhibitor manual.
How to configure Manual Settings
To edit the section for Exhibitor Manual, go to Admin Panel → Exhibitor Manual → Manual Settings.
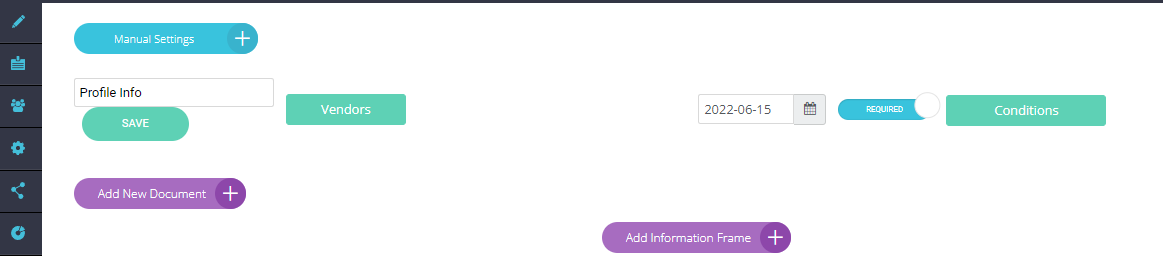
There are three default sections already created, Profile info, Team Members and Summary.
There is an option to turn ON/Off the Profile Info, Team Members and other custom sections as shown below.
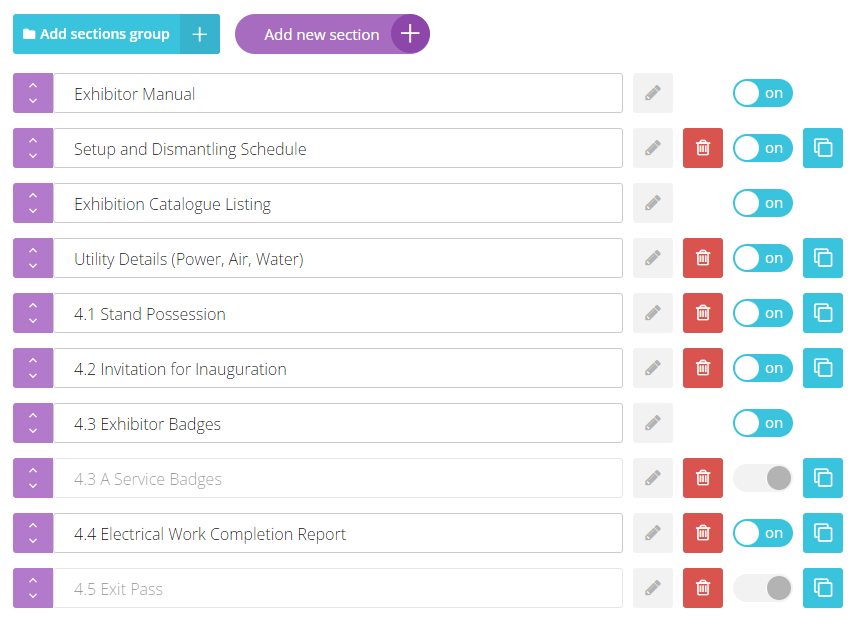
Exhibitor Manual
You can also add sections group under which you can align multiple sub-sections as shown below. There is an option of cloning (right to the toggle option) the sections as well.
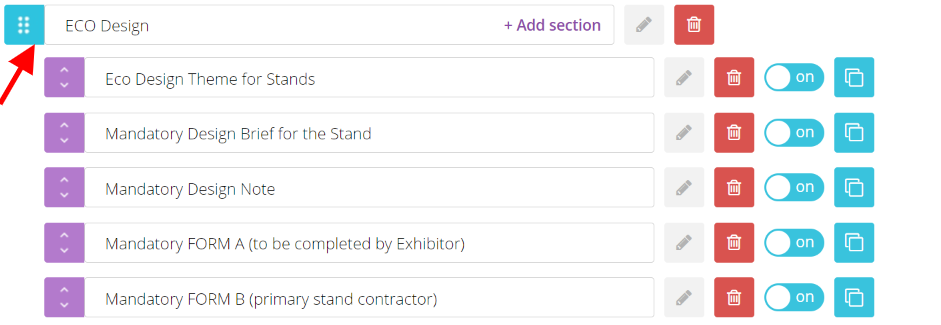
You may add more custom sections by clicking on Add Section and then selecting Section Module.
.png?inst-v=8531b658-bb1f-4fa3-8a3e-3bf9395329ca)
Adding a new section
Following are the modules under which the section can be listed:
Documents – list of documents for exhibitors to upload;
Tech Supply – tech supply items with their prices and service tax;
Badges – allows the exhibitors to request additional badges for service or other stuff;
Table – allows you to create a table with any required information;
Booking – hall booking availability with price;
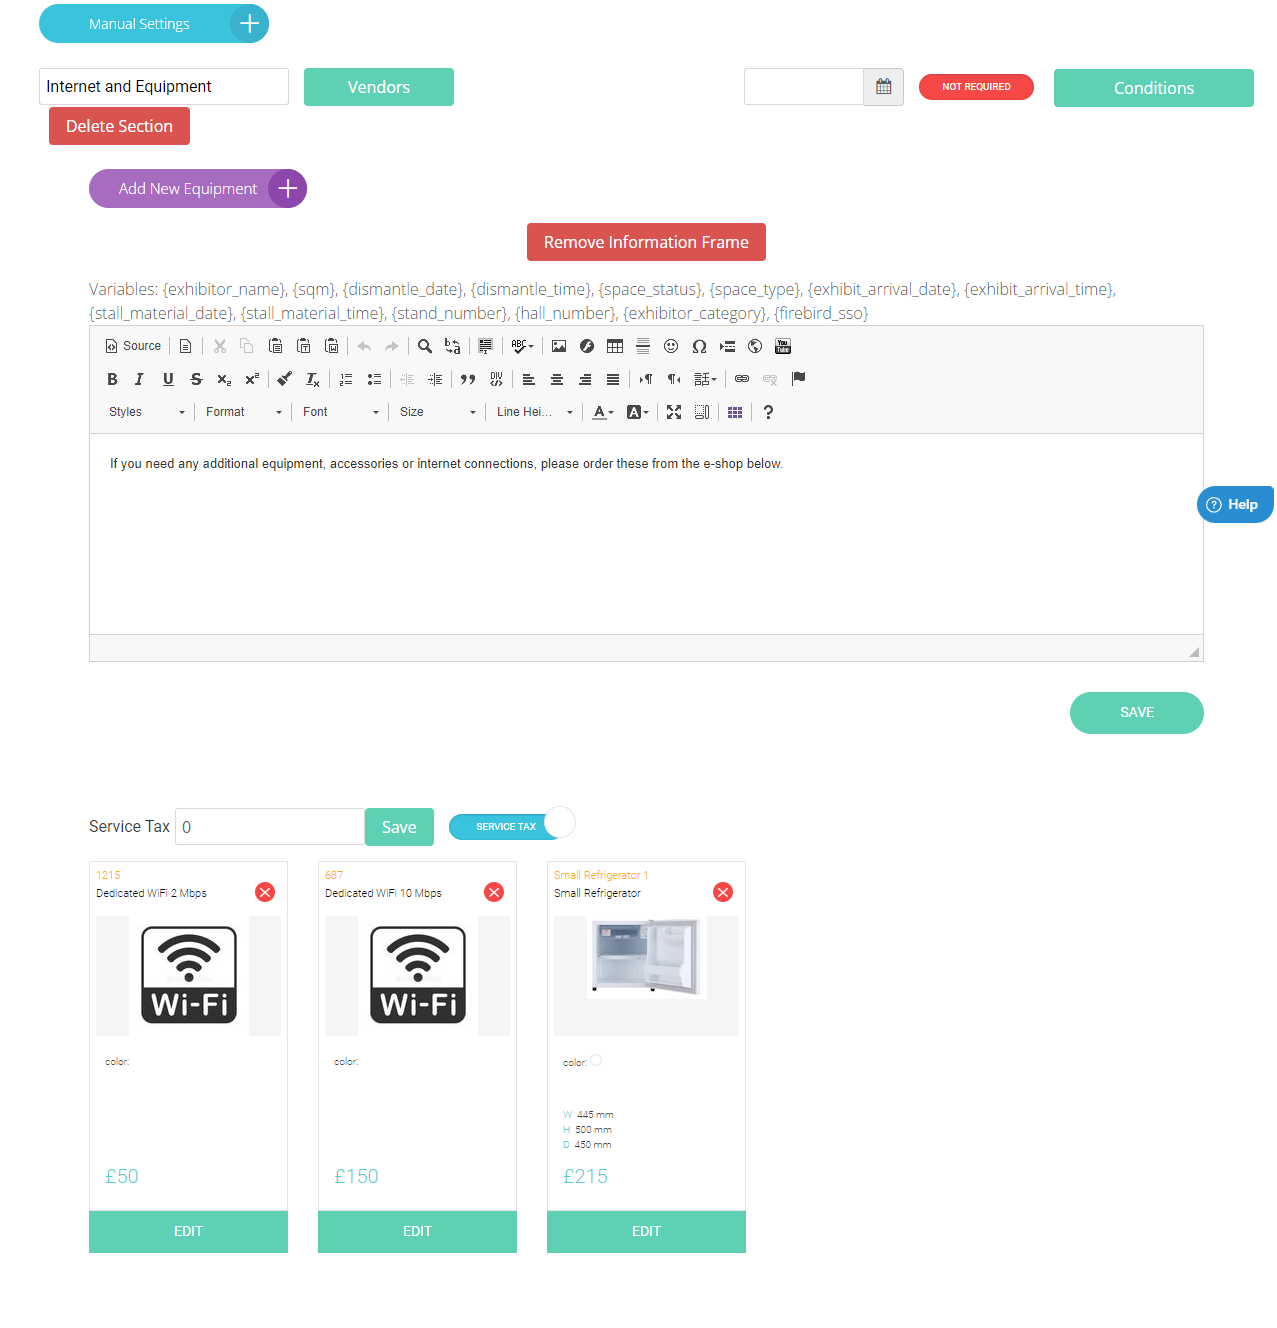
Equipment – various equipment that can be rented during the event.
It is not possible to delete the default sections which are already created. Only the custom sections that are created can be deleted.
The custom section can be edited by clicking on the pencil icon. The vendors related to this section can be selected. In addition, the Date(Deadline) can be selected accordingly and toggled as Required/Not Required accordingly as shown below.
Setting Up Section Deadline
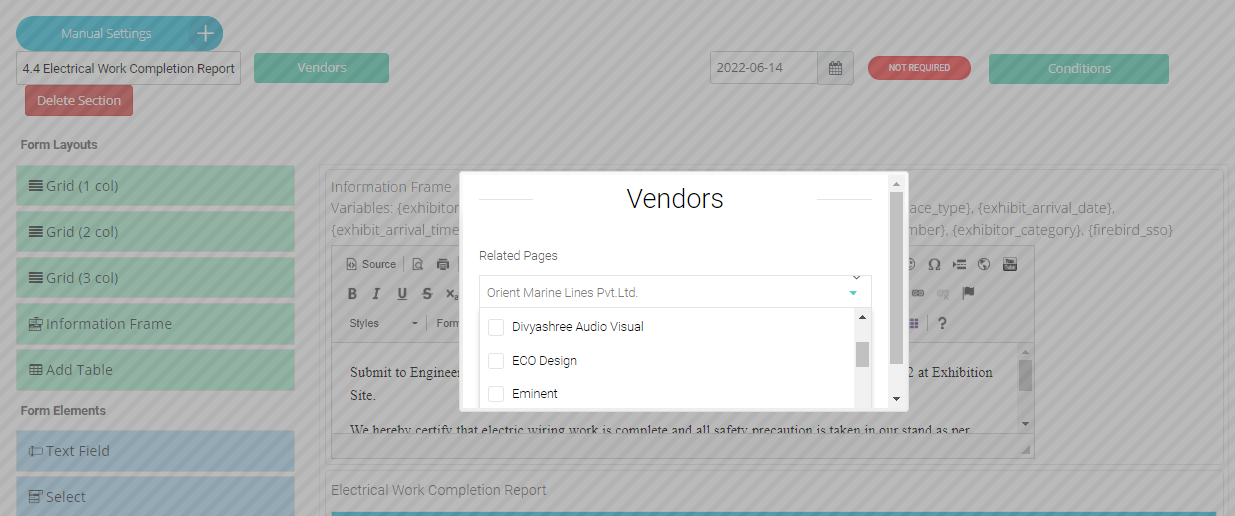
Adding Vendors
The modification to the deadline date does not necessitate saving; the deadline date automatically updates upon selection from the calendar. Also, changing the deadline date keeps the already collected data preserved and there is no loss of data due to change in deadline date
If modifications are made to any form, exhibitors will be required to refill their details, even if they have already submitted them.
A warning message is displayed by the system to alert the organizer about the need for exhibitors to refill their details when changes are made to the form.
This form is live and has been filled out by at least one exhibitor. If you modify it, exhibitors will need to fill it out again. Changing the deadline won't require exhibitors to refill the form.
Warming Message if any changes are made to the already live form
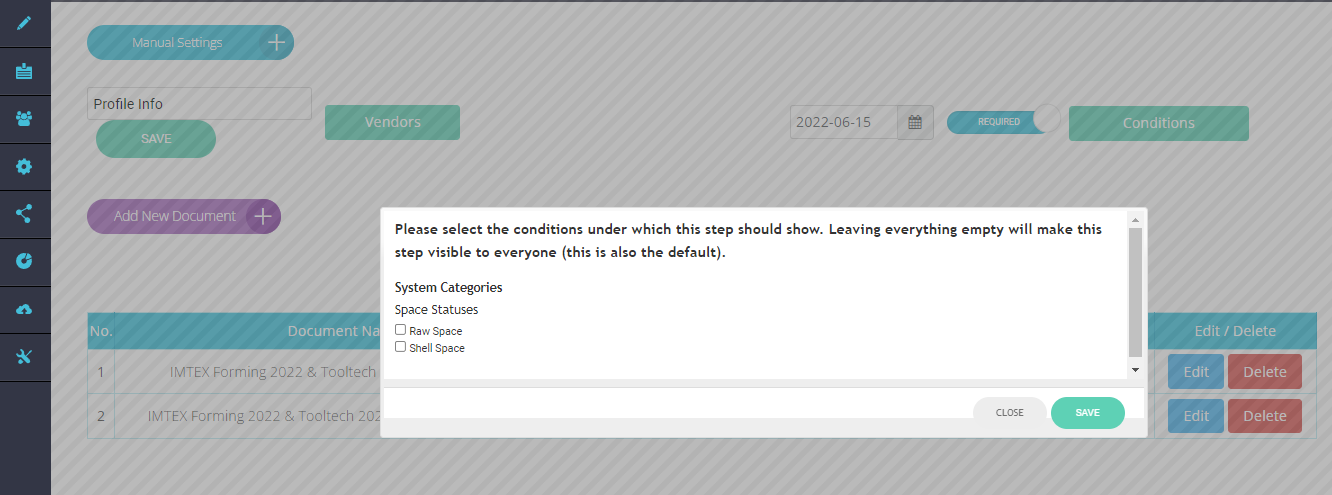
Conditions: The section’s visibility can be defined under Conditions as shown below.
Information frame: You can Add/Remove information in the information frame text box.
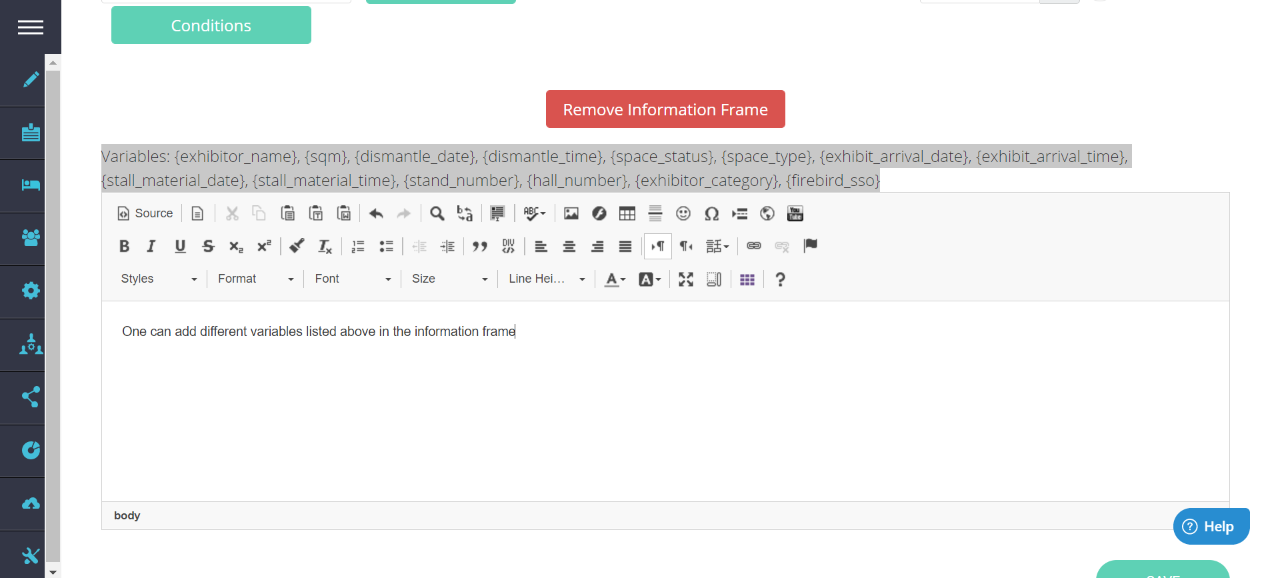
The different variables for the information frame are:
exhibitor_name->Name of the exhibitor
sqm->square meter area size of stand
dismantle_date->date for removing material from the stand
dismantle_time->time for removing material from the stand
space_status->Status of the space
space_type-> Type of space
exhibit_arrival_date->date for arrival of exhibitor
exhibit_arrival_time->time for arrival of exhibitor
stall_material_date->date for arriving of material for stand
stall_material_time->time for arrival of material for stand
stand_number-> stand number of the exhibitor
hall_number-> hall number of the exhibitor
exhibitor_category-> category of exhibitor
firebird_sso->
Creating an Equipment form
You may create different equipment for the exhibitors to order and pay, in case you wish to collect the amount in real time. Alternatively, you may just invoice them using the platform and collect the payments offline.
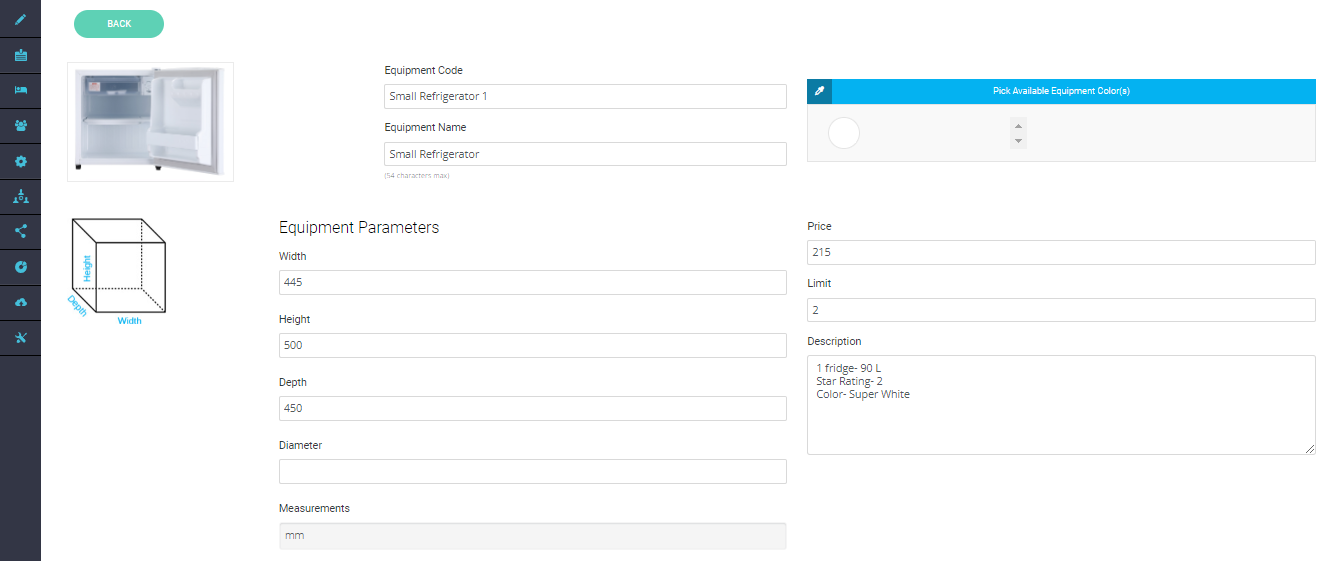
Creating Equipment Form
Frontend
Step 1- When logged in, the exhibitor will go to the exhibitor manual (equipment form) and add the product(s) to the cart by clicking on the cart icon as shown in the below image.
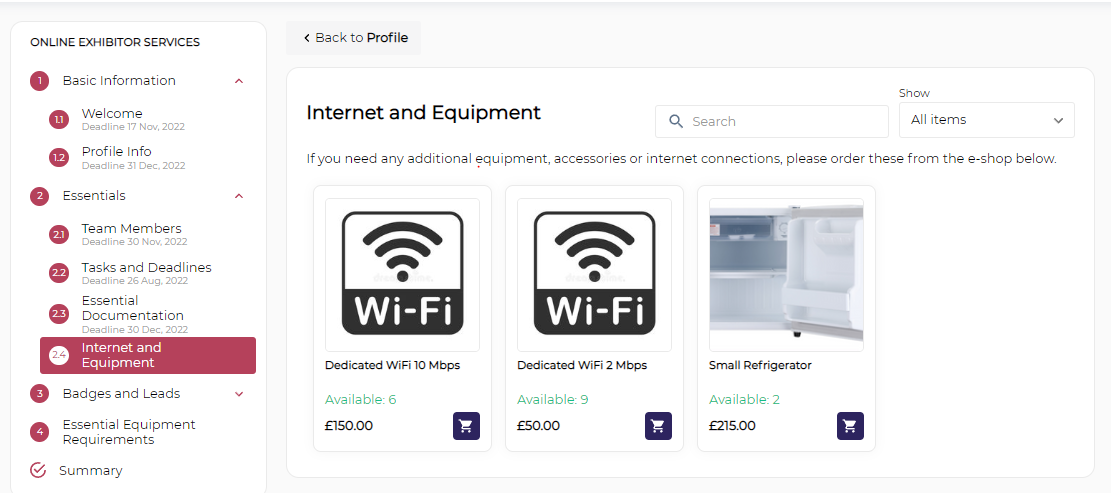
Frontend View: Online Exhibitor Services(Exhibitor Manual)
Step 2- The exhibitor will then select the quantity and click on Add to basket.
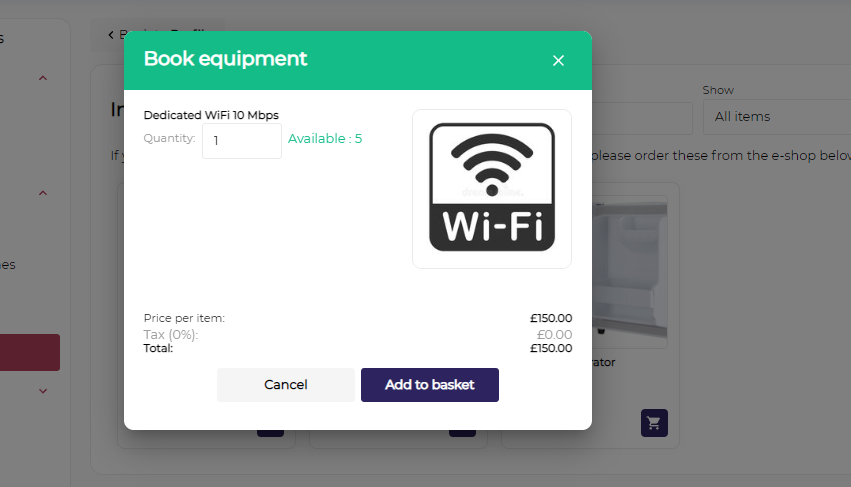
Adding Equipments to your Basket
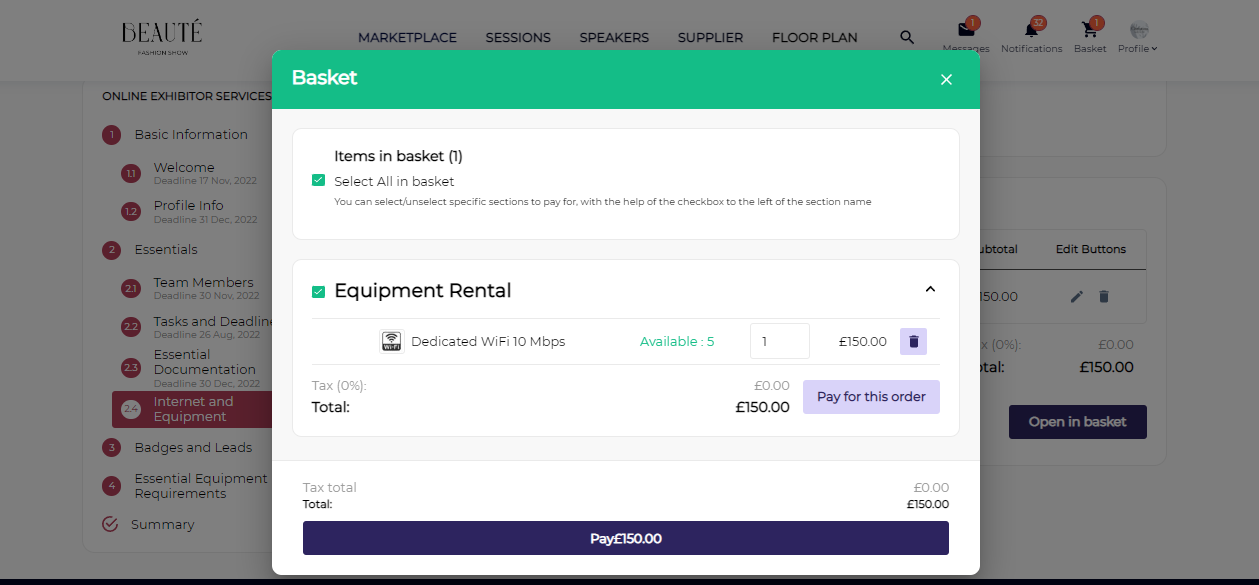
Step 3- Once added, the exhibitor can go the basket icon that reflects on the top right of the page and proceed to pay the amount.
Step 4- The payment options would appear that has been allowed by the organiser. As shown below, the exhibitor can pay by credit card or can be invoiced (manually paying to the organiser).
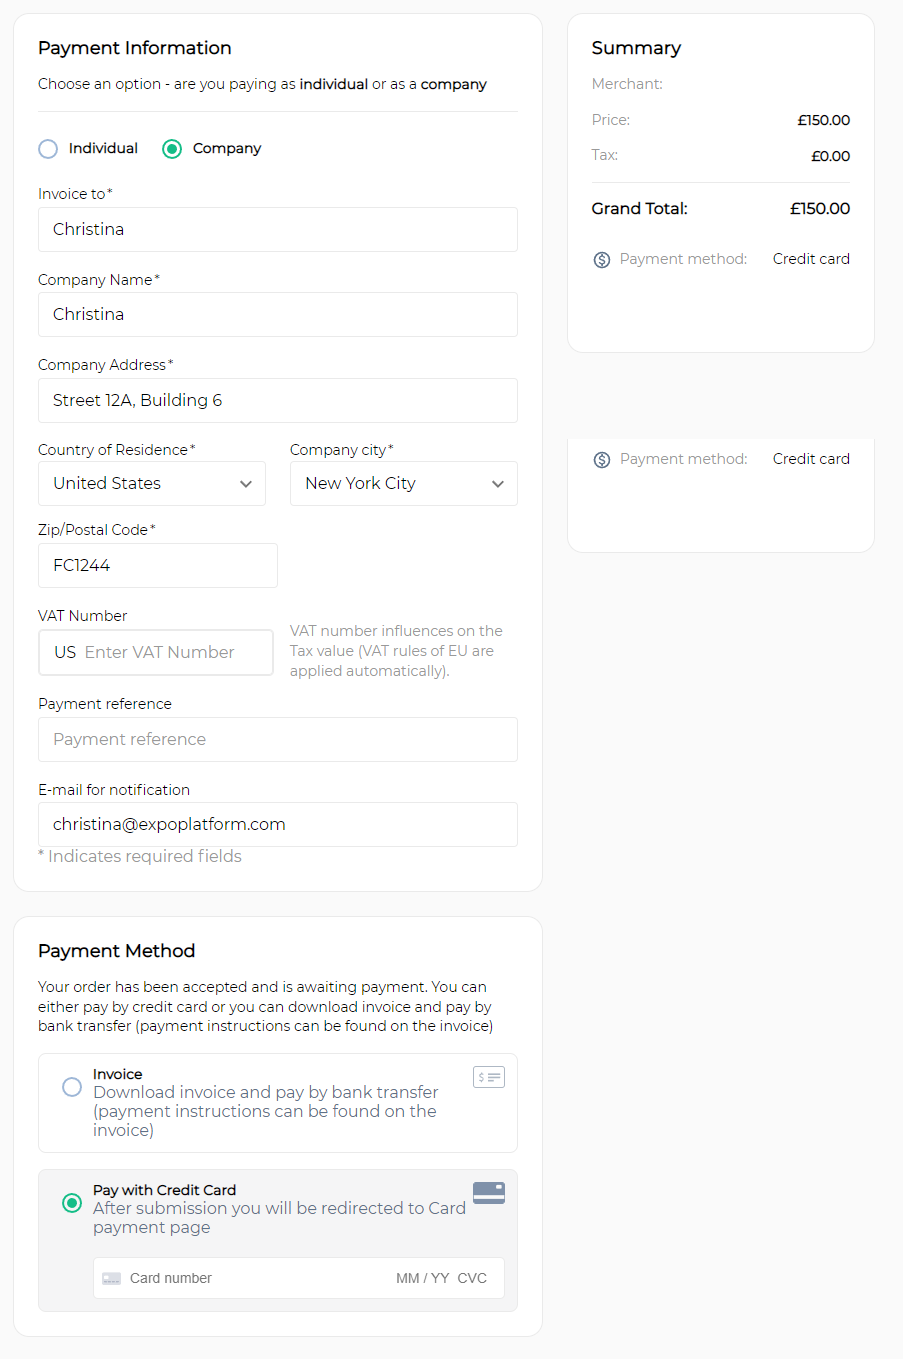
Making Payments
Note: The payment module must be active for collecting the payments. Make sure to check the General and Invoicing settings under Event Setup → Payments
Each section in exhibitor manual has a link that could be shared with exhibitors separately which would lead them to that page only.
If exhibitor has any submitted page then he would land on first unsubmitted page
If user hasn’t submitted any section then he will land on 1st page on the manual
Exhibitor Manual can be configured in multi-language
Exhibitor Manual is available to be created in multiple languages like other modules on the Admin Panel.
Organizers can create all sections of the Exhibitor manual in multi-languages as per their event requirement
After enabling multiple Languages from General Info, Navigate to Exhibitor Manual → Select the language from the dropdown list and start creating the sections in the selected languages
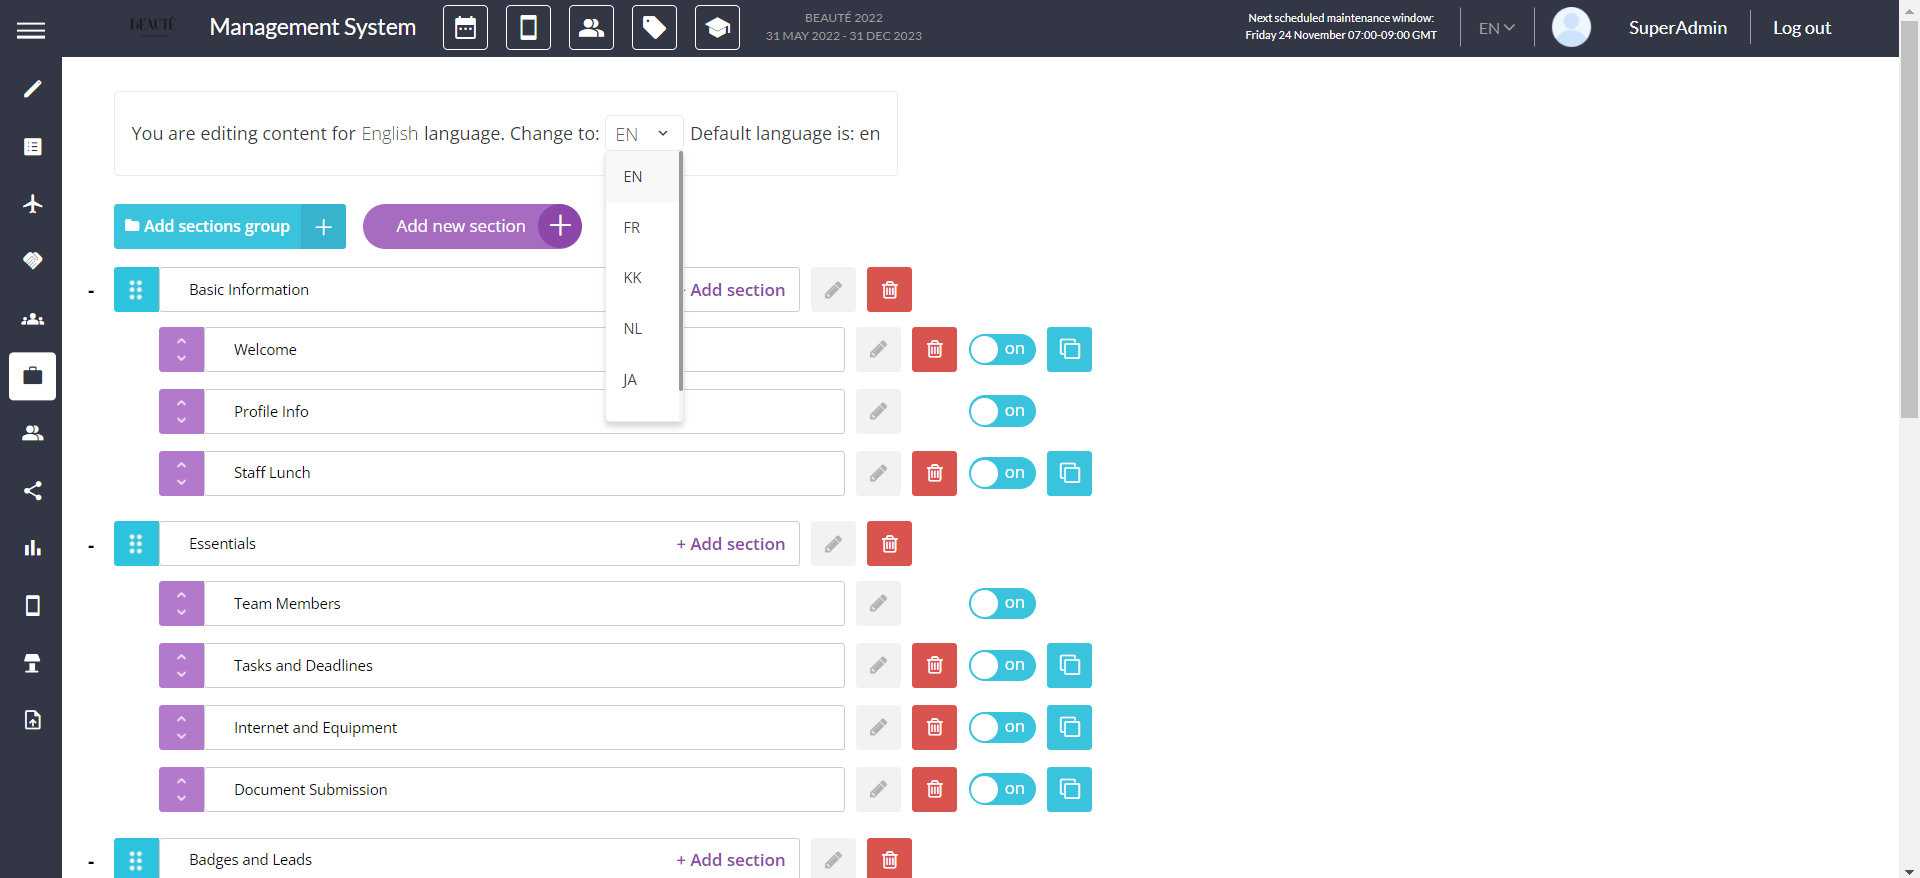
Setting Up Exhibitor Manual in different language
Special Cases for Variable Translations:
For the "Exhibitor category" variable, the translation will be taken "admin/categorisation/general."
For the "{exhibitor_name}" variable, translations will be taken from the exhibitor profile where an admin can create translations for the exhibitor name.
Team Members section
Translation of team members' names should be handled on the team member's section in "admin/visitors?a=a."
Rest all sections can be translate like any other module on Admin Panel