
Exhibitor Import
Importing New Exhibitor
In order to upload the exhibitor data into the platform, the first step is to download the exhibitor sample template and add the data to the sample file.
Data→ Import/Export → Import → Exhibitor → Download template
Exhibitor Import
Do not change the positioning and naming of the column in the sample file to upload the data correctly
Attached is the sample exhibitor import file with some data already populated for reference
The template consists of the following fields:
Exhibitor ID- This is the ExpoPlatform unique ID, assigned to every exhibitor once the exhibitor is added to the platform.
Username- The exhibitor will use this as a login.
If the username is left empty, the exhibitor account will be created using the Email field (the first email available) as the username.
While uploading the excel file, it is advised to fill out the “Username” column. If you import the file with empty username column, the system will use the e-mail address as the username and you won’t be able to add team members using the same email. Please refrain from using the complete company name as the username.
If an account with the same username already exists, the username will be automatically generated using the company name (all lower-case, with spaces replaced with _).
If the automatically generated username created using the company name is already taken, the internal exhibitor ID will be appended at the end as _ID.
Password- You can create a password for the Exhibitor Login that would be shared with the exhibitor using the exhibitor password email
The email send can be configured from Registration Setting→ Registration Email→Exhibitor→ Exhibitor Password
Password should consist of at least 8 characters with 1 uppercase, 1 lowercase, 1 numeric and 1 special character
If the password is left empty, a password will be randomly generated for the exhibitor.
Email- the email of the company. This is a mandatory field for the creation of the company. Please ensure that the email address of the company or the contact person depending on who the exhibitor emails are being sent out to are not fake/dummy as the Exhibitors will not receive the email.
Contact FirstName, Contact LastName, Contact Designation- the contact person is the one who will be receiving the company-related emails. This person does not have an account to network within the event, like a team member or Admin.
Contact Email- the email address of the contact person.
Country, City, Address, Phone, Fax, Postcode- The details about the country and city of the exhibiting company.
Website- The exhibiting company’s website address.
Short name, Fascia name- naming on the banner on stands, etc. It is relevant for the physical event.
Exhibitor Category- the exhibiting company category. Ex- Premium, Gold etc. It should be created beforehand in the back office.
Product categories- refers to the exhibiting company activity categories. In case multiple categories are mapped to a company we can separate the category ids by using a comma(,). Example: 45, 46, 303.
The product categories column requires product category IDs separated by comma in the format CATEGORY ID1, CATEGORY ID2, CATEGORY ID3
Hall Number, Stand Number- The physical location of the stand of the exhibiting company. If you use only one field for both, please put it in Stand Number. Example: H1-45.
Hall number, Stand number Replacement - This is used to replace the Hall and stand number if we want to change them and this will also update the prescheduled meeting locations for exhibitors and visitors in their meeting agenda
External ID- mostly used in the case of importing the data from a third-party vendor. The external ID points to the exhibiting company.
Exhibitor Logo- the logo of the exhibiting company.
Header image, Background image- the exhibitor can add a header image and background image to enhance the look and feel of the virtual booth.
Max number of team members, active products, activity category for brands, products- max number of these items that the exhibitor can upload.
Only prefilled values can be imported for time now, functionality to importing placeholder values doesn’t exist
Please note that any uploaded exhibitor will become active on the event, even if they were not active previously.
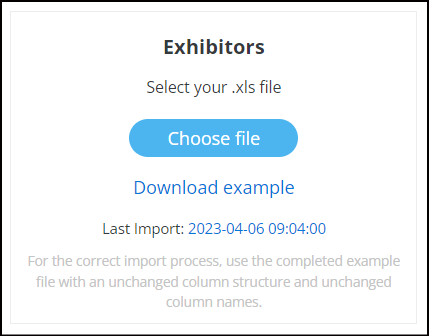
After adding all the details in the sample import file, click on Choose file → Confirm → Select the file you have created.
2. There will be a dialogue box with the option to simply upload the file or upload and send emails if you choose the latter then after the upload, the email will be sent to all the exhibitors along with their login credentials.

Selecting Upload is not recommended unless used for testing purposes, as you will then need to manually send out username and password information to exhibitors, either individually or via the Batch Send Password function.
3. Once the decision has been made whether you want to send the email communication or not, there will be an interactive upload manager where you need to match the respective custom question field of the import file in this merger and then click Submit to successfully upload the file.
Avoid importing the same file twice, as it will break the exhibitor username and they will face issue while log-in into the platform.
You can add and upload custom questions to the exhibitor import file as we do for Participant Import process

Exhibitor Sample Import File
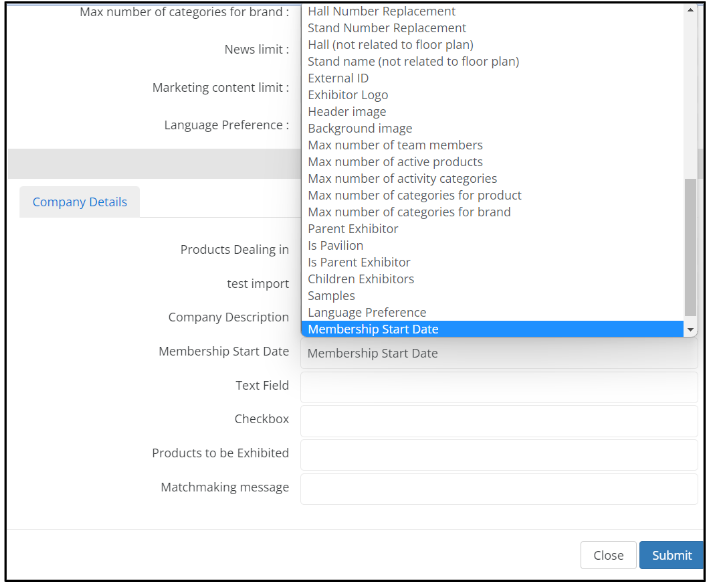
Upload Merger
Updating existing exhibitor account using Exhibitor Import
Organizers can update any of the existing exhibitor accounts using the exhibitor import file.
Exhibitor Id is the mandatory field to update any existing account else the system would treat the entry as NEW and will create a new exhibitor on the platform
The system first searches for Exhibitor ID (generated by ExpoPlatform), then by External ID and finally by Exhibitor name. If no exhibitor is found as a match by any of these three fields, the record is treated as a new (CREATE) otherwise, the entry is treated as an UPDATE.
If the entry is treated as a CREATE based on the above criteria, the following are the required fields to create an account
Company Name
Email
If either of these fields is left blank, the exhibitor entry will not be created and the system will instead return an error for the entry.
Each exhibitor must have a username in order to log in, but this field is optional during upload.
When an entry is treated as an UPDATE fields that are filled in will only be updated.
The fields left blank will not be updated/overwritten with blank value
While uploading data if UPLOAD & EMAIL were selected emails will be sent to all exhibitors which are newly created, as well as to those whose username or password has changed (if the entry is an UPDATE). Emails will not be sent when other exhibitor where details were just updated.
Batch Send Passwords functionality always sends out system-generated passwords and any existing passwords will be overwritten.

Connecting Hall and Stand number with Floor Plan
The hall number and the stand number will be automatically matched to the floor plan. If the hall and stand numbers are not found, new stands and halls will be created of 0-pixel size on the floor plan, and attached to the corresponding exhibitors.
Multiple halls and stands can be attached to exhibitors, and these should be separated by a semicolon (;).
For example, if an exhibitor has two stands (Stand 1 and Stand 2) in Hall A, the Hall column must contain "Hall A; Hall A" while the Stand column must contain "Stand 1; Stand 2". The system looks to match the first hall name with the first stand name, the second hall name with the second stand name, etc.
The exhibitor import is asynchronous and may take some time to accomplish. Please be patient while this process completes. You can navigate away from the import page to other pages of the admin panel without affecting the import, and check on progress as required.