Feature Purpose:
This feature is used for managing the meeting zones in the admin panel at /admin/appointments/zones.
Working with this Feature:
Adding a new Zone
The Tab “Zones“ is available on the Concierge Meetings page (Meeting Formats > Concierge Meetings) when the toggle “Concierge meetings“ in module management is turned on.
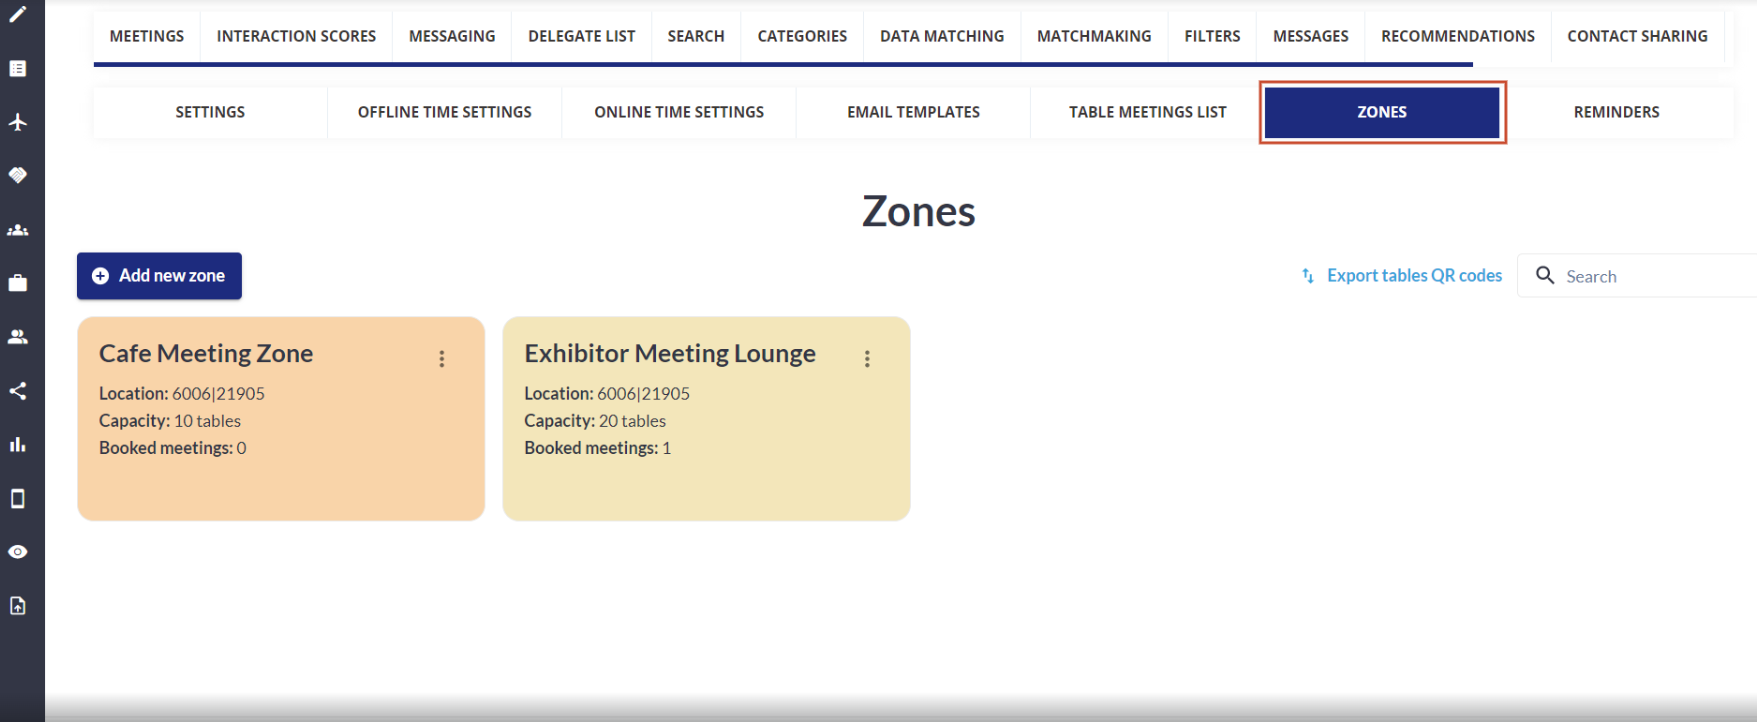

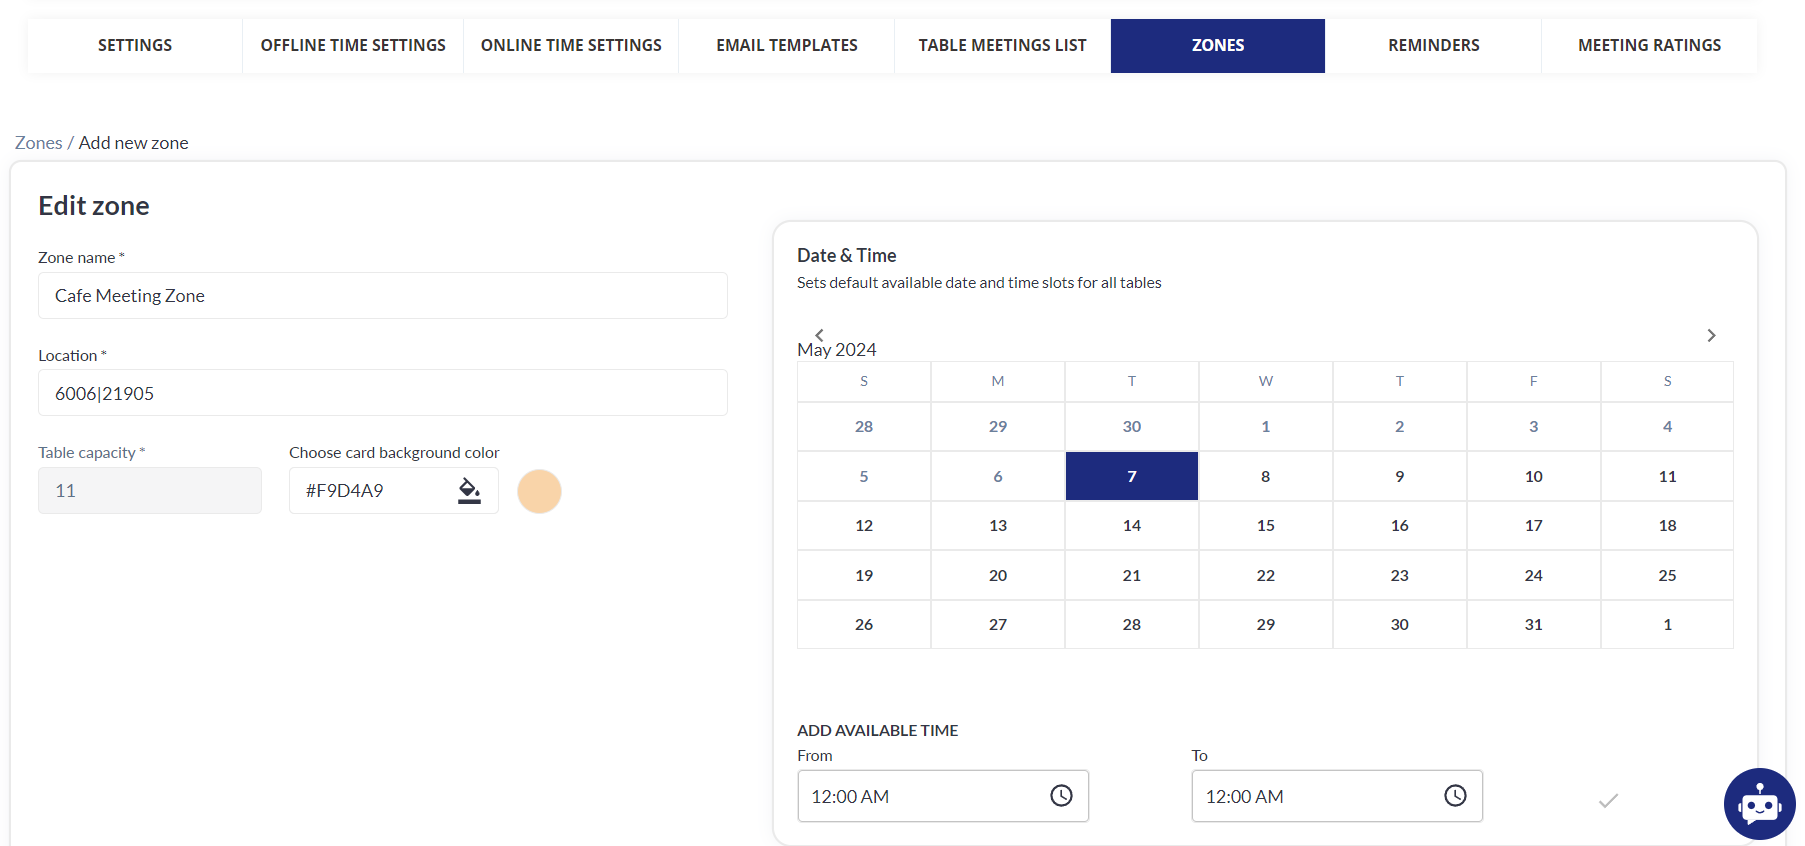
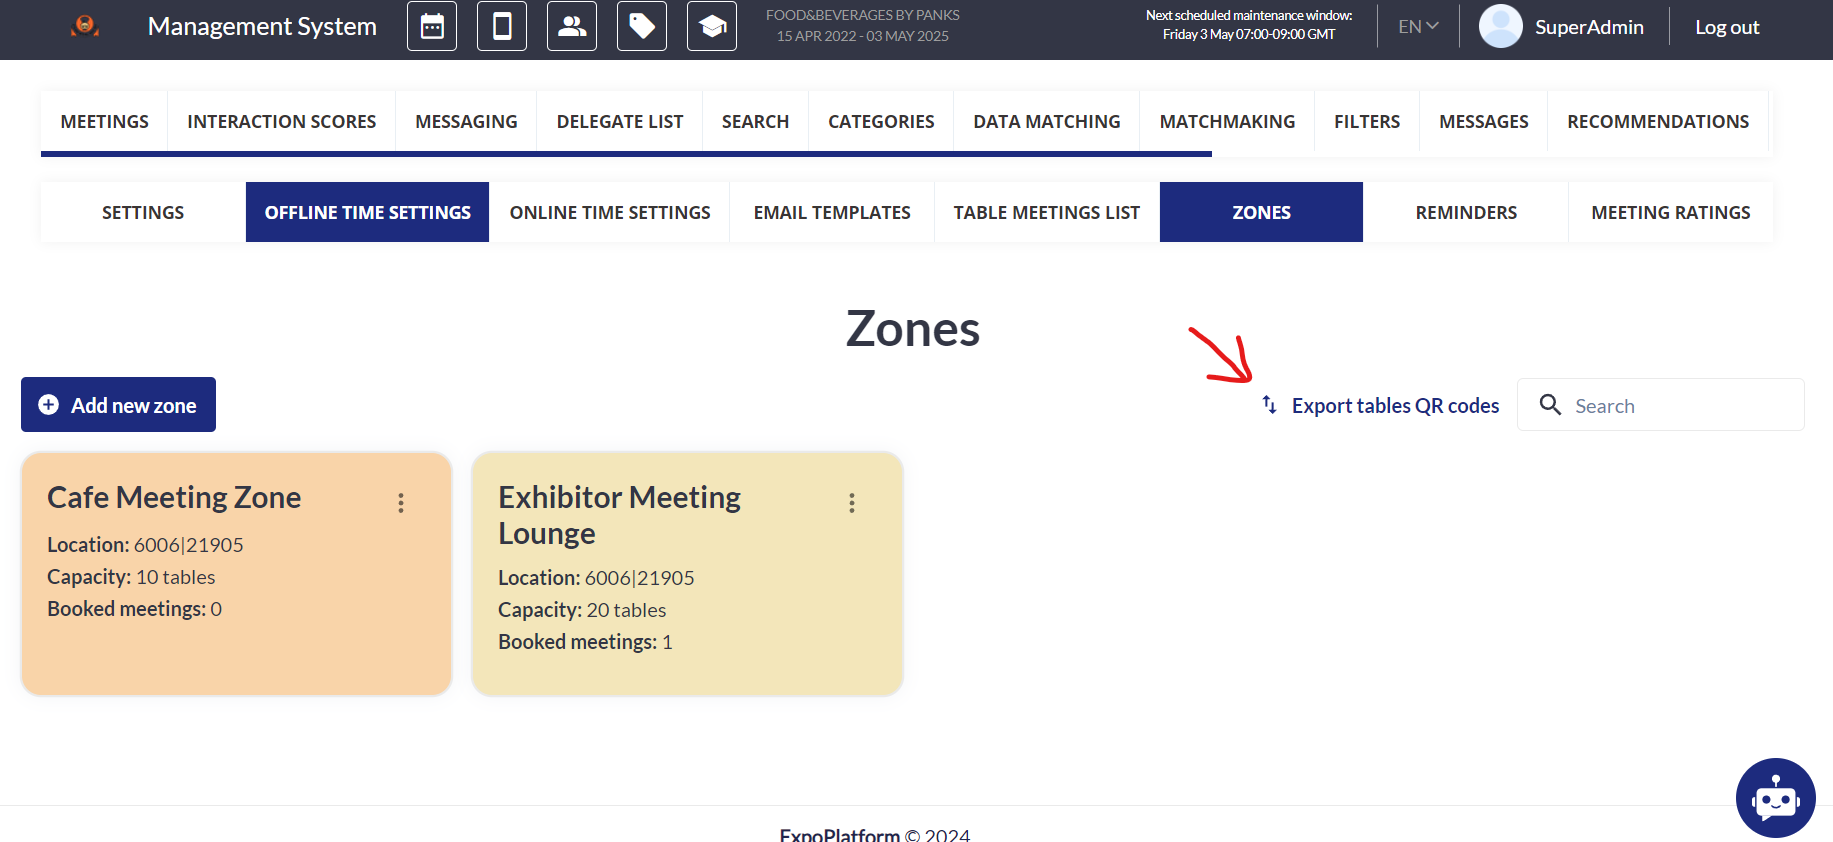
A new zone can be created by clicking the blue “+ Add new zone“ button. Creation/edit of Zone contains:
-
Title – text input field, this is mandatory to fill in.
-
Location – text input field, this is mandatory to fill in.
-
Table capacity – Number of tables, this is mandatory to fill in.
-
Card Background color – defines color of zone card, it is white by default
-
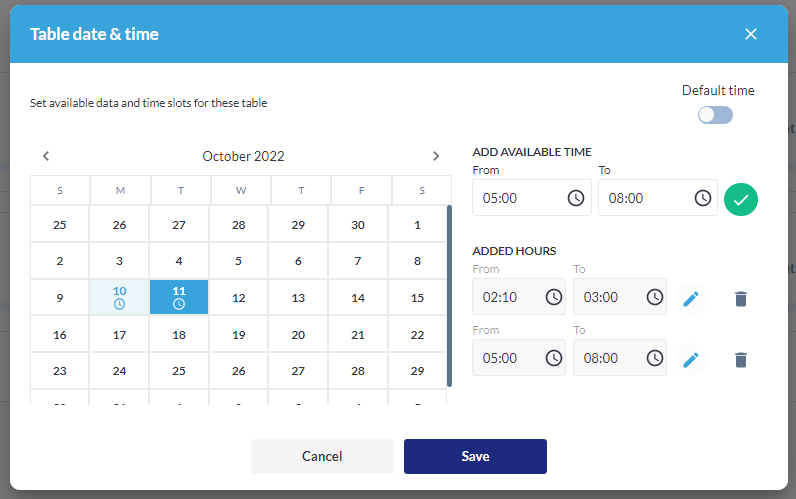
Date & Time – sets default available time slots for all tables in the same way as we have available time settings for regular meetings. The date and time settings are applied to all Tables in this Zone, except those where time slots are changed to custom slots.
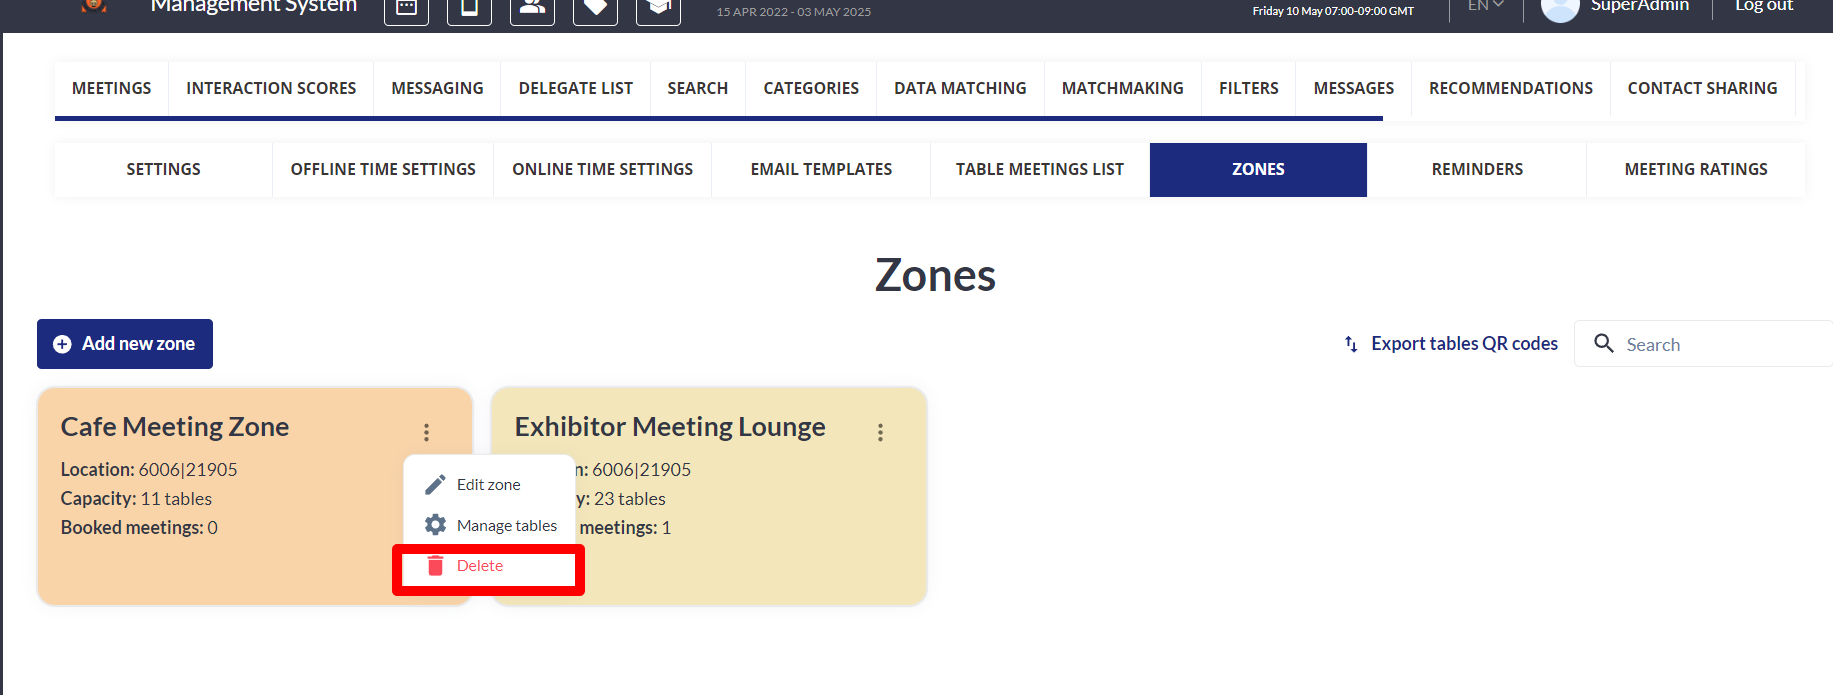
Edit Zone
A zone can be edited using the “Edit zone“ item in three-dots menu button on the Zone card.
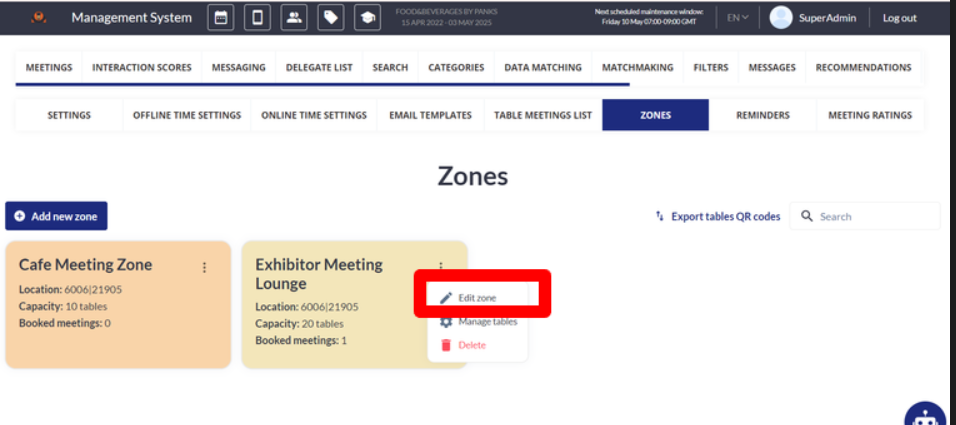
On the zone edit page, all the same fields as on the creation page are shown, along with the previously entered data.
-
Add a Location name
-
Add location name (same as Location name)
-
Indicate the number of tables available in this particular Location.
-
Select the Location color (this is for concierge reference to see different Locations, has no impact on frontend)
-
Select dates when this Location is available for meetings
-
Select the time frame when the Location is available for meetings during selected dates.
-
Make sure to click on the green checkmark (after that the date should be looking like the 10th of October in the example)
-
Hit Add New Location Button
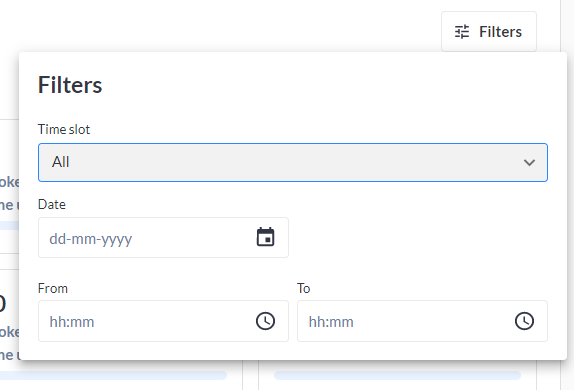
Managing Tables
Tables can be managed using the “Manage tables“ tab item in the three-dots menu button on the Zone card.
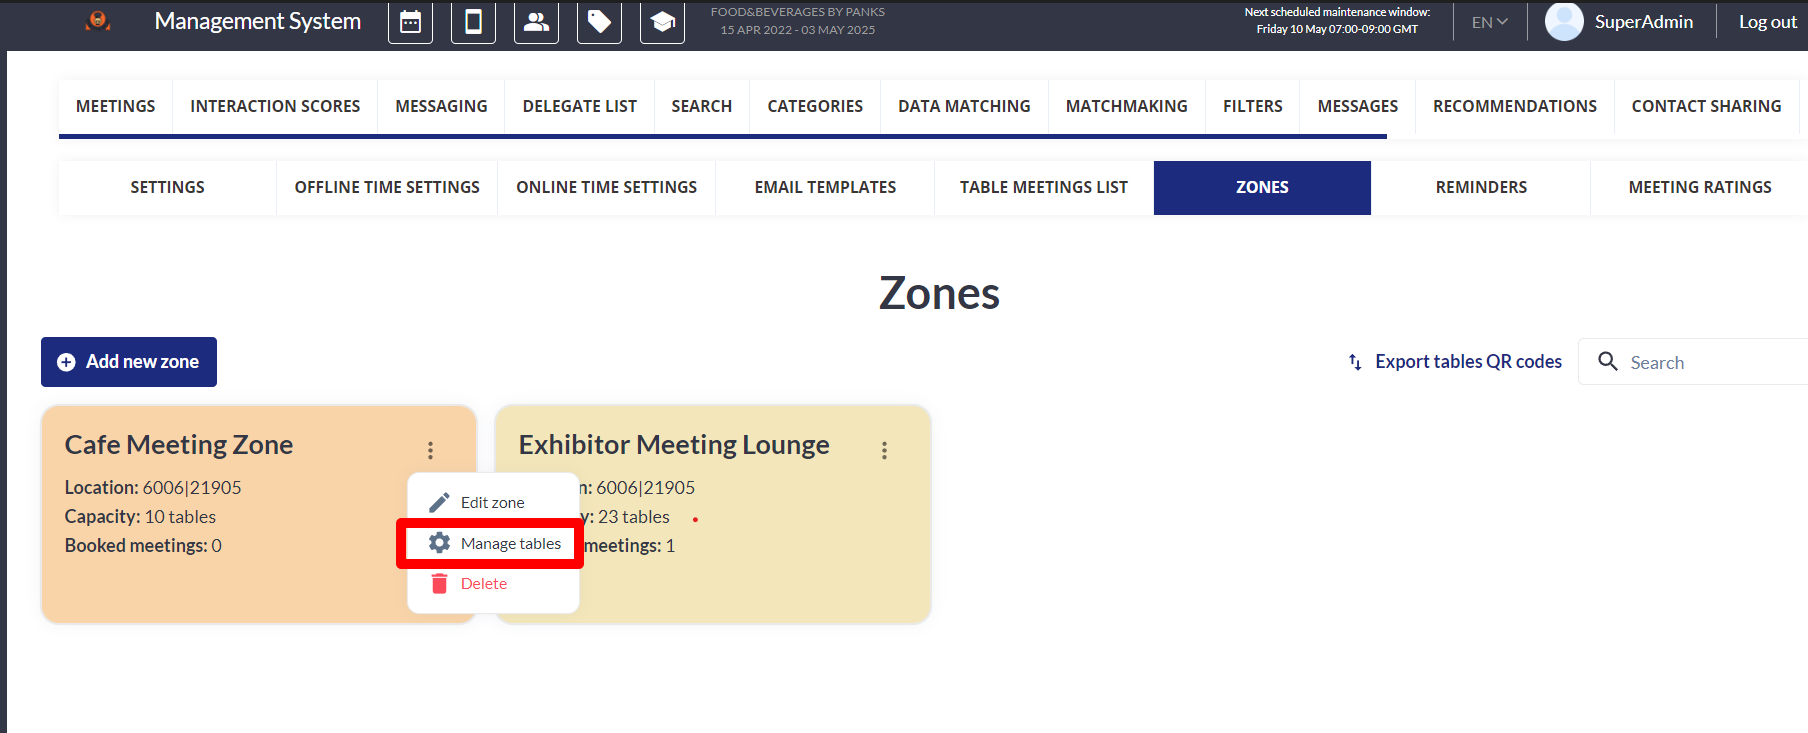
On the “Manage tables“ tab, all tables for the respective zone are shown. Each table can be deleted or the time table can be changed.
Each table will show how many meetings are booked for it and the timeslot usage ( as shown below in the snippet) .
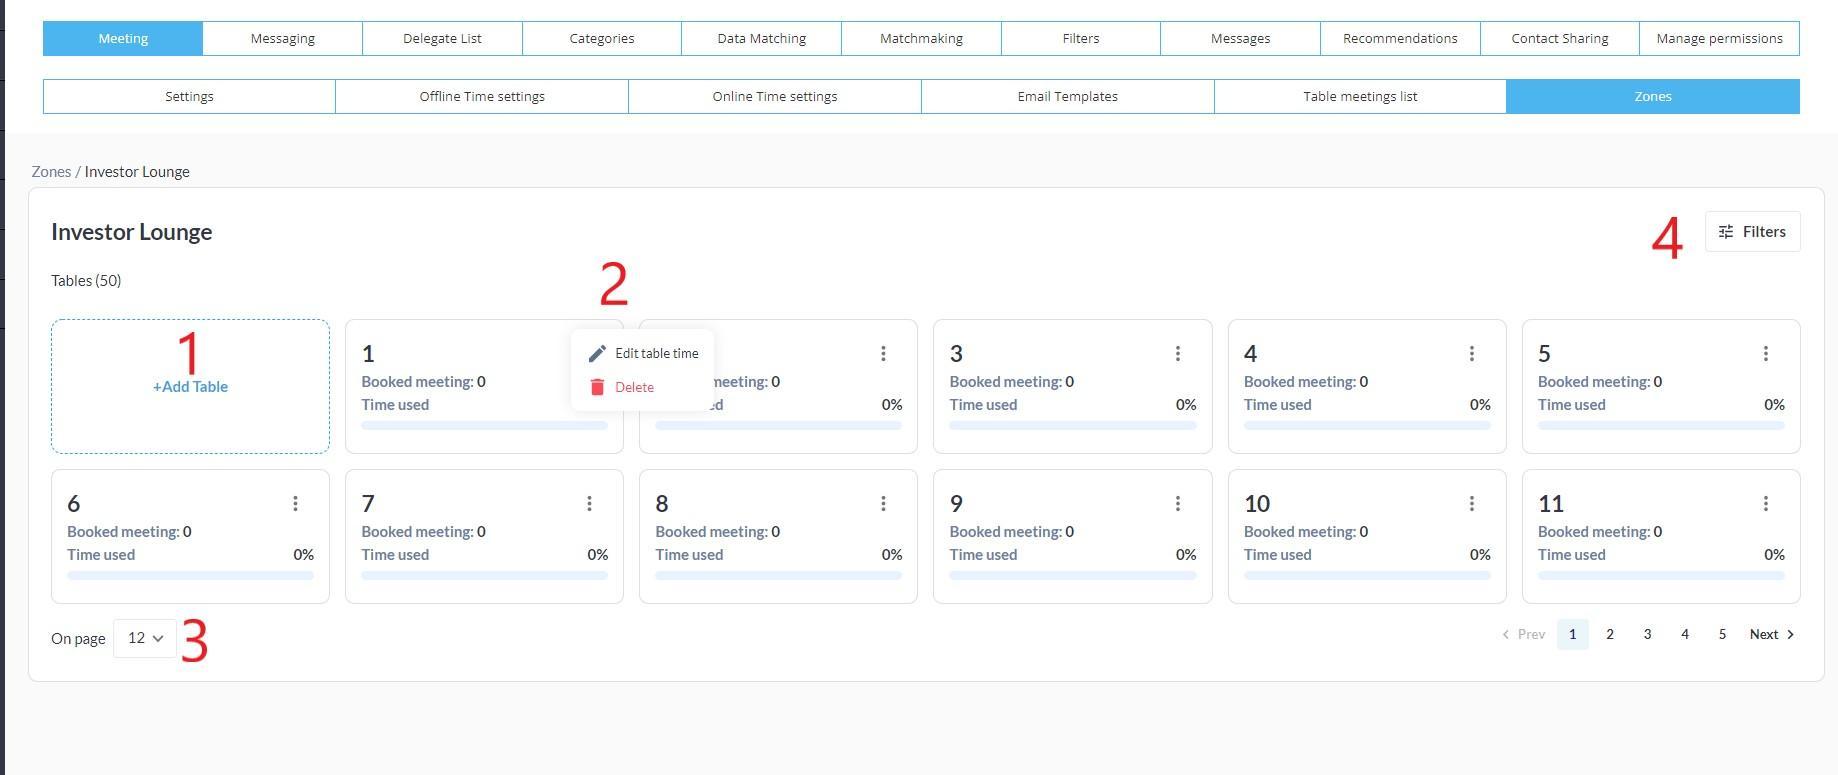
On this screen, you have the following options:
-
Add Table - You can add additional tables to the current Location/location
-
By clicking on the top right corner of the table you have the option to Edit the time for the table or Delete table.
-20240507-141541.png?cb=1ac1b22a4c7850d2a5232f367930b0b7)
-
Select as many tables as you would like to see on 1 page (for concierge comfort)
-
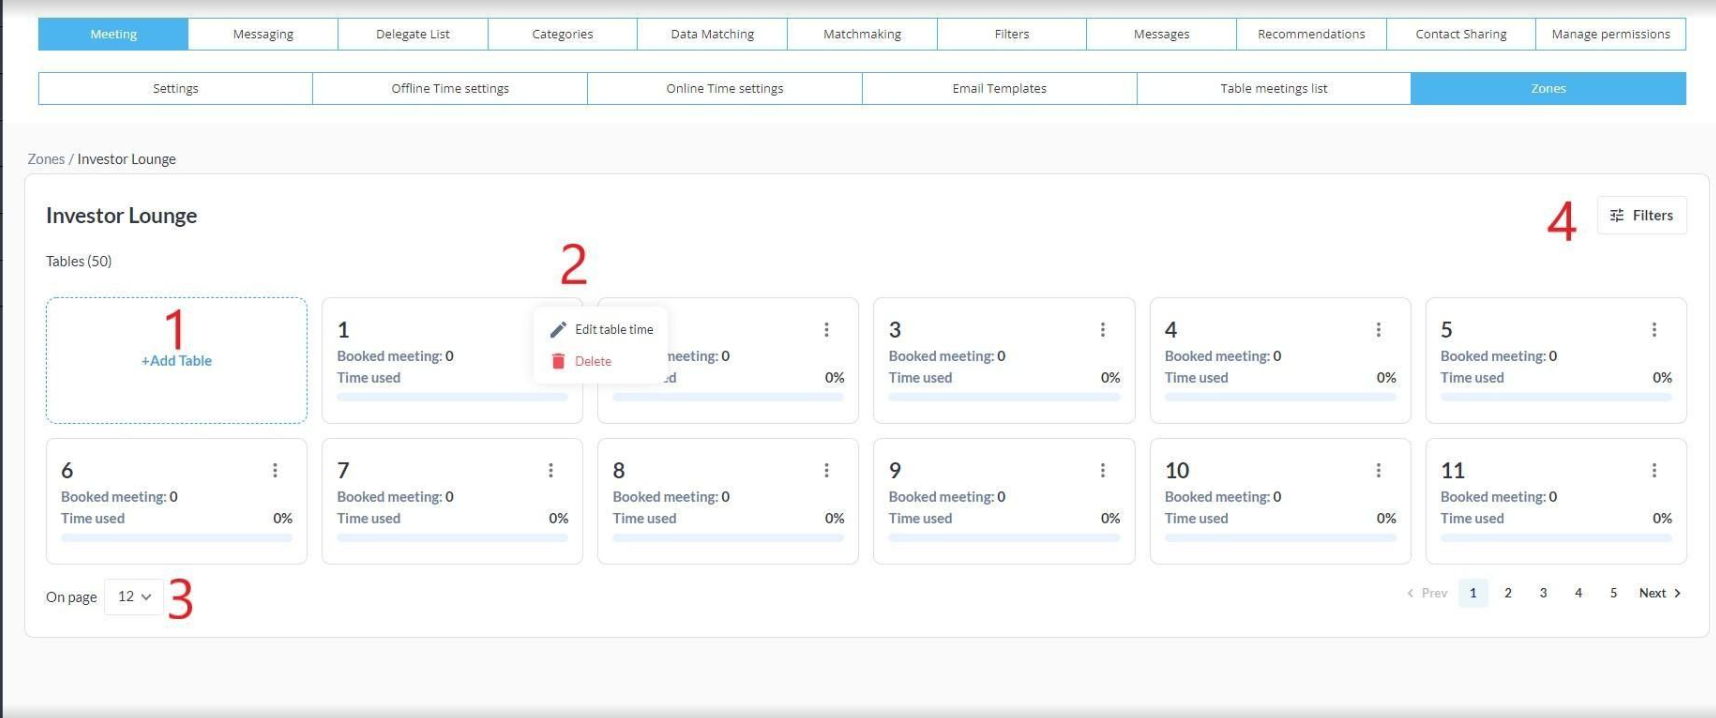
Filters
Filters
We may filter tables inside of the Location/location by following criteria:
Time slot: All, Available, Booked
Date & Hours: when the table is available
Edit Table Time
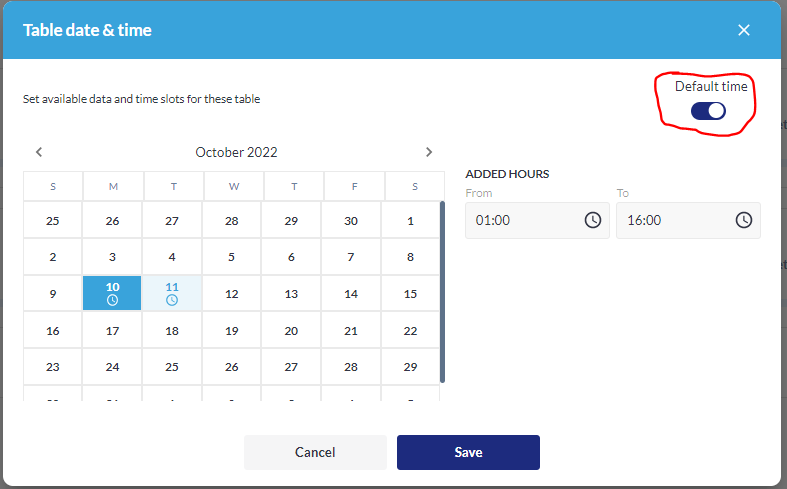
The default time trigger means that the table is available during all hours the Location is available. (this is enabled by default for all tables)
In case you want to limit the time on a particular table or add additional time, you need to unclick Default time, select date, and indicate additional hours
Delete Zone
A Zone can be deleted using Delete in the three-dots menu on the Zone card. To delete a zone you have to confirm in the warning pop-up.
NOTE - Zone deletion will automatically cancel all meetings in this zone
-
Search by Zone
-
The Zones list has a search, which applies through zones names.
-
-
Table filters
-
Tables in the zone can be filtered by All/Available/Booked timeslot on the table, date, time range.
-
Troubleshooting:
-
If we switch to Custom time, then the time slots become editable but when Zone time settings are changed there would not be any more updates. Custom time settings take priority over Zone time settings
-
Export Table QR Codes
-
Every table has its own QR code. To download all QR codes, click the “Export Table QR Codes“ button. This will download an excel file with list of tables: their names, zones and links to QR code in png.
-
The download has the following 3 columns -
|
Table |
Zone |
QR
|