Creation of Zones and tables
This article details how an organizer can pre-arrange table meetings from the admin panel for their users.
Access meeting Wizard
To access the meeting wizard, please go to Networking and Matchmaking → Meetings
Meetings Wizard
Locations section
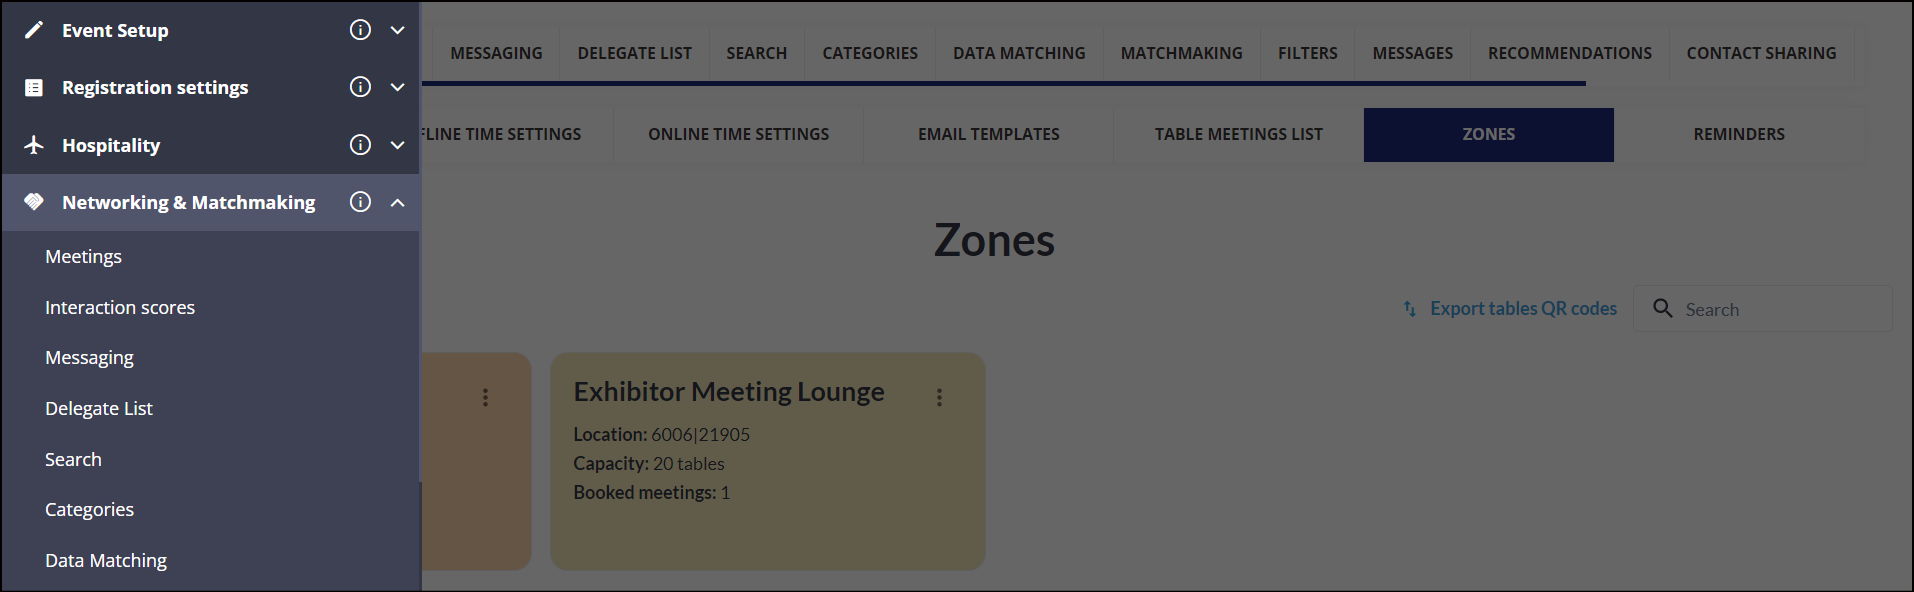
Click on the Zone section
Setting Up ones
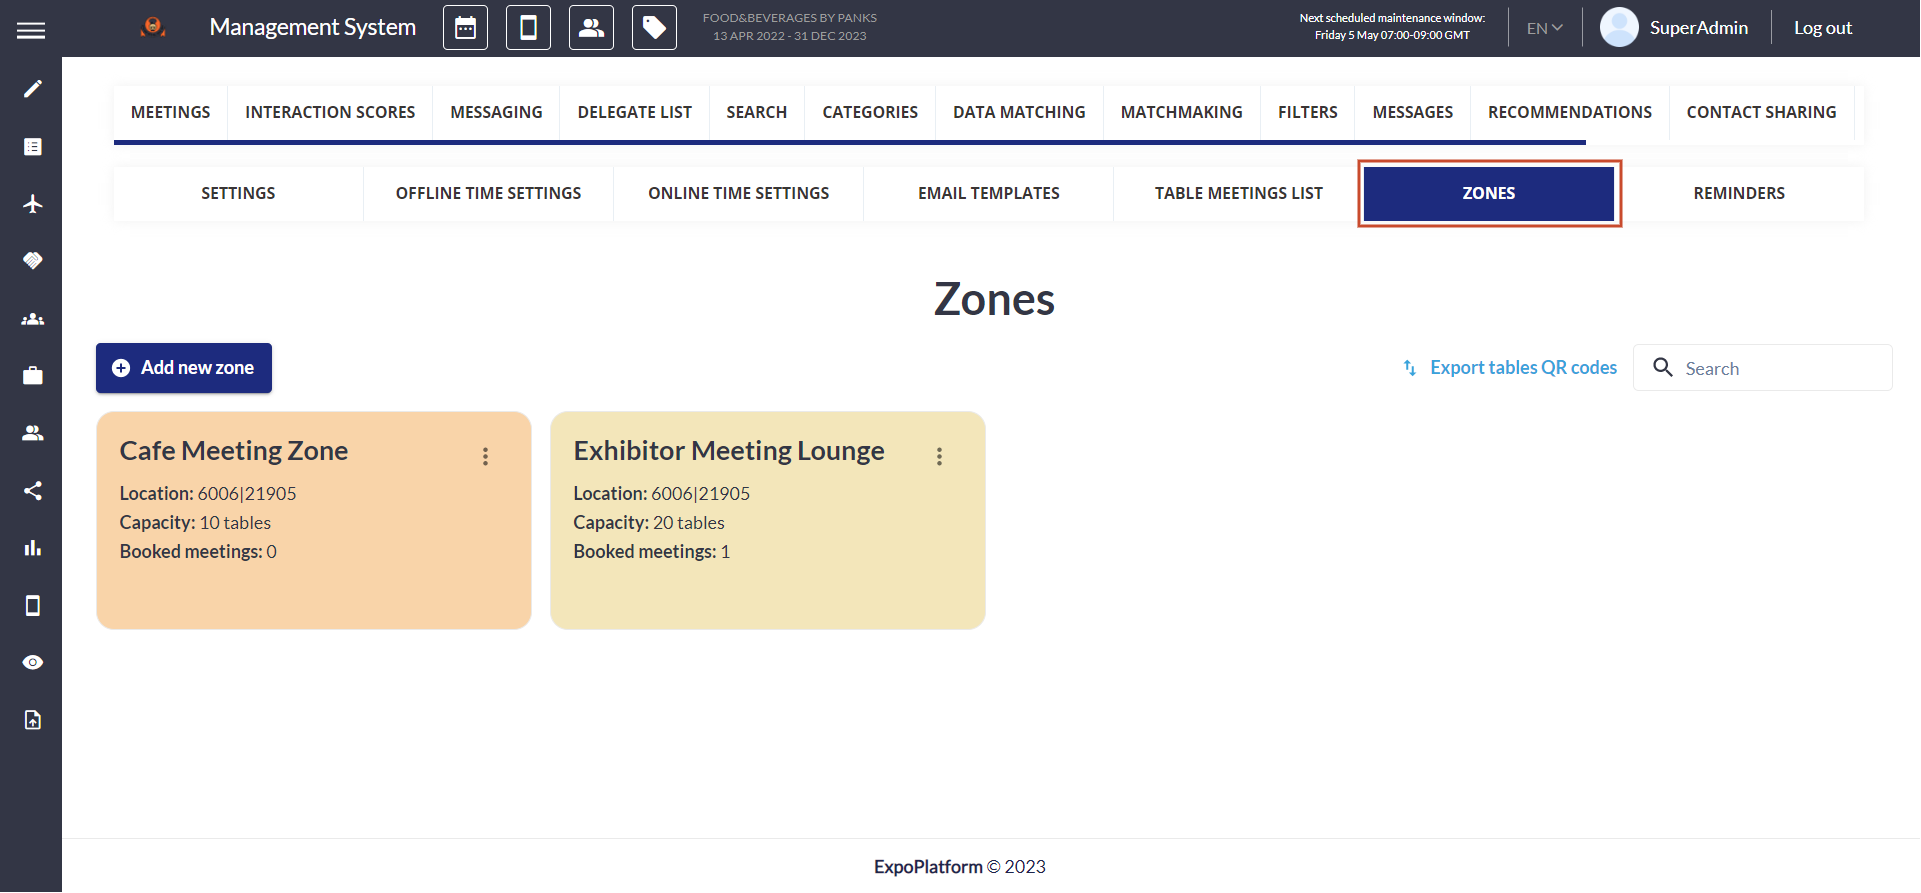
Add new Location
Click on Add New Zone to create a new Location (location of meetings)
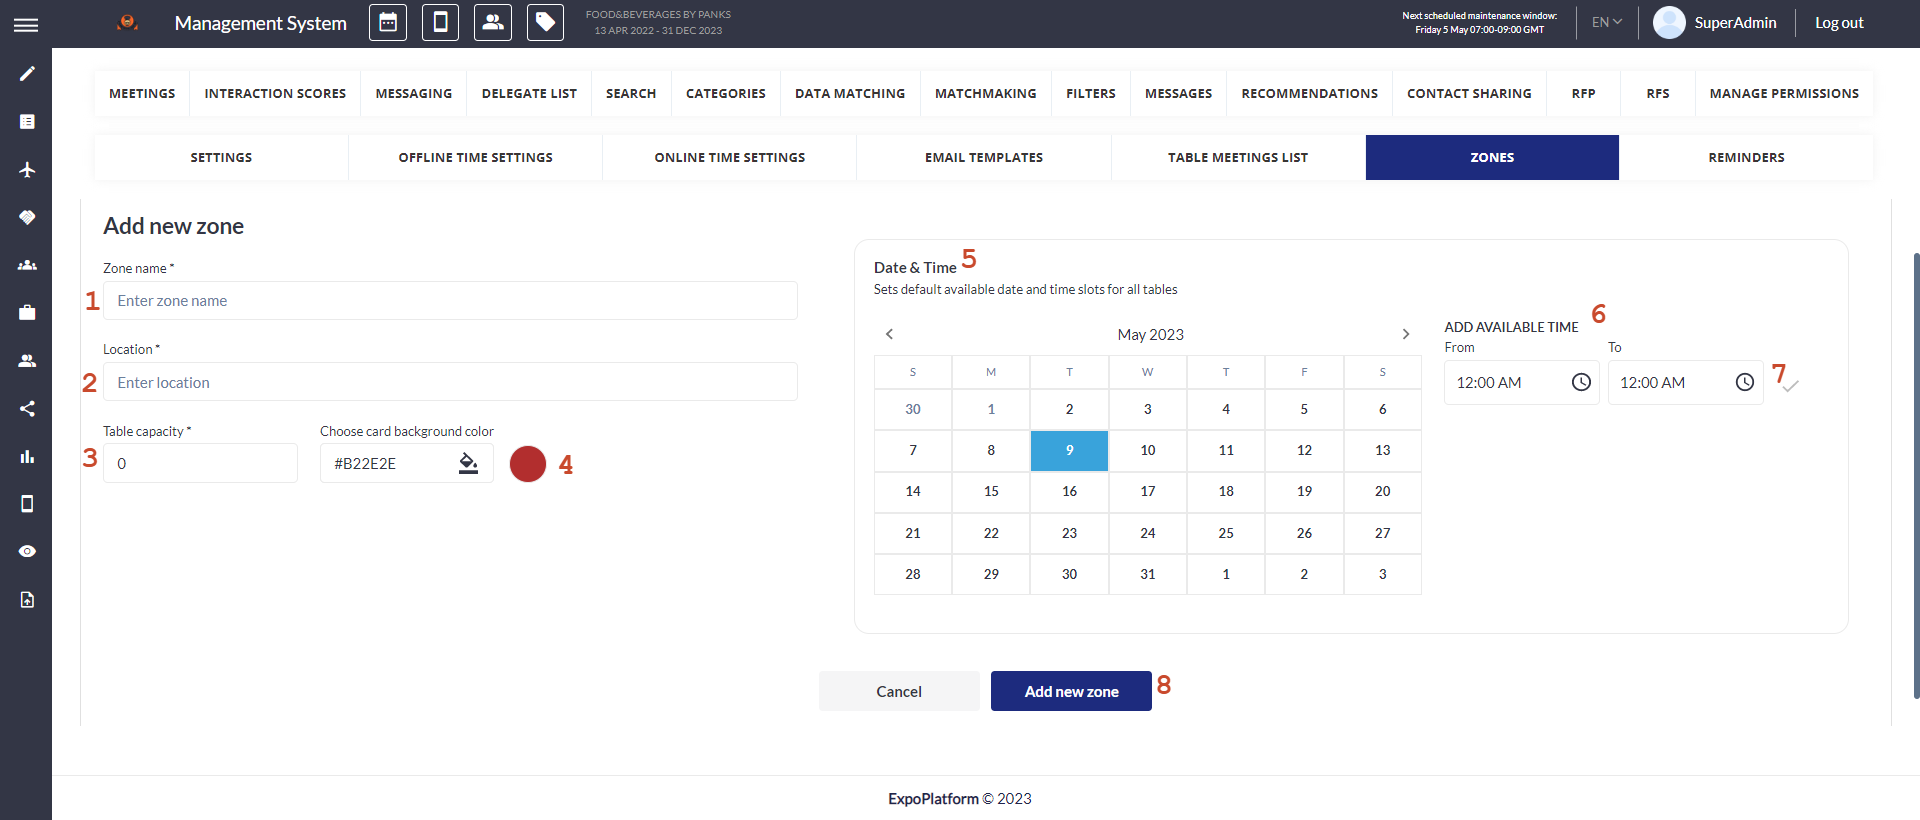
Creating New Zone
Add a Location name
Add location name (same as Location name)
Indicate the number of tables available in this particular Location.
Select the Location color (this is for concierge reference to see different Locations, has no impact on frontend)
Select dates when this Location is available for meetings
Select the time frame when the Location is available for meetings during selected dates.
Make sure to click on the green checkmark (after that the date should be looking like the 10th of October in the example)
Hit Add New Location Button
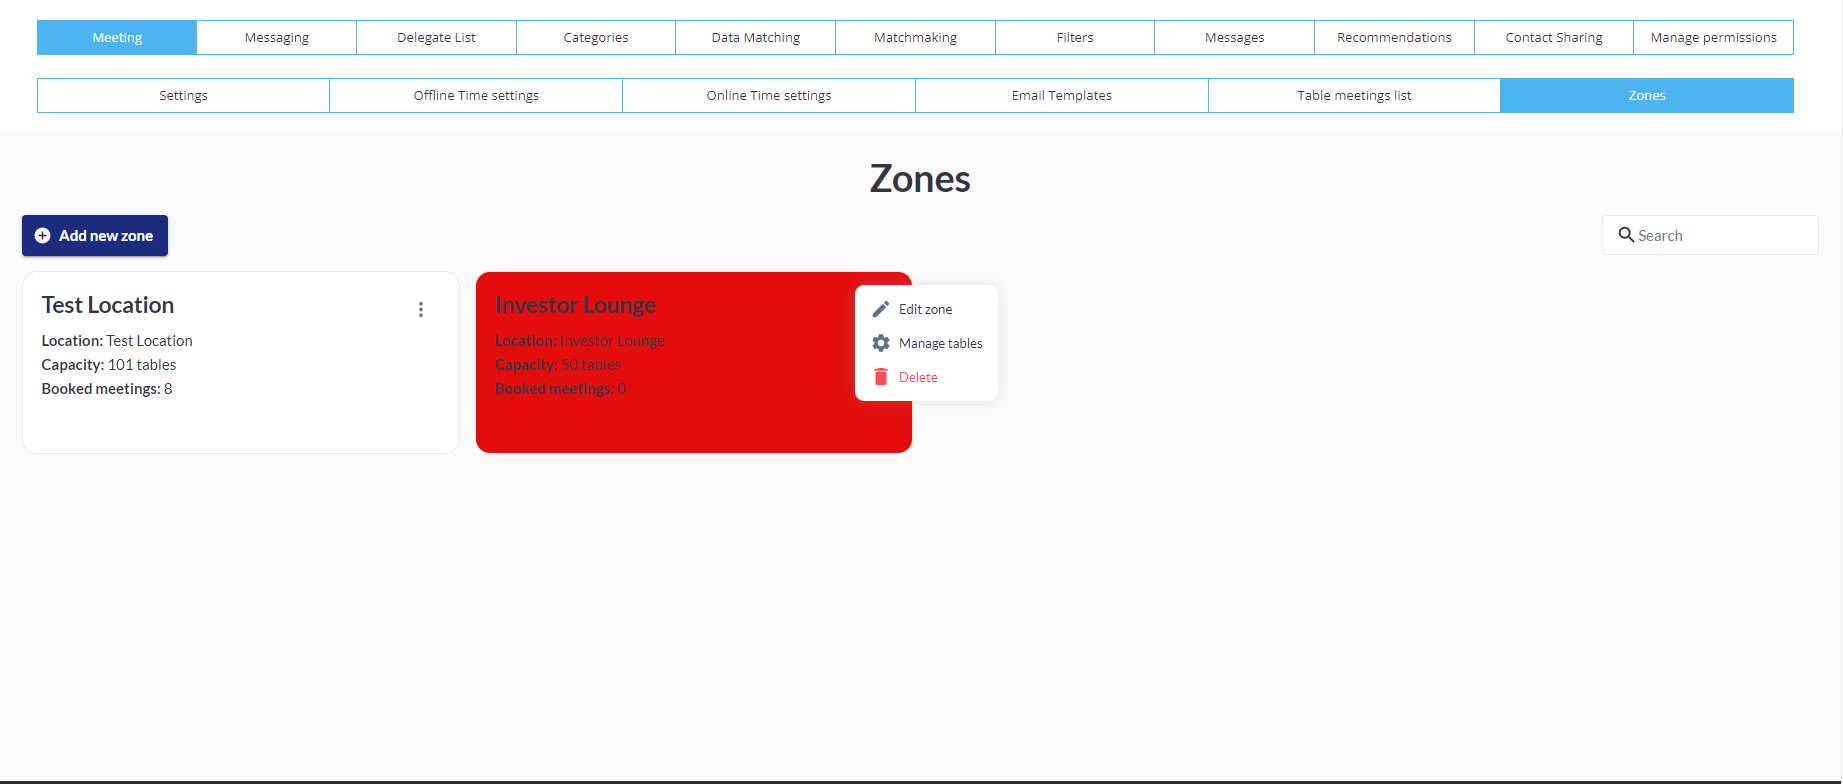
Additional buttons in Location management
Once the Location is created, you will land back on the Locations pages, in the top right corner of the Location there is an additional options button that contains:
Edit Location - this will return you to the previous screen where you set up time frames, number of tables, etc.
Manage Tables - click to manage tables
Delete - this will permanently delete a Location
Manage tables
Click on Manage tables
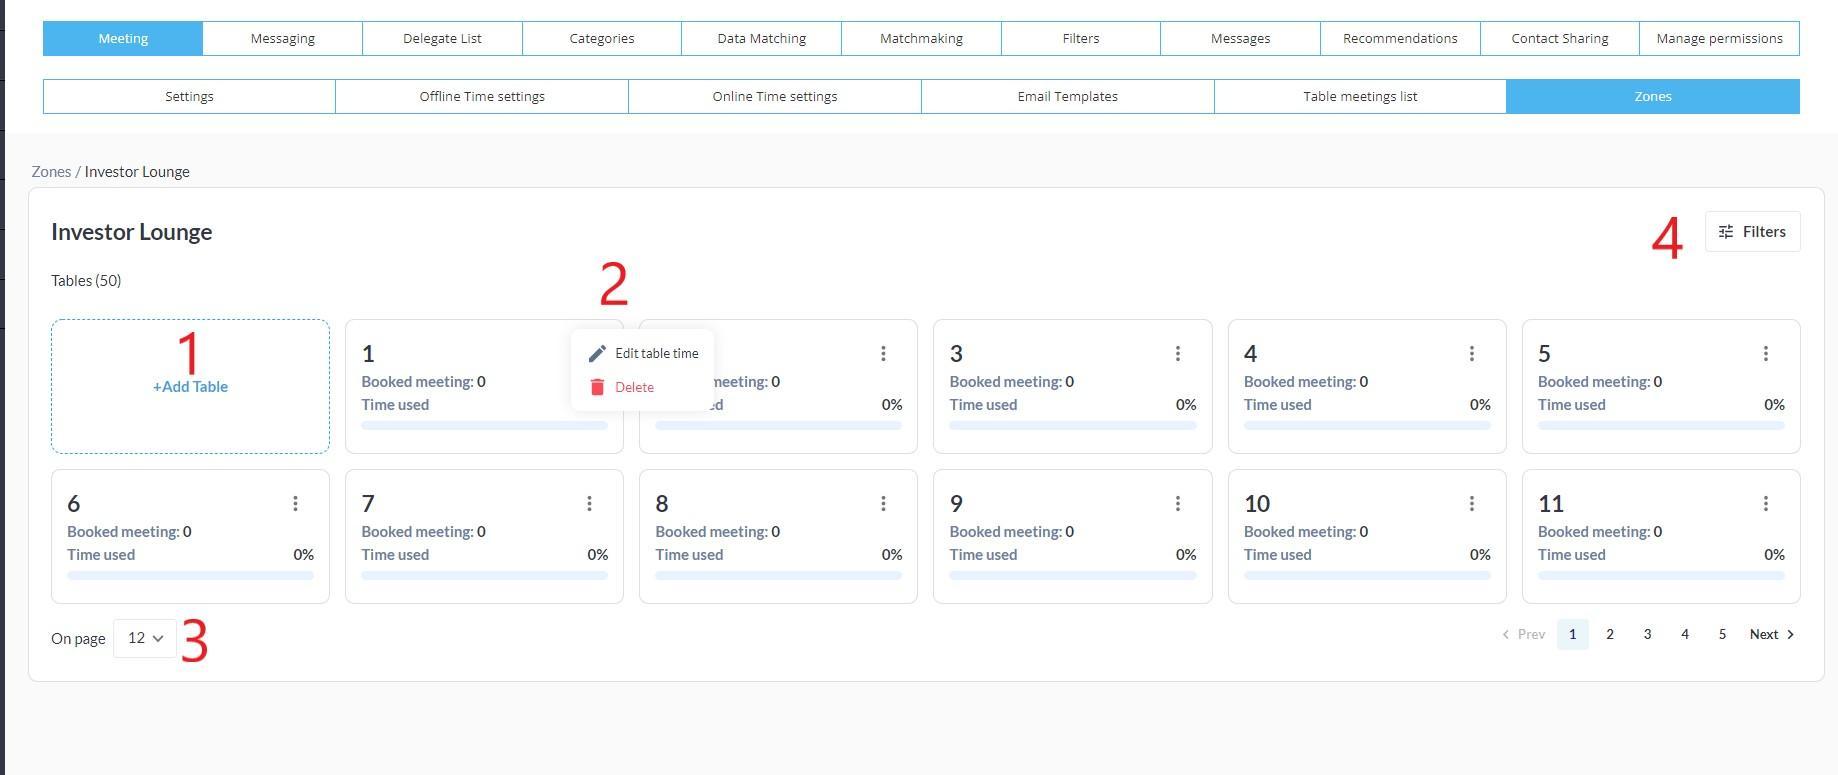
On this screen, you have the following options:
Add Table - You can add additional tables to the current Location/location
By clicking on the top right corner of the table you have the option to Edit the time for the table or Delete table
Select how many tables you want to see on 1 page (for concierge comfort)
Filters
Filters
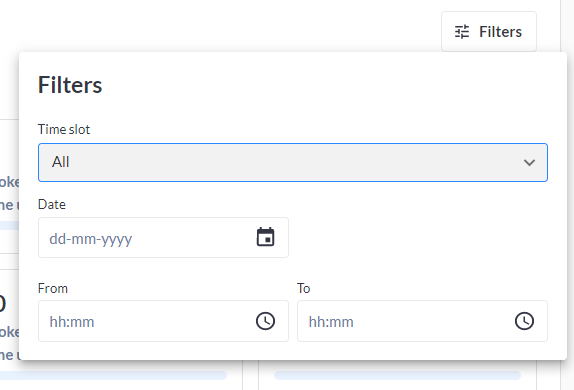
Filters
We may filter tables inside of the Location/location by following criteria:
Time slot: All, Available, Booked
Date & Hours: when the table is available
Edit Table Time
Once you click on the edit table time, you will see the following screen:
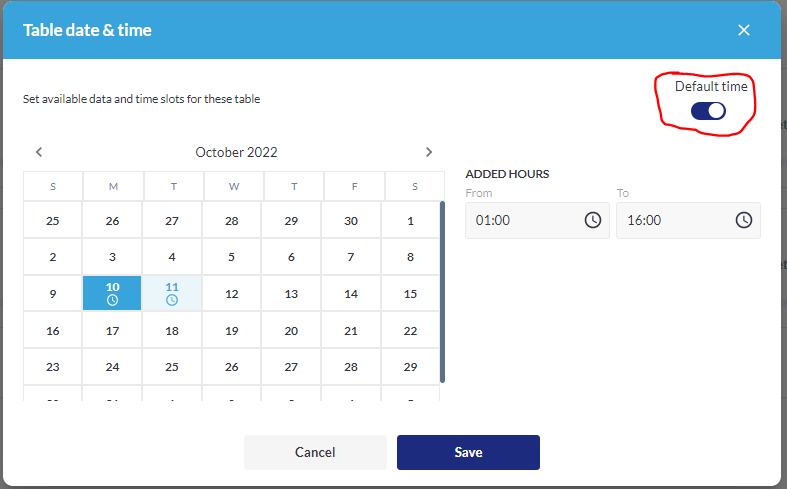
The default time trigger means that the table is available during all hours the Location is available. (this is enabled by default for all tables)
In case you want to limit the time on a particular table or add additional time, you need to unclick Default time, select date, and indicate additional hours
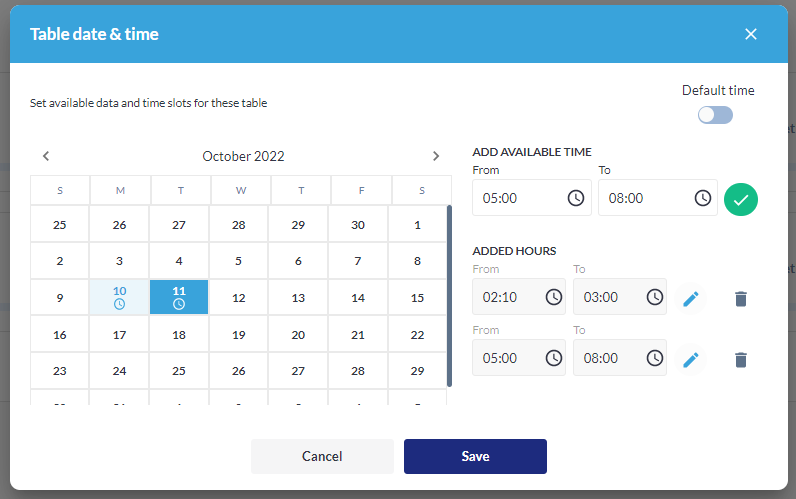
Do not forget to click on the green checkmark!
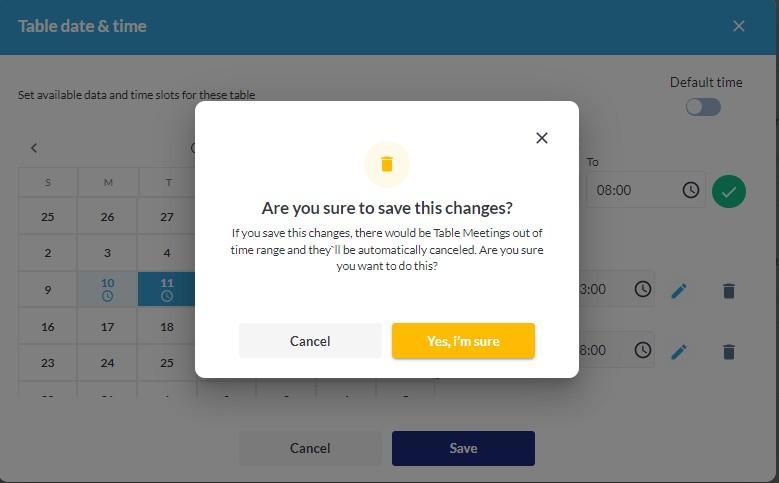
In case the current table already had meetings scheduled and you change the time so that some of the meetings are not fitting in the time frame, they will be automatically be cancelled