Feature Purpose:
The Public Events Registration feature is designed to enable organizers to create and manage registration forms tailored for a general audience. This feature ensures that event attendees can register efficiently while providing organizers with the flexibility to customize registration workflows, manage ticketing, apply conditional logic, and implement data tracking mechanisms.
This feature allows you to build a registration form for the general public, allowing anyone to access the link and anyone to register for the event, without additional vetting.
Working with this Feature:
Points to Note
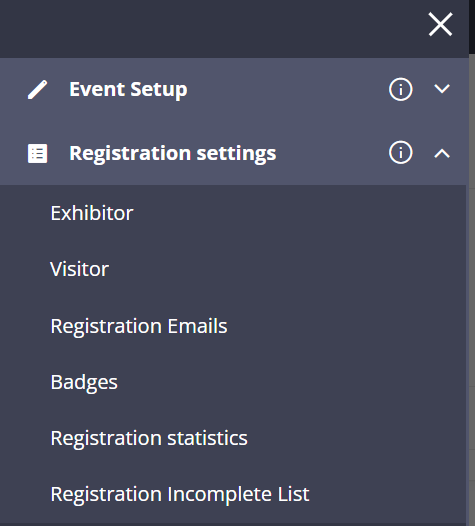
This feature is present under Registration settings-> Visitor
The form is completely customisable and also offers the ability to make fields conditional. The form has 2 sets of blocks -
-
Predefined
-
Block elements
The feature works only for participant registrations.
Defining the Registration Flow
Before configuring the registration form, it is important to plan the sequence in which users will progress through the registration process. This is managed through the Pipeline Bar, located just below the tabs, which defines the registration flow.
-
Clicking on a step opens its settings for customization.
-
Steps can be dragged, disabled, or deleted as necessary.
-
To create a new step, click on the + icon at the far right.
Configuring the Registration Form
The registration form editor offers a comprehensive set of predefined fields, which help in collecting essential user data. These fields include:
-
Social Links
-
Photo
-
Mr./Mrs.
-
First Name
-
Last Name
-
Country
-
City
-
Nationality
-
Address
-
Post Code
-
Networking Opt-in
-
Company Name
-
Website
-
Job Title
-
Email
-
Telephone Number
-
Date of Birth
-
Category
-
Language Preference
📌 Important Notes:
-
The First Name, Last Name, and Email Address fields are mandatory for all registrations.
-
The Language Preference field allows users to receive communications in their selected language.
-
Renaming predefined fields is possible, but they must be used to collect their intended information to avoid issues with matchmaking and reporting functionalities.
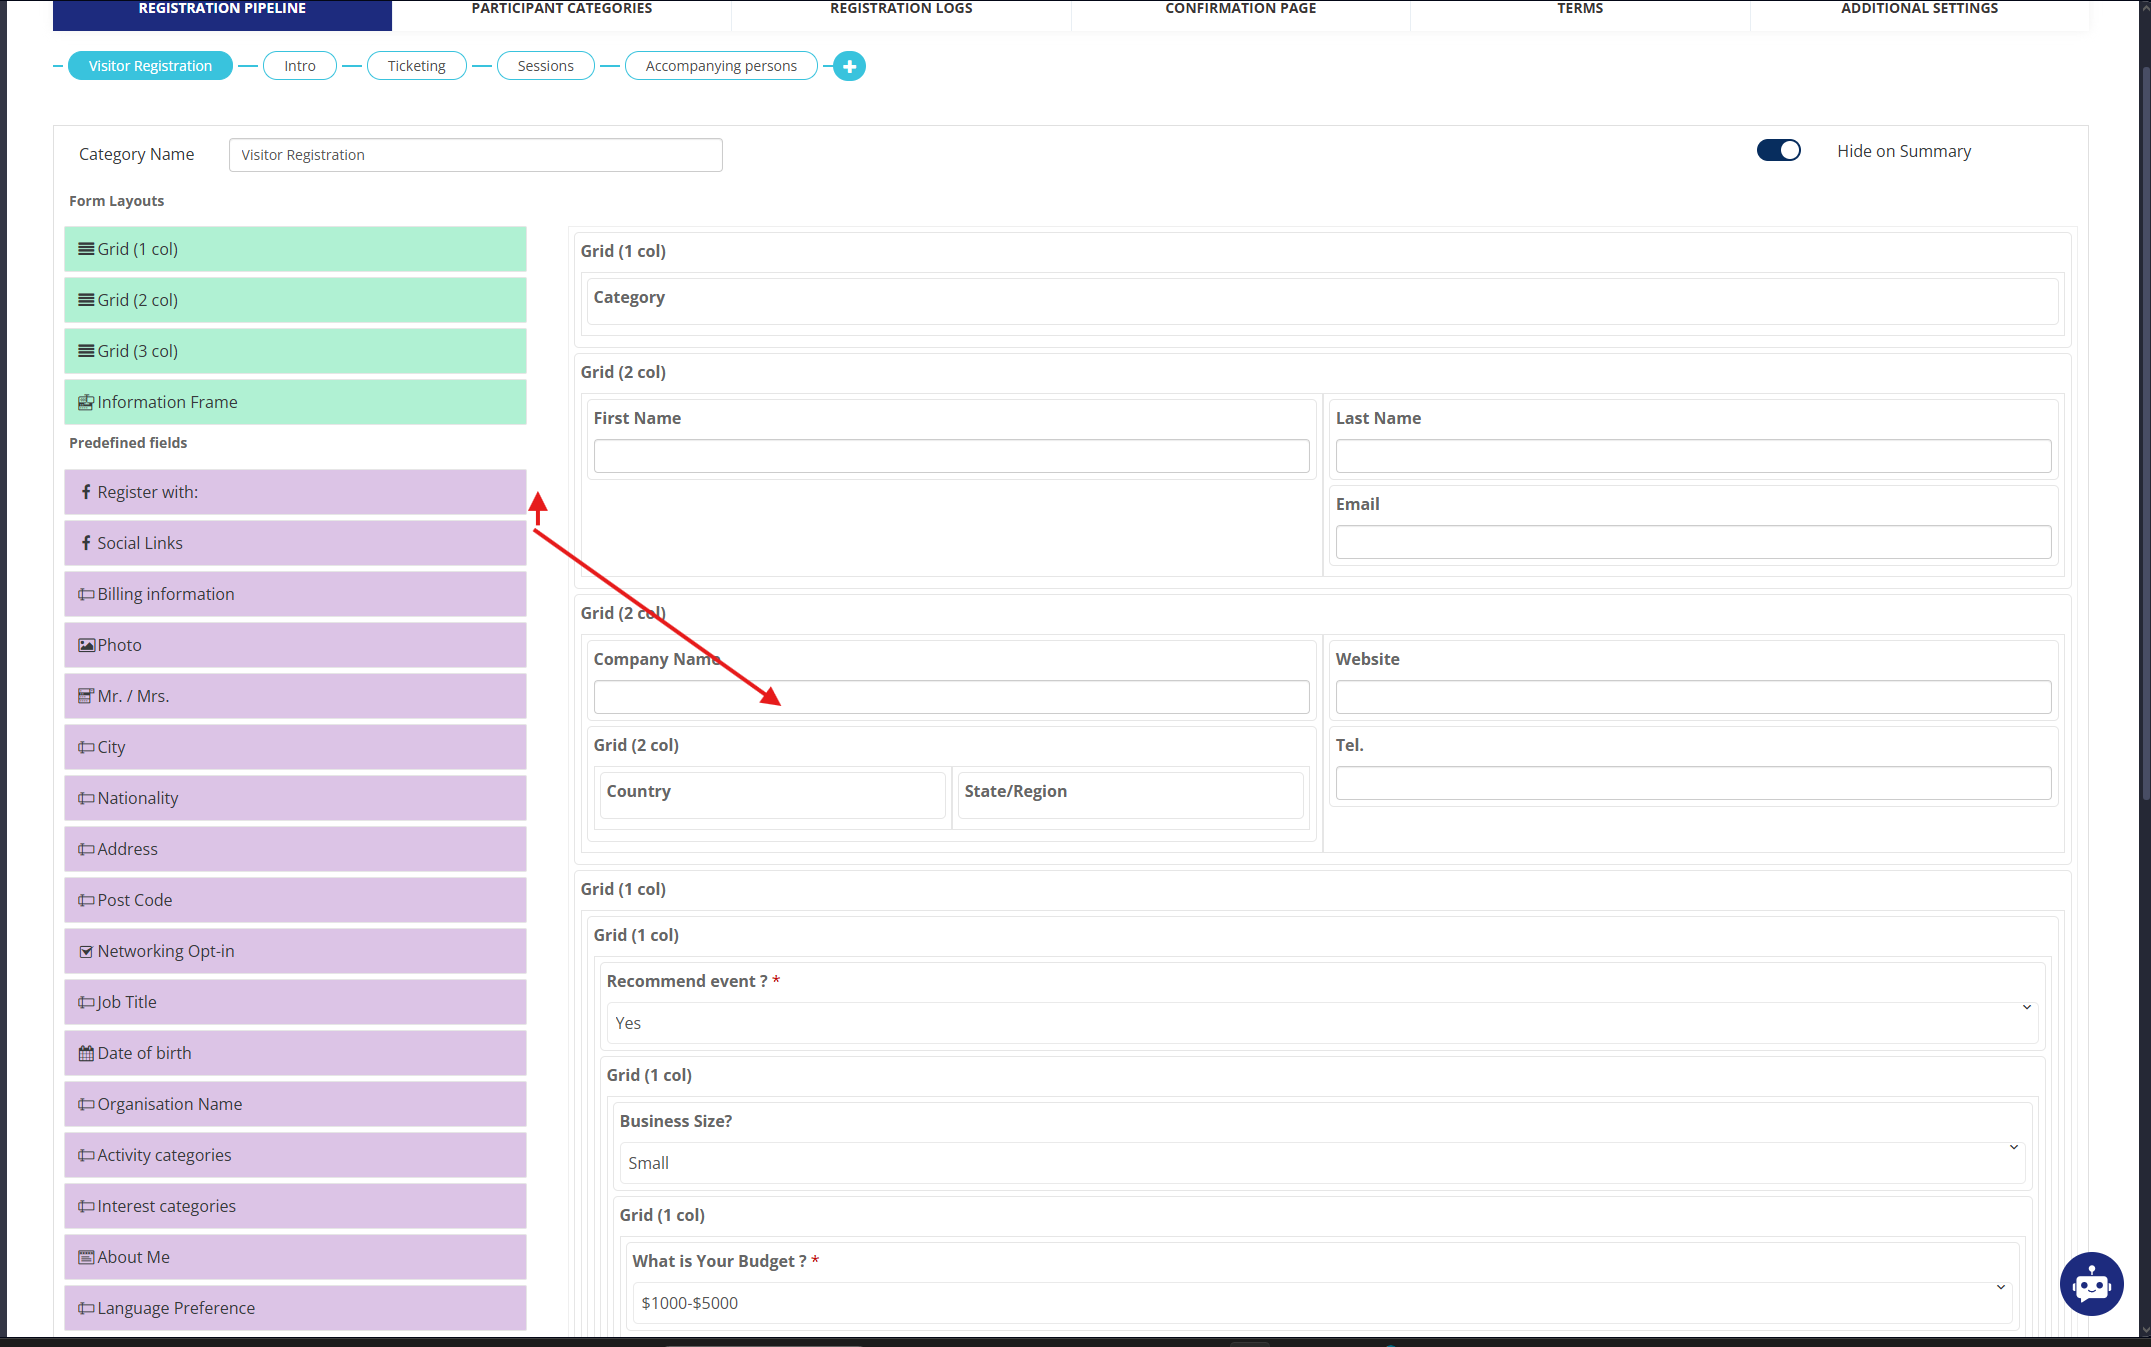
Implementing Conditional Logic
Unlike standard form builders, the registration form builder includes conditional logic that enables a personalized registration experience. This applies to Contact Details and Custom Sections, allowing questions to be displayed based on user responses.
Steps to Add Conditional Logic:
-
Select a Grid [preferably Grid 1]
-
multiple-choice form element (such as a dropdown or selector).
-
Open its settings panel.
-
Tick the Conditional checkbox.
Managing Visibility and Access
For both visitors and exhibitors, organizers have control over the display of the registration form on various pages, including:
-
Registration Form Page
-
Summary Page
-
Edit Profile Page
To hide the custom registration page from any of these sections, simply toggle the Enable switch off.
Ticketing and Pricing Setup
The Ticketing section is responsible for creating and managing ticket types, pricing schedules, and discount codes.
Steps to Configure Ticketing:
-
Click on the Add button to create a new ticket type.
-
Define the ticket name, such as Early Bird, Standard Rate, or Late Registration.
-
Assign a deadline after which the ticket becomes unavailable.
A Screenshot Here: (Showcasing the ticketing setup interface).
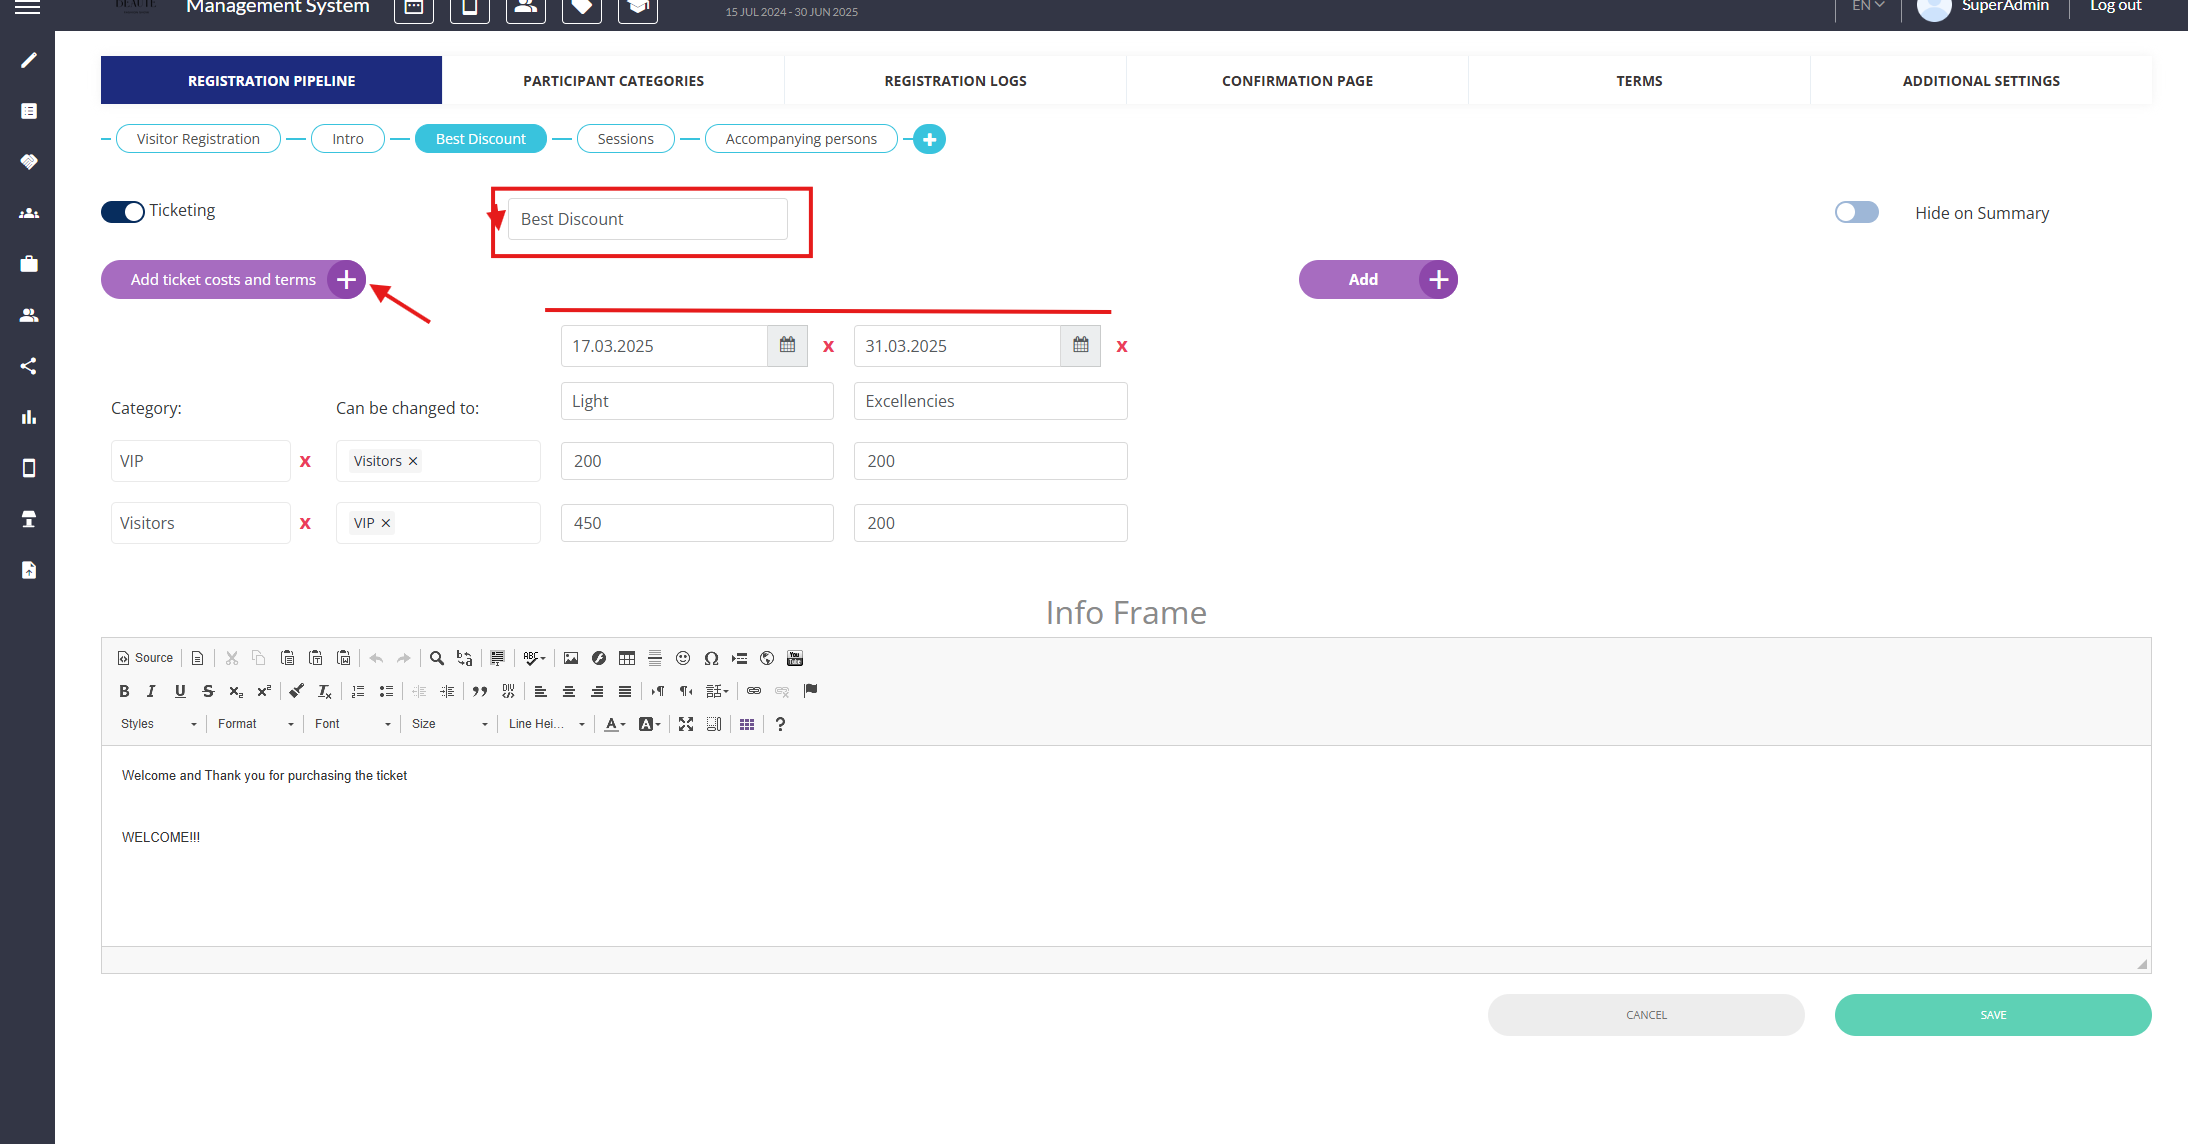
Upgrading or Changing Ticket Categories
Organizers can permit registrants to switch or upgrade their ticket category after completing registration.
-
This is managed via the "Category can be changed to" field under the Tickets tab.
-
The available categories are shown in a dropdown menu based on the participant categories page.
Applying Discount Codes
Discounts can be configured as absolute value or percentage-based.
-
Discounts can be applied to one or more categories.
-
Multiple alphanumeric codes can be generated for each discount.
Field Properties and Attributes
Each predefined field in the registration form can have additional attributes:
-
Required: Makes the field mandatory.
-
Sensitive: Marks data as sensitive for GDPR compliance.
-
Hidden: Keeps the field invisible to users.
-
Disabled: Prevents users from entering data in the field.
-
Not Editable: Prevents users from modifying previously entered data.
-
Show in Visitor Card: Displays the field on the visitor’s badge or profile.
-
Use for Team Member Creation: Allows exhibitors to use this field when adding team members.
-
Include in Download Schedule: Ensures this field's data appears in the Schedule Download Report.
-
Capture Input Timestamp: Records when data was entered for this field.
Troubleshooting Common Issues:
Issue: Fields Not Displaying Correctly
-
Ensure the visibility toggle is enabled in the form editor.
-
Verify that the field is not set as hidden.
Issue: Conditional Logic Not Working
-
Check that the Conditional checkbox is ticked.
-
Ensure that the logic is correctly applied to the correct form element.
Issue: Ticket Not Available After Deadline
-
Remember that the ticket expiry deadline is exclusive of the set date. (E.g., if set for December 26, it expires at midnight on December 26.)
Issue: Lost Data Due to Form Modifications
-
If a form element is deleted, previous data entered into that field cannot be retrieved.
-
To prevent data loss, export visitor data first (Data → Export), then re-import if needed.
Issue: Tracking Registration Sources
-
Google Analytics UTM tracking can be used to monitor the source of registrations.
-
The UTM code is embedded within the registration URL and can also be found on the Registration Confirmation Page.