Kiosk Mode
Kiosk mode is used for registration for the event and the possibility to print out badges for the onsite visits of the event.
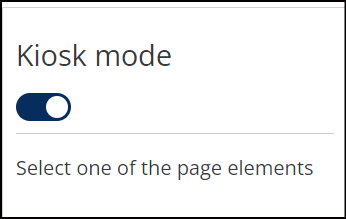
To use the Kiosk mode firstly it needs to be enabled in the Management system → Onsite → Kiosk → Kiosk mode on.

Kiosk Mode
Before setting up the kiosk builder, it is important to adjust the Registration pipeline, Settings, and Confirmation page.

Registration Pipeline
The form editor in the registration pipeline has a large collection of predefined fields. All fields can be renamed in the editor, but First name, Last name, and email should always be used to collect the corresponding information as they will appear on the badge.
We can use conditional logic in the Kiosk Builder Registration pipeline
Settings
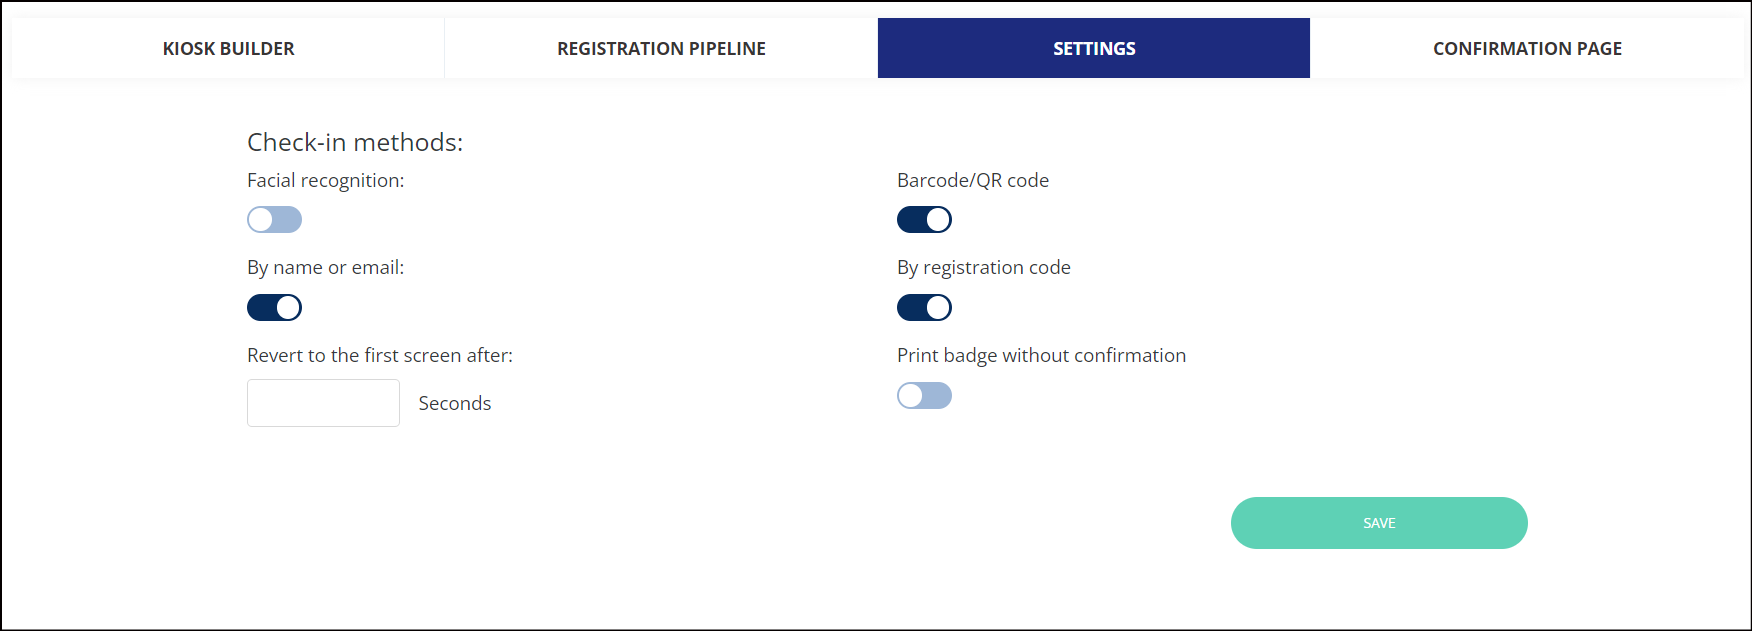
This section contains a list of possible check-in methods, organiser may select any according to your needs:
Facial recognition
By name or email
Barcode/QR code
By registration code
You may also enable the possibility for visitors to print out badges without confirmation from your side.

Settings for Printing Badge Onsite
Confirmation Page
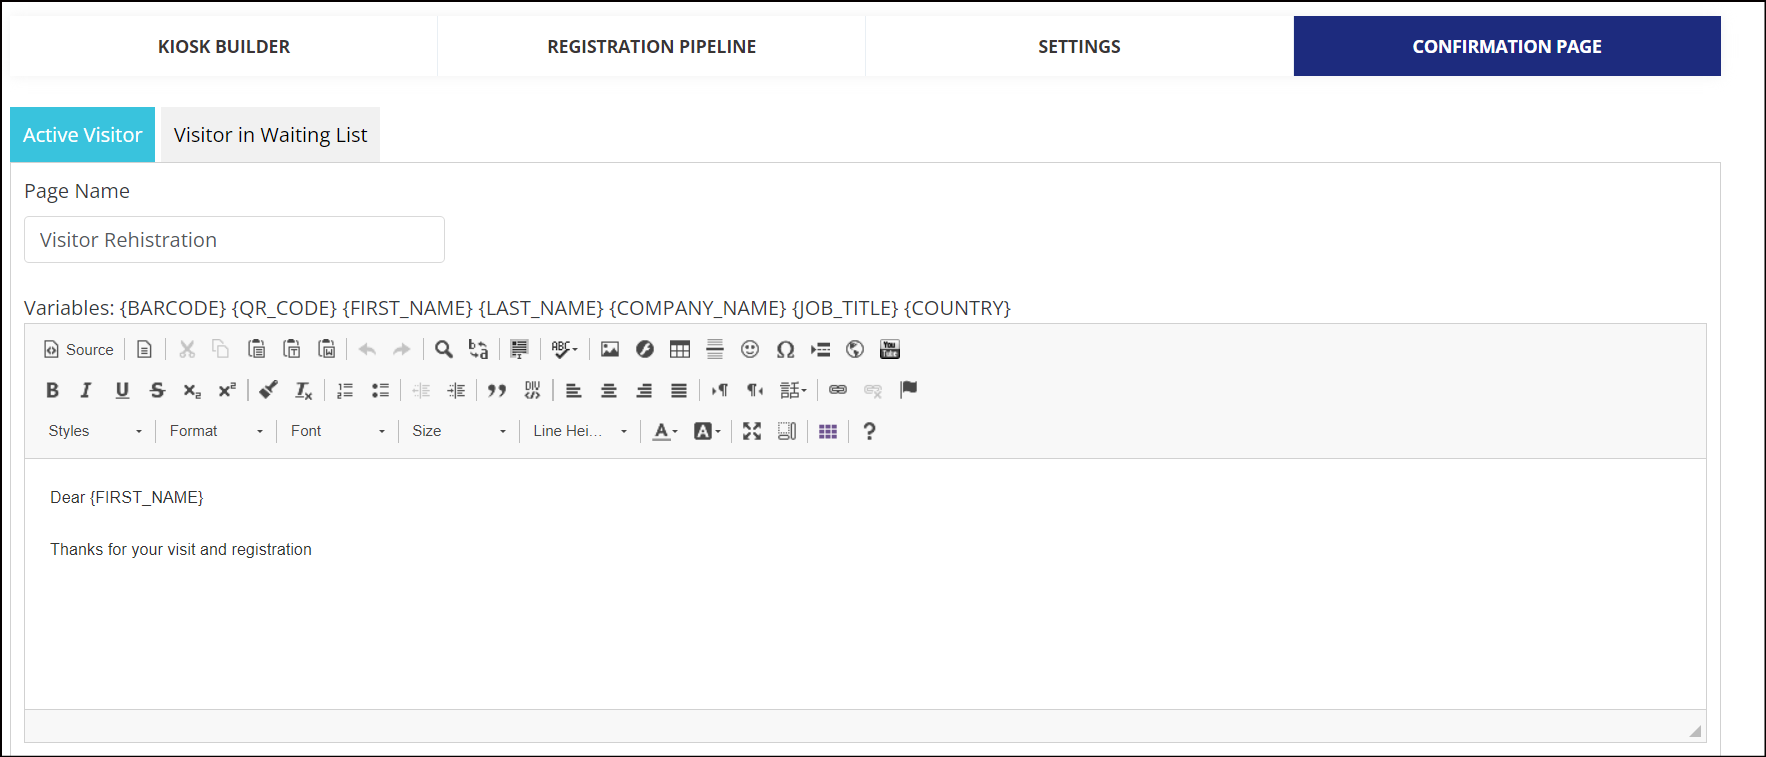
Here you may adjust a text, which will be visible to a user, once registration is complete.

Confirmation Page: Onsite/Koisk
Kiosk Builder

Kiosk Builder
This section contains the following pipelines:
General (Adjustment of text and fonts of the main page)
Registration
Check-in (Depends on the settings which will be selected in the settings tab)
Recognition
Barcode/QR code
By name or email
By registration code
Success (Successful registration message with the “Print your Badge” button)
Error (Error message in case Barcode or QR code does not exist).
Kiosk on the Front End
To access Kiosk mode on the front end, you need to add an extension /onsite/index to the name of the event (ex. https://beaute-clone-1636708420-newdemo.expoplatform.com/onsite/index)
https://beaute-clone-1636708420-newdemo.expoplatform.com/onsite/index

Kiosk check in page now recognize external Bar/QR code used in the event
