Feature Purpose:
Allows organiser admin to create groups on front end.
Working with this Feature:
On the frontend, admin user has the “Groups“ item (/newfront/profile/groups) under Profile info section:
Example - https://plaza-busworld.expoplatform.com/newfront/groups
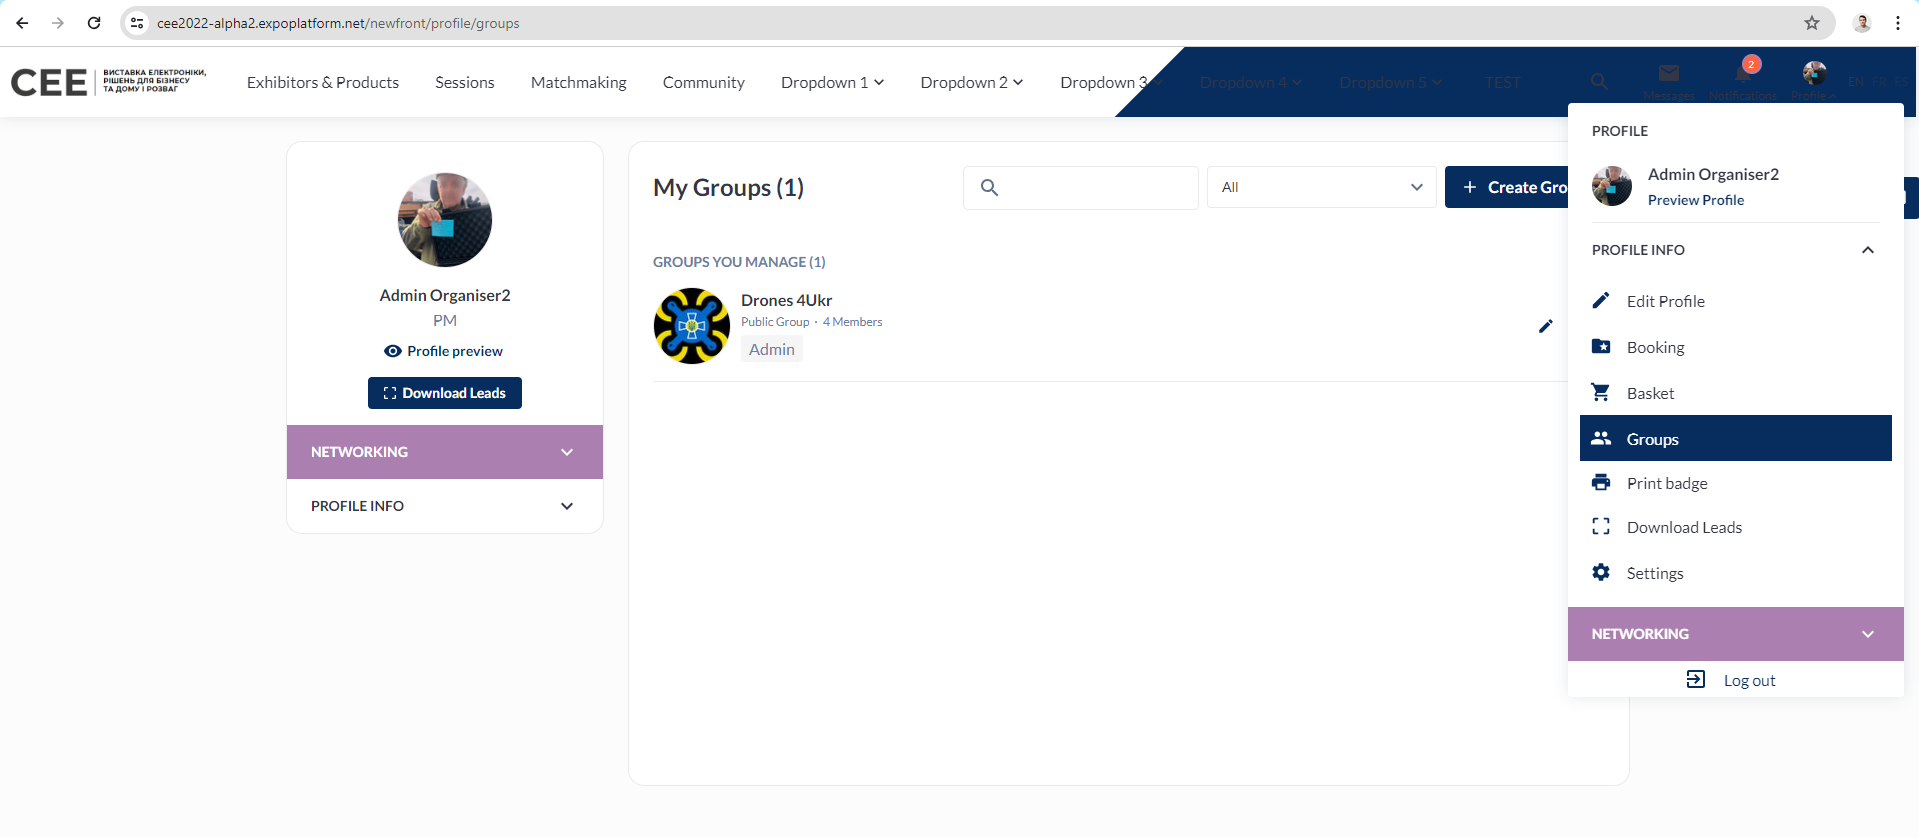
Here the admin can create a group and can also view existing groups on the event.
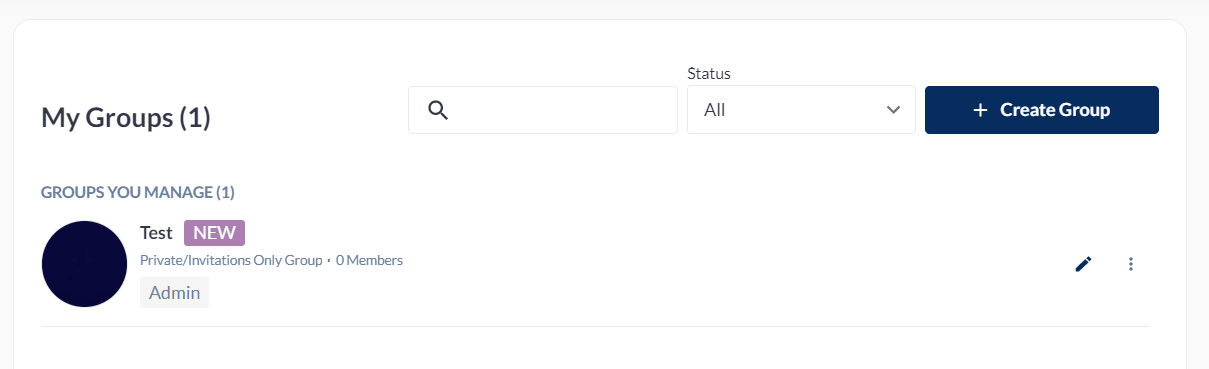
The Groups page will consist of the group list items, status of groups and “CREATE GROUP” button.
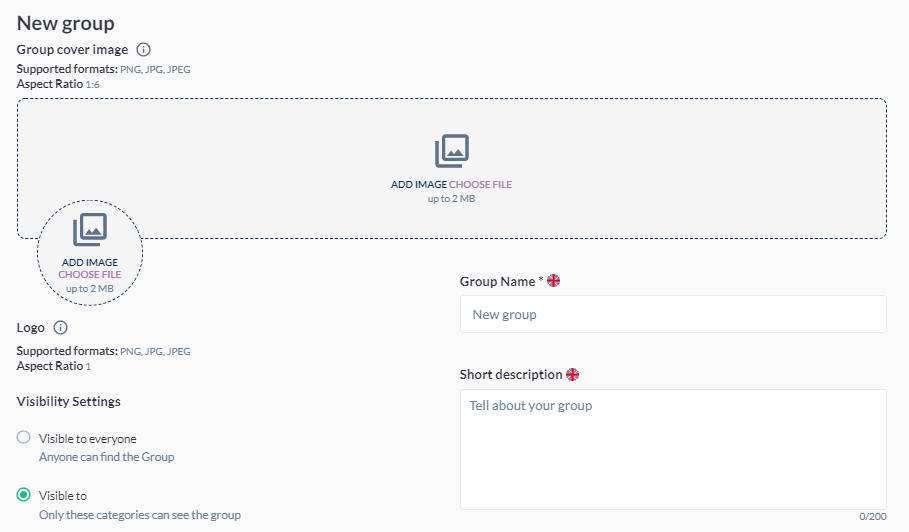
Clicking “CREATE GROUP” button opens a creation page which contains:
-
Language Selector for multilanguage functionality when implemented
-
Option to add a background image and a Logo (Image size: up-to 2 MB).
-
Group name and short description.
-
Visibility settings that define who can see this Group.
a) Visible to everyone: choosing this option will let anyone find this GROUP
b) Visible to (only these categories): choosing this option will let you choose specific categories from the “select who can find the group “drop down section.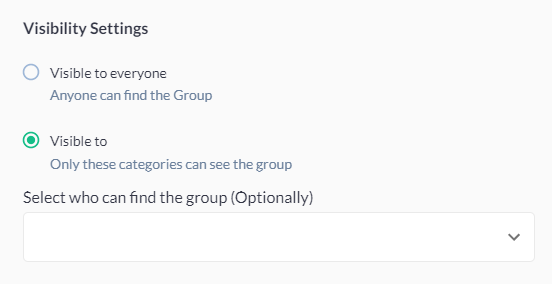
-
Tags & Category
You can create your own tag or chose from existing tags. Please note that tags have to be relevant to the topic and that category refers to group category, completely unrelated to visitor or exhibitor registration categories. -
Sponsors
You can have the option to select multiple sponsors. -
Choose event
This option will let you choose multiple events which are related to this particular Group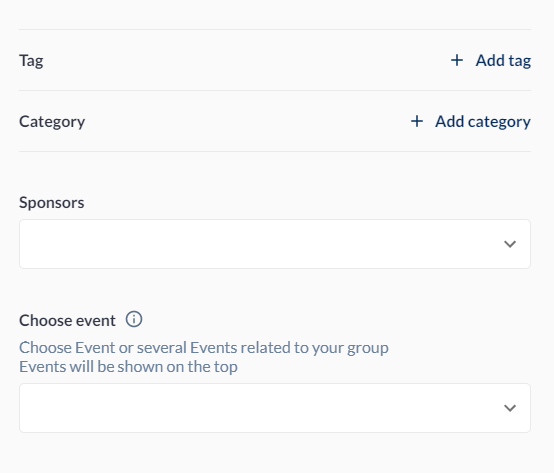
-
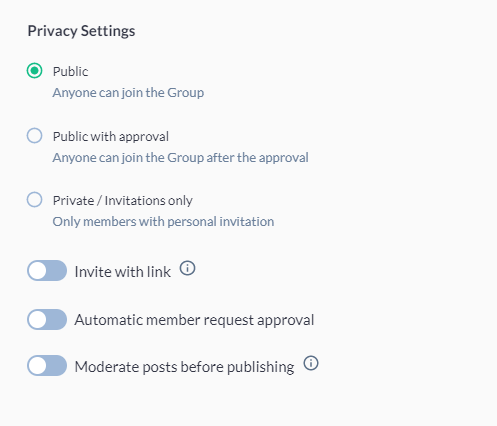
Privacy Settings
a) Public: Anyone can join this group
b) Public with approval: Anyone can join this group but only after being approved
c) Public/Invitation only: Only community members who receive a personal invitation can join this group -
Invite with link: Allow people to invite others to this group with a link. Anyone with this link can see the group’s About info and request to join.
-
Automatic member request approval: Select all of your requirements for a pending member to be automatically approved to join your group. We`ll let you know who`s been approved so you can review. This can be turned off at any time
-
Moderate posts before approving: Posts of general members will be published only after approval
The created group will appear in the Community Groups page and on the My Groups page of the admin who created it. Once a Group is created, the admin has the option to EDIT it by clicking on the pencil icon.

Groups that the user has joined or is managing also have next controls (in 3 dots mene):
-
Copy invite link: for Admin only
-
Share link to this group: for Admin only
-
Leave group: for all users
-
Delete group: for Admin only

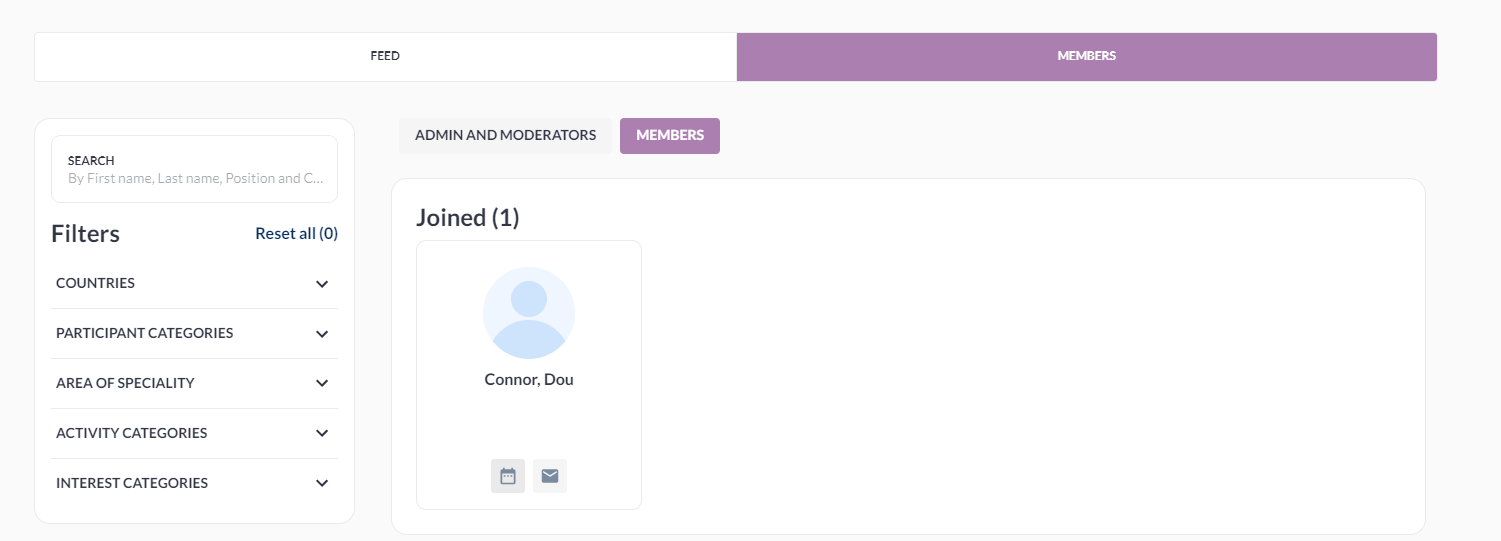
Community Group Top Menu
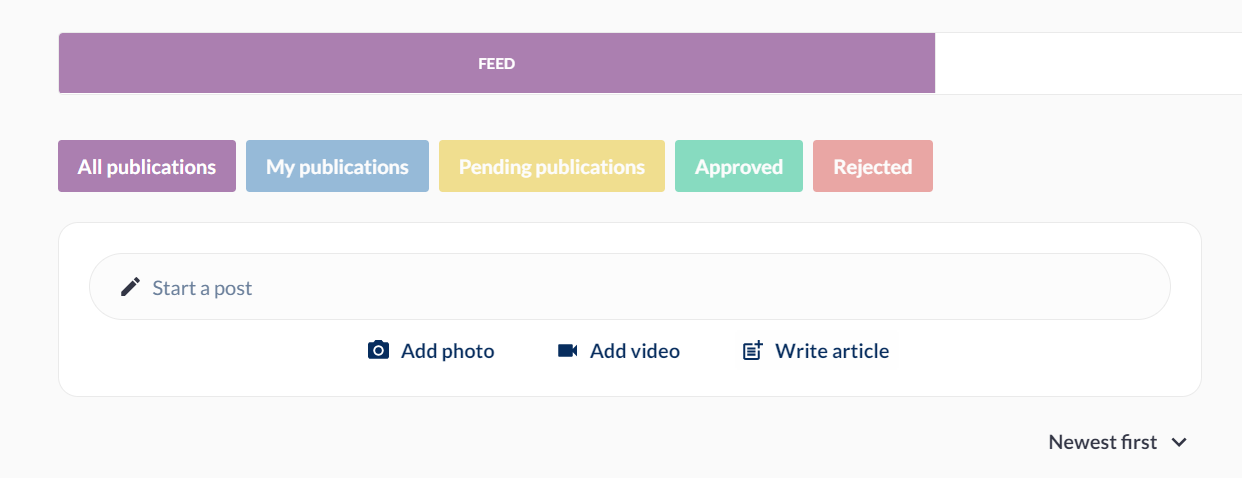
Community Group top menu will consist of FEED and MEMBERS tabs.
FEED: is the main area where all posts are and consists of publication creation part and list of publications.
Any member of the group can create a post, upload a picture or video, or publish news. Depending on the group settings these may be published immediately or may need approve from Admin or Moderators.
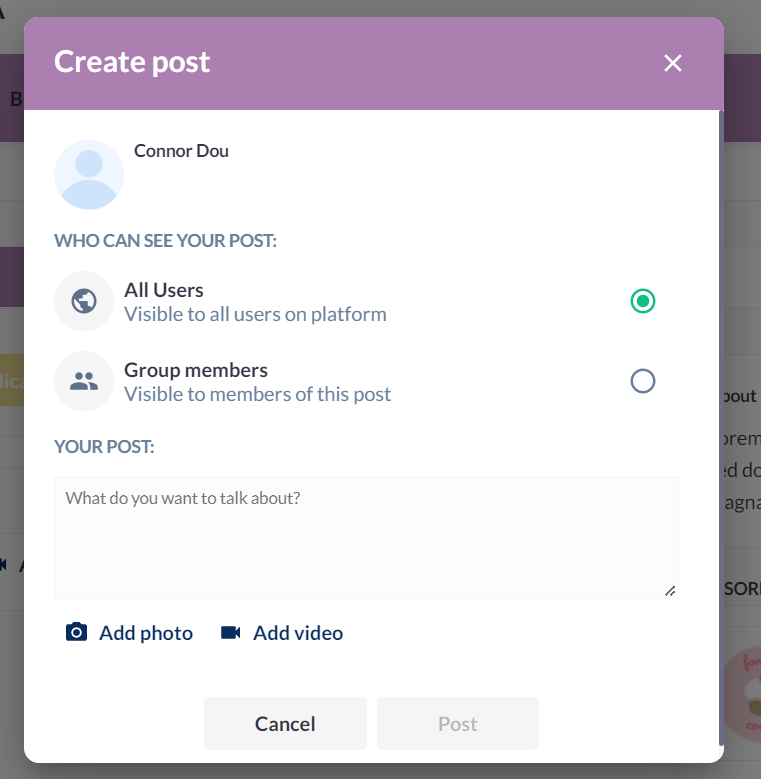
When the user clicks on “start a post” a popup page is displayed where the user can choose to whom he wants this post to be visible, and enter the text of the post along with a photo/video.
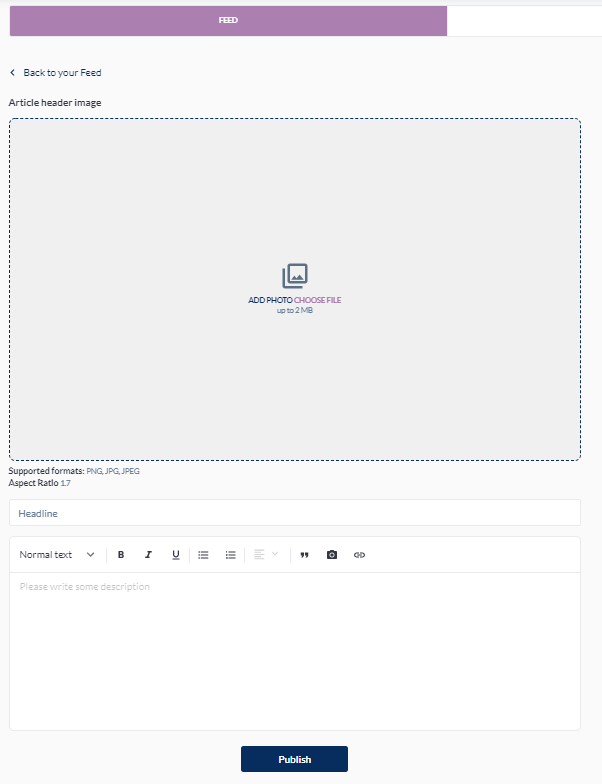
When the user clicks on “write an article”, it opens the creation page, which consists of a header image, title and description text.
MEMBERS: This tab has search and filtration options.
Troubleshooting
-
No special access needs to be given to an admin in order for them to be able to create a group. They just need to have an admin account set up on the backend.
-
Please note that to create a group it is enough to save group name
-
Community Groups are open for participation to visitors and team members only; exhibitor profiles cannot join