Forms
This section allows the organizer to create custom forms that could be used across the website of your event. These forms can be used in the website builder using the Custom Form block to capture additional information from the end users.
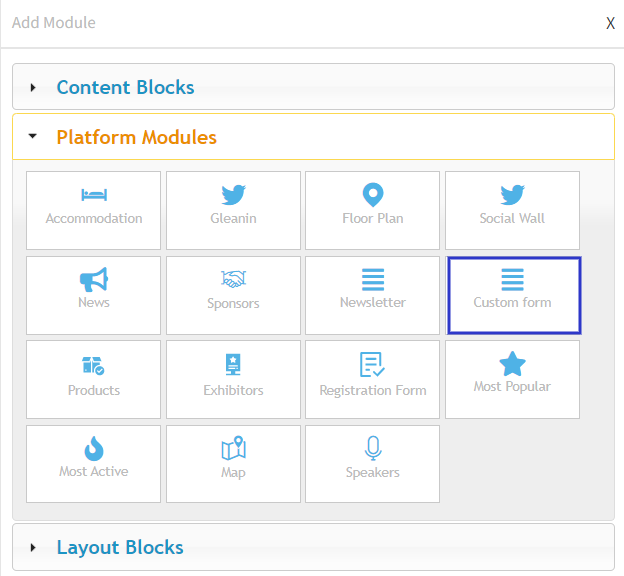
Legacy Website Builder
How to Create a Custom Form
Marketing → Forms →Click on Add Button
The build form page will open from where you can drag and drop the required form field that you wish to use
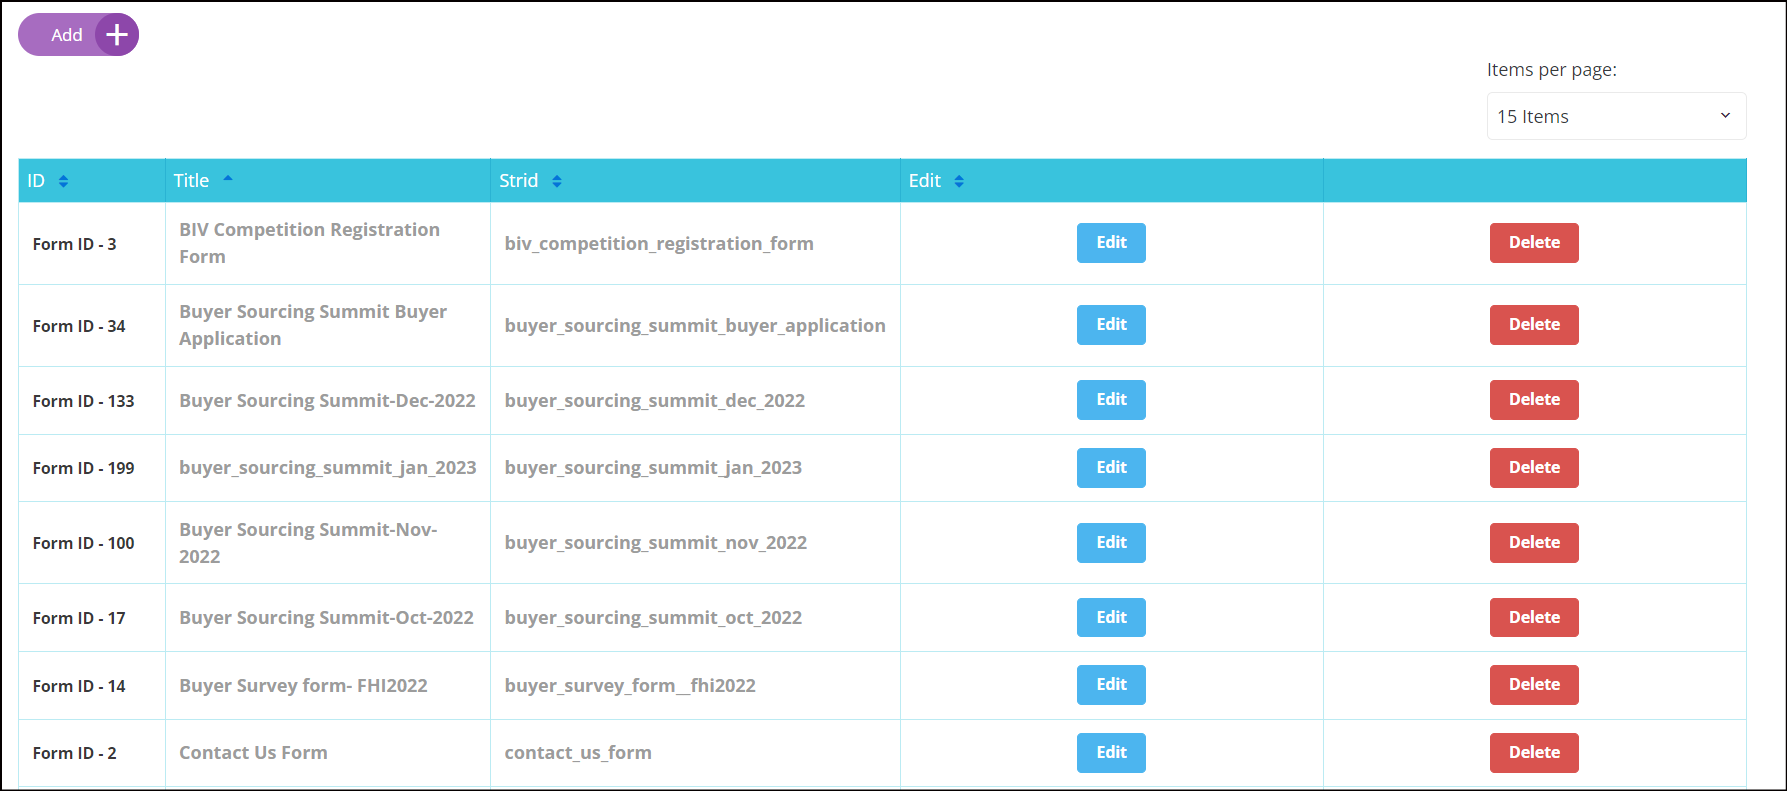
Custom Form
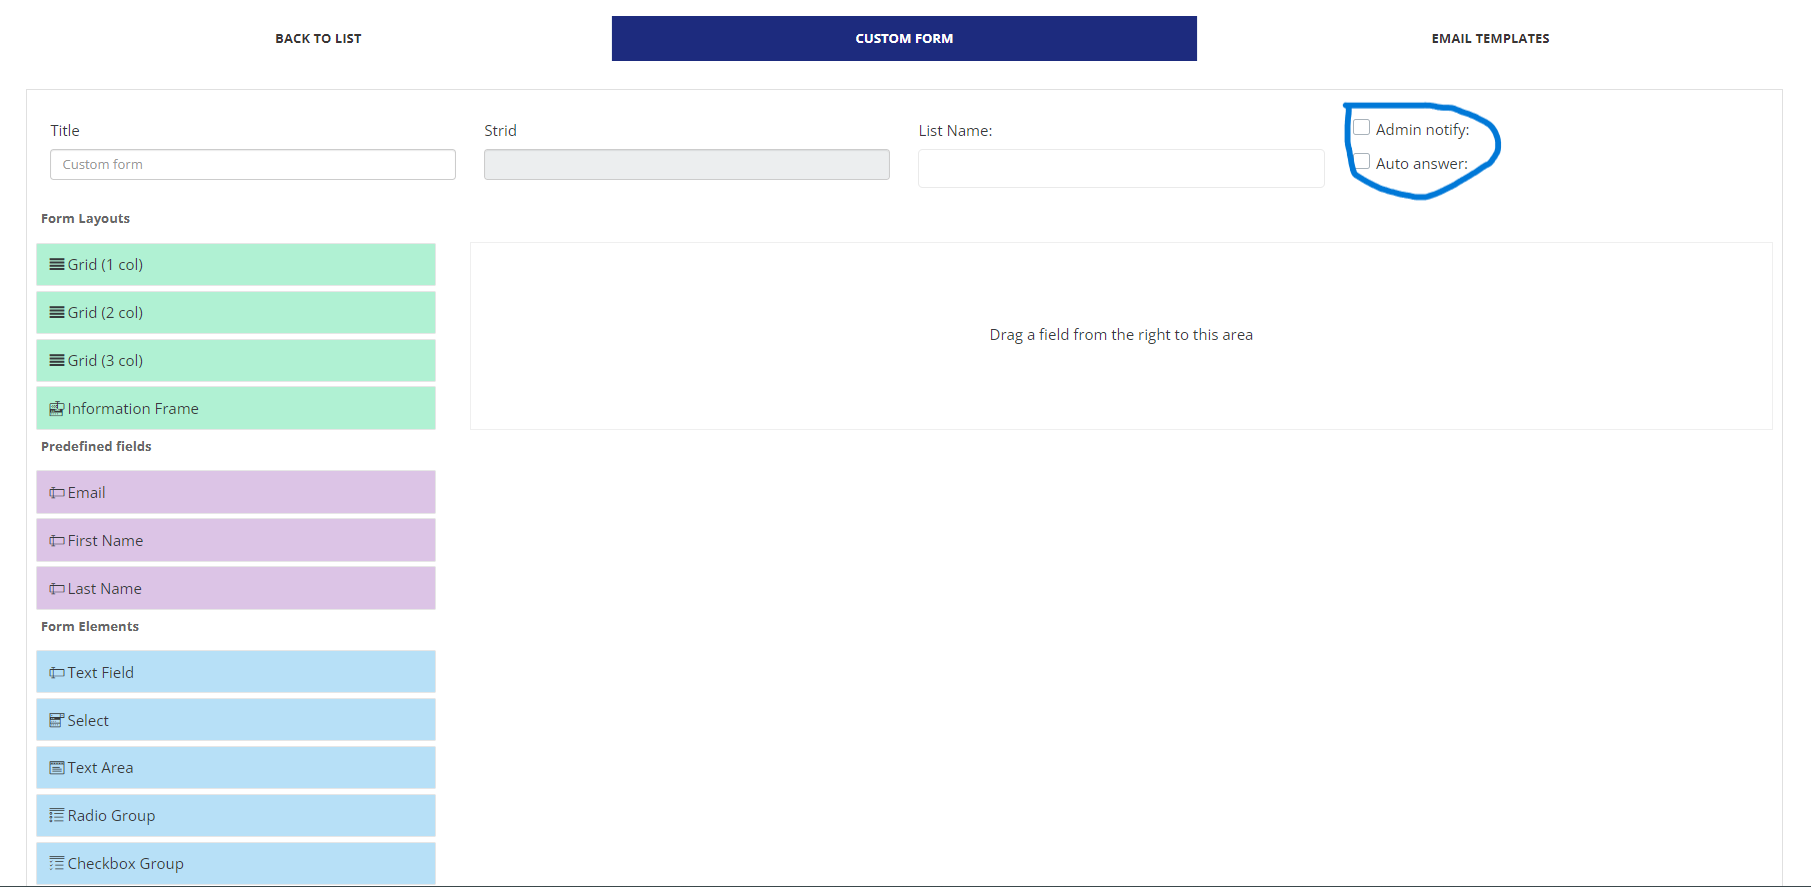
Building Custom Form
Organizers can also set up the email template to get notified if anyone fills the custom form and they can also set the Auto reply email for the users. They need to check box the Auto Answer and Admin Notify box on the custom form page to enable the setting for that particular form.
How to Set the Email Template
Go to Form → Email Template → Select the email template you want to draft → Add the Subject, From and Reply to email, Desired Block, Content and Variable → SAVE
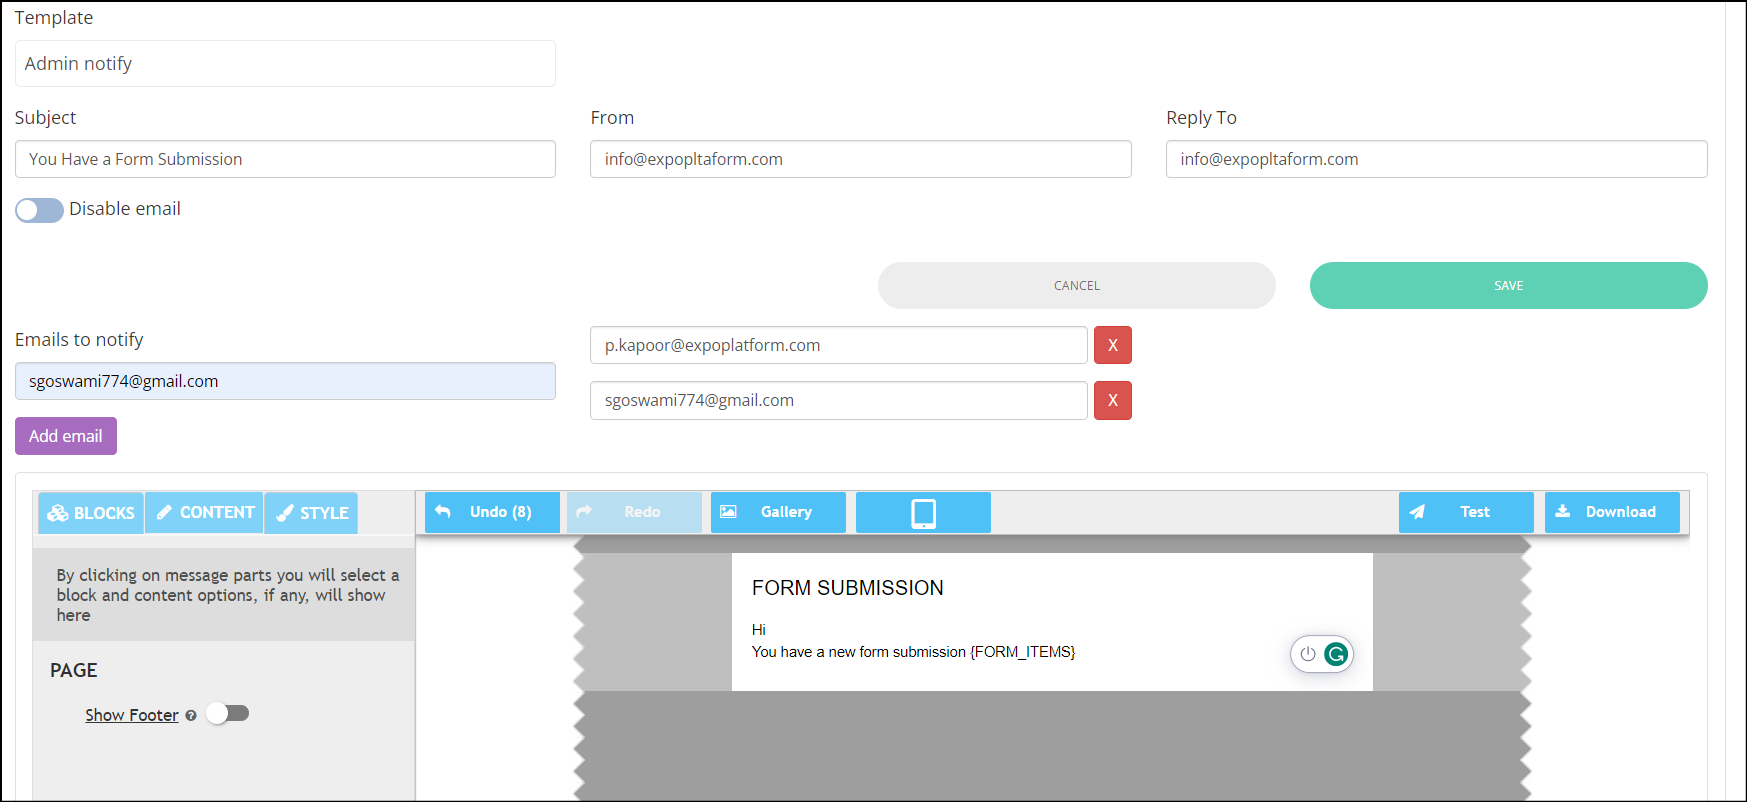
Email Template: Custom Form
Organizers have the option to click on the View tab to examine the responses from a specific form added to the website. The complete set of data collected through a form can be exported by simply clicking on the Export XLS button.

How to use Custom Form for Session Registration
Custom Form can also be used to set registration for a Session which can be a paid session or only open to a limited audience. Steps that you should follow
Generate the form according to the event's needs for session registration. Organiser can also enable the settings Admin Notify which will send an email notification to the event admins anytime a user fill in the custom form.

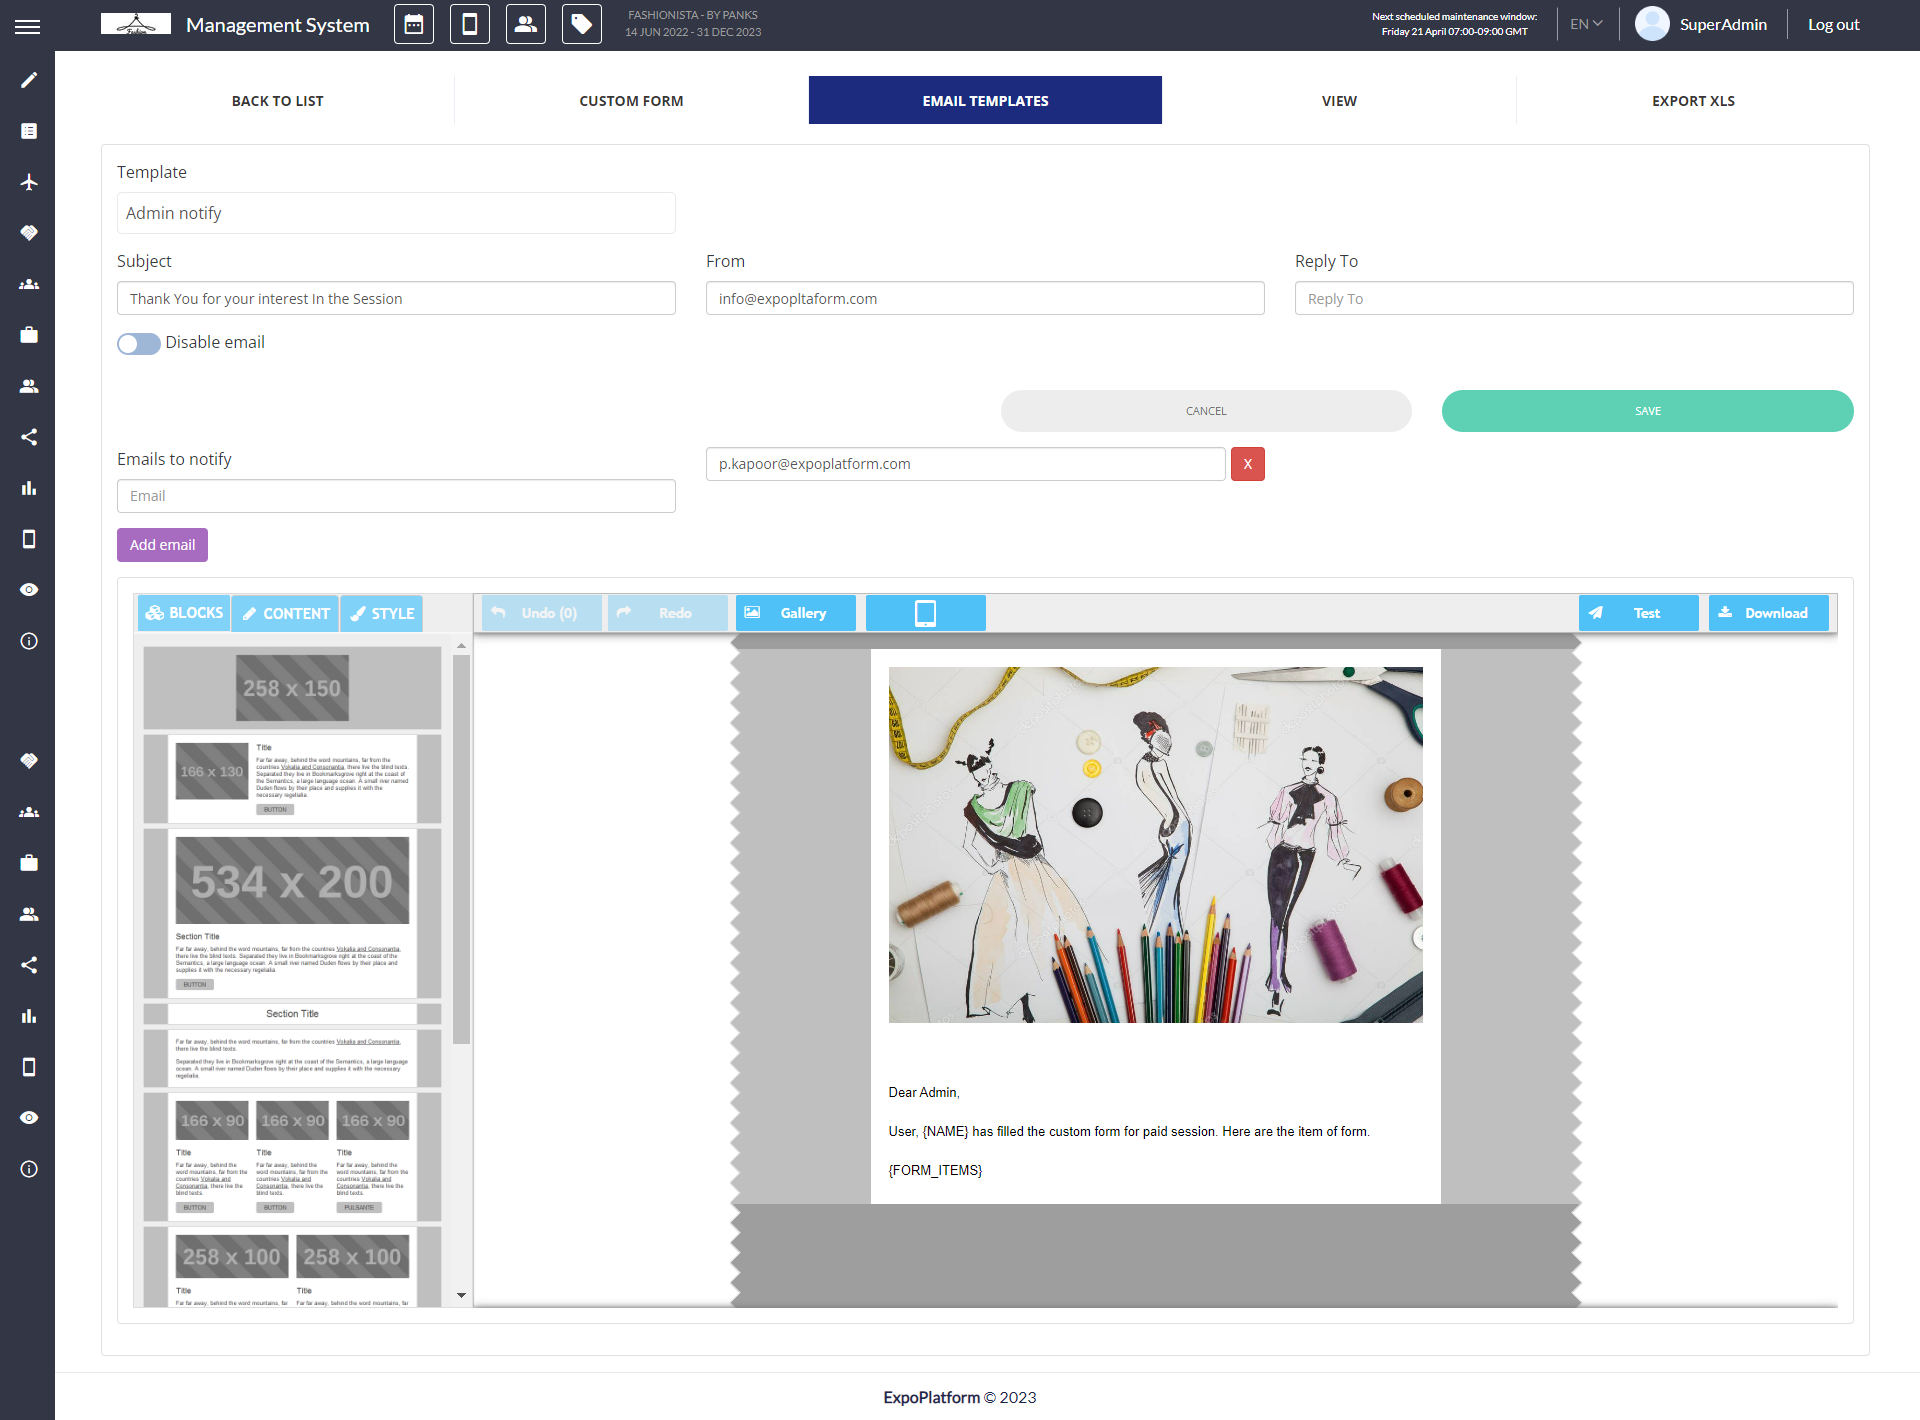
Email Template: Custom Form Session Registration
Go to Management → Session → Select the Session where you wish to enable the registration
Enable Registration Page Toggle
Select the Form that you have already created → Save
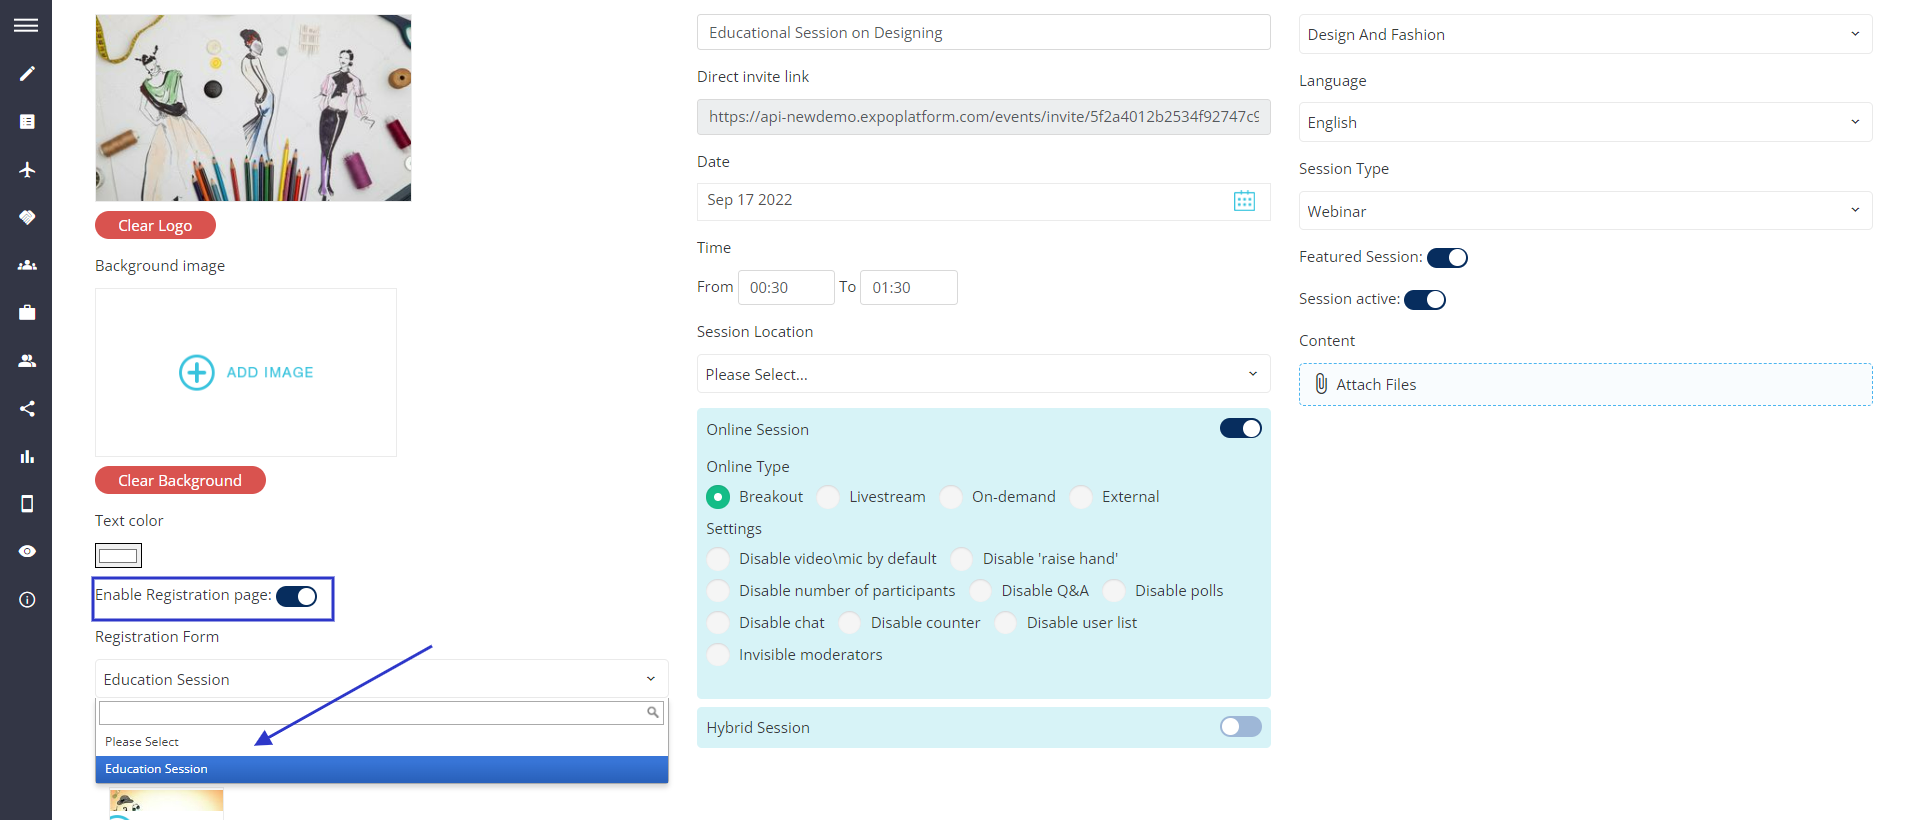
Enabling Rgistration for Session
If a user wants to add this session to his schedule, he needs to fill out the form first that is attached to this session
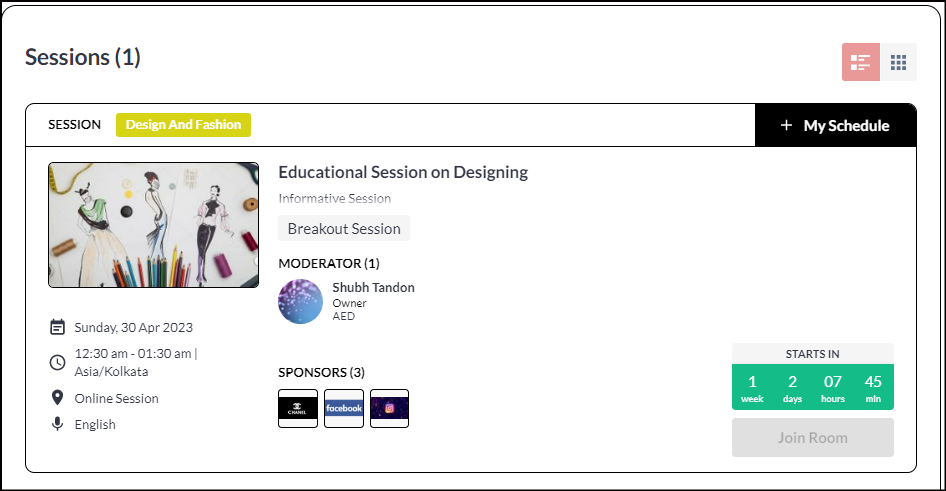
Session Frontend

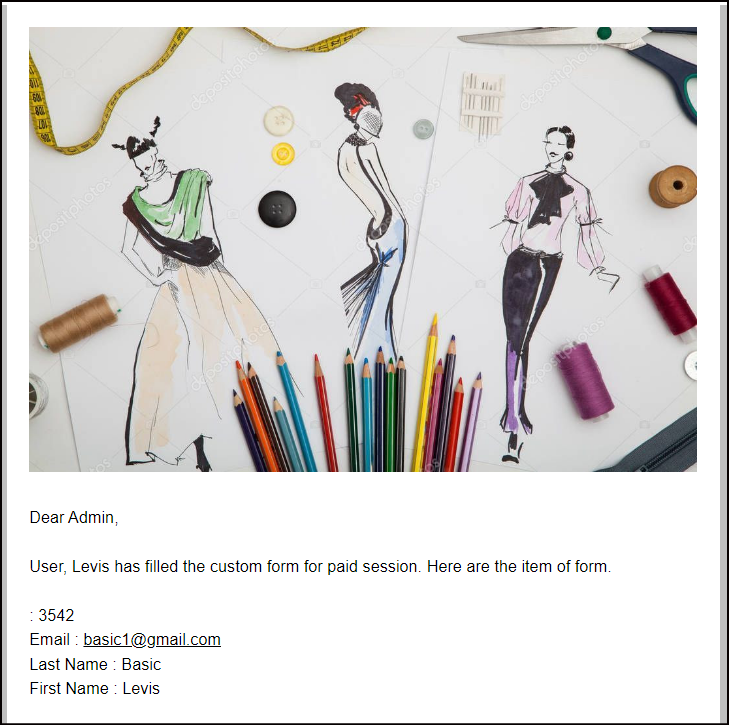
As the user fills out the form, the Admin Notify email is sent to the Admin, as drafted in the Marketing Form Email Template.
