Feature Purpose:
Allows exhibitors to register directly on the platform or provides a place for exhibitor data that has been uploaded or pushed to EP via API to poplulate
Working with this feature:
-
No conditional logic is available on the first page of Exhibitor Registration
-
No payments are accepted on Exhibitor Registration
-
Exhibitor registration does not allow repeated registrations; if an exhibitor tries to create an account using the same email, they will be added as a new exhibitor (without pre-populating data).
-
Organizer approval is required for exhibitor registration. (Pending Exhibitors)
Set up:
Set up is performed in the admin panel at Registration Settings -> Exhibitor. Here, organizers can create forms that will be used for the exhibitor registration form, exhibitor profile editing in the admin panel and on the frontend.

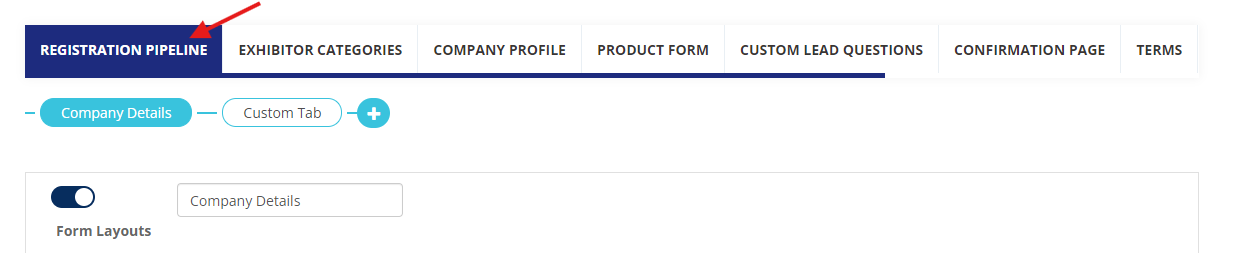
Form:
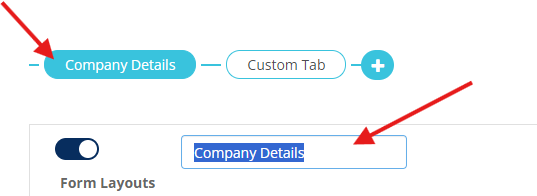
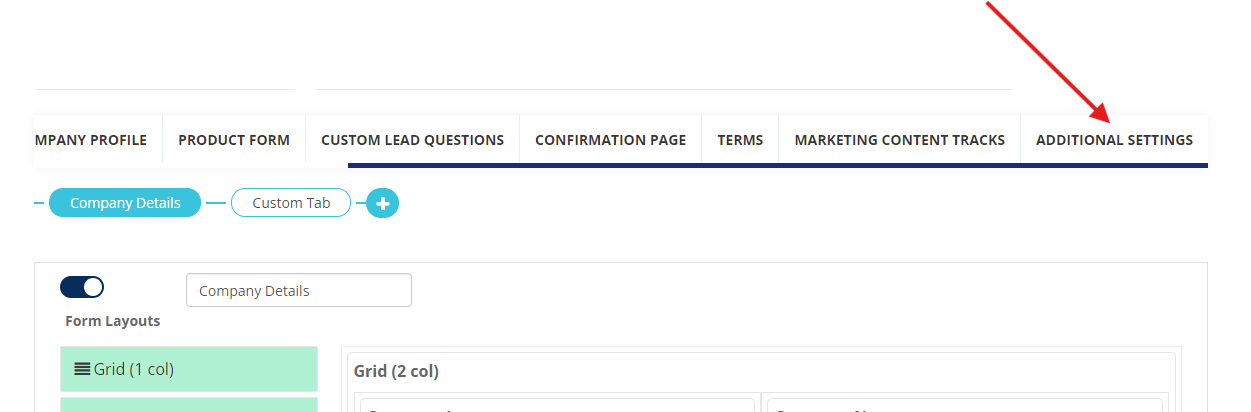
By default, the form consists of one tab: "Company Details." The name can be changed.
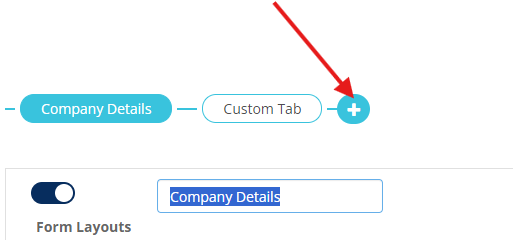
Organizers can create additional custom tabs by clicking on the +
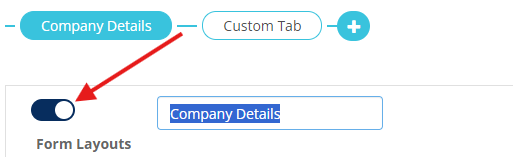
The enable/disable toggle enables or disables this page of the form on the frontend.
PLEASE NOTE: Company details and custom tabs have different sets of available predefined fields. A predefined field cannot be used more than once.
A custom tab can be:
-
Hidden on Summary - the details will not show on the registration summary
-
Hidden on Registration - this page will not show on frontend
-
Hidden on Edit Profile - this page won’t be enabled for edits on the profile
-
Deleted - remove page completely (Cannot be reverted)
Predefined Fields
-
Company Details Tab:
-
Company Name
-
Company Logo
-
Country
-
Region/State
-
City
-
Address
-
Post Code
-
Billing Information
-
Telephone
-
Fax
-
Email
-
Confirm Email
-
Website
-
Expo Category
-
About the Company
-
Activity Categories - Used for matchmaking
-
Interest Categories - Used for matchmaking
-
-
Custom Tab:
-
Mr. / Mrs.
-
Name (Passport Spelling)
-
Surname (Passport Spelling)
-
Job Title
-
Email
-
About Me
-
Social Links
-
Language Preference
-
Custom Fields
Text Field (Smaller Text Field):
-
Purpose: Used for capturing short text inputs, such as names, email addresses, or single-word answers.
-
Example: Name, Email, City
Text Area (Bigger Text Field):
-
Purpose: Used for capturing longer text inputs, such as comments, descriptions, or essays.
-
Example: Comment, Description, Article Body
Selection Box (Dropdown):
-
Purpose: Provides a list of options for users to choose from.
-
Example: Country, State, Category
File Upload:
-
Purpose: Allows users to upload files, such as images, documents, or audio.
-
Example: Profile Picture, Resume, Document
Radio Group:
-
Purpose: Presents a group of options, where only one can be selected at a time.
-
Example: Gender, Size, Color
Checkbox Group:
-
Purpose: Presents a group of options, where multiple can be selected.
-
Example: Interests, Hobbies, Skills
Checkbox:
-
Purpose: Presents a single option for users to select or deselect.
-
Example: Terms and Conditions, Newsletter Subscription, Remember Me
Date Field:
-
Purpose: Allows users to select a specific date.
-
Example: Birthdate, Publication Date, Due Date
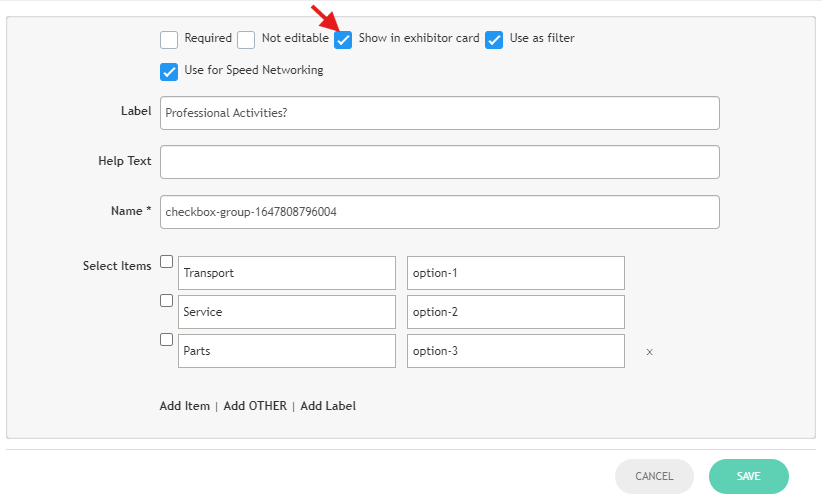
The "Show in exhibitor card" checkbox in the field properties puts the information into the "Matchmaking information" block on the exhibitor profile page.

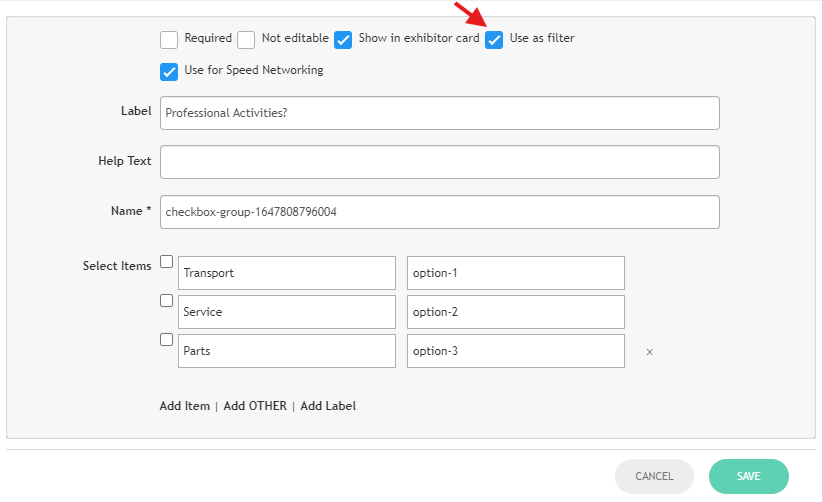
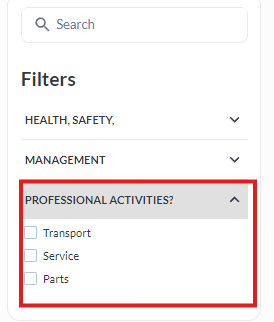
The "Use as filter" checkbox in the field properties adds a filter to the exhibitors list on the marketplace page.
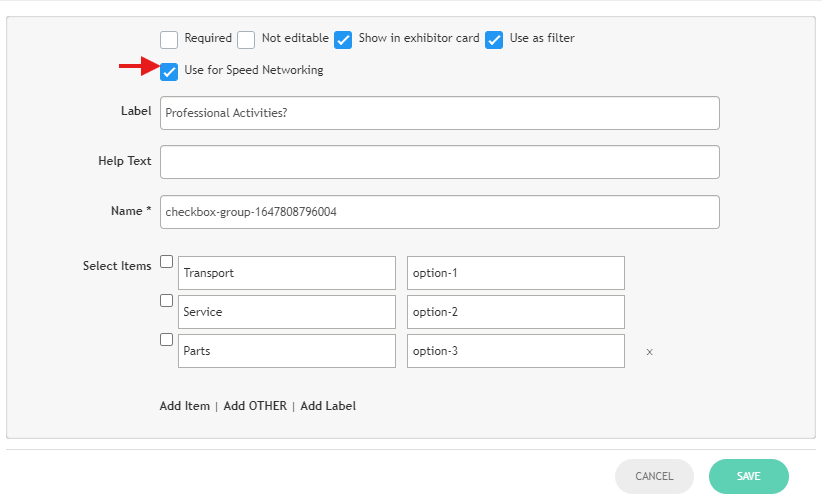
The "Use for Speed Networking" checkbox in the field properties adds the field to the Opt-in Speed Networking pre-conditions setup page.

Send Exhibitor Email
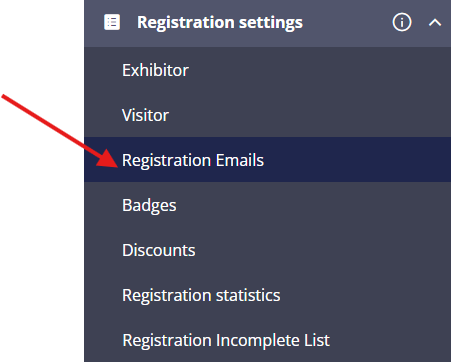
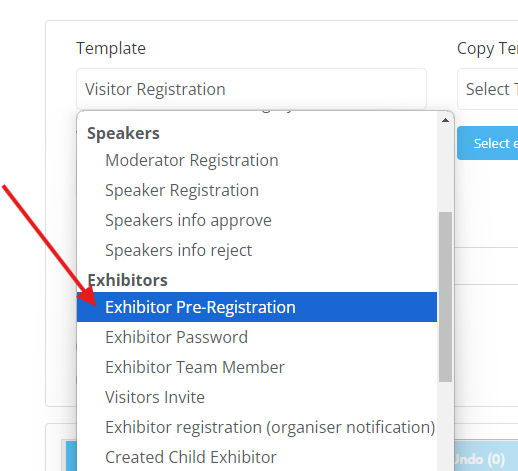
Exhibitors receive an email after successful pre-registration. This is the "Exhibitor Pre-Registration" template at Registration Settings → Registration emails .
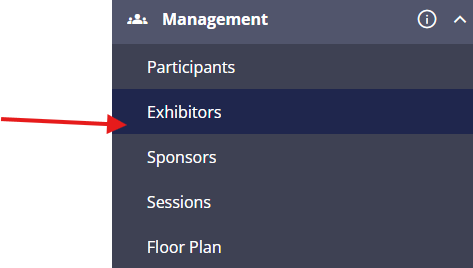
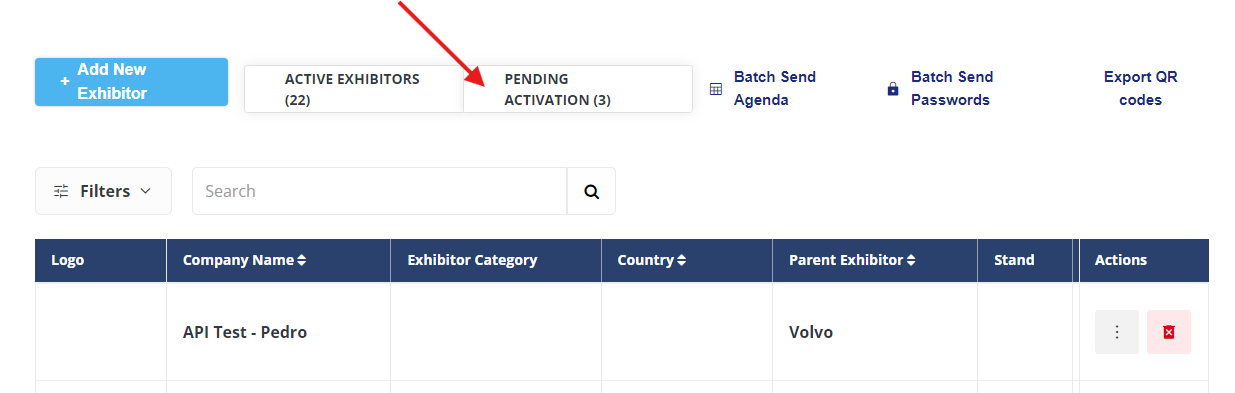
After registration the exhibitor appears in the "PENDING ACTIVATION" list at Management -> Exhibitors -> Pending.

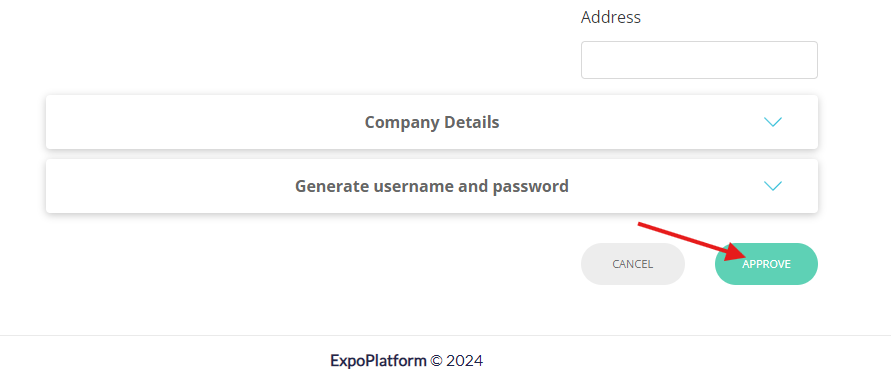
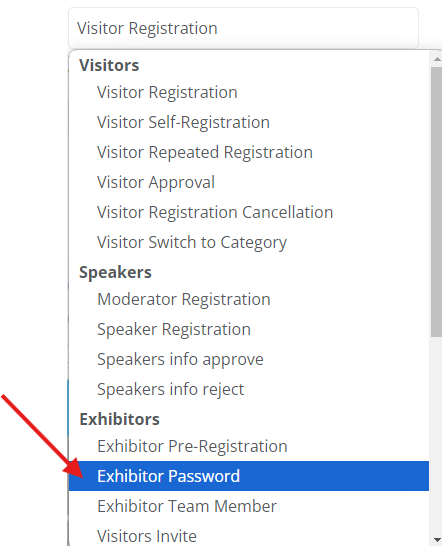
After the exhibitor is approved, they receive an email with login credentials: the "Exhibitor Password" template.
First Page after Log in for Exhibitors
The "Page will be open after exhibitor login" setting at defines where the exhibitor will be redirected after login. Registration Settings → Exhibitor → Additional Settings.
Troubleshooting:
Form Builder Issues
-
Fields not appearing: Ensure the fields are enabled and not hidden in the form settings.
-
Incorrect field types: Verify that the selected field type matches the desired input format (e.g., text, number, email).
-
Tab not showing up on frontend: Verify if tab is enabled.
Pre-registration Email Issues
-
Email not being sent: Confirm that the email template is correctly configured, enabled and that the email address is not on the blacklist
-
Email content incorrect: Review the email template for typos or missing information. Double check variables.
Exhibitor Profile Issues
-
Profile not updating: Ensure that the necessary fields are filled out and that the changes were saved
-
Matchmaking information not displaying: Verify that the "Show in exhibitor card" checkbox is selected for the relevant fields.