Feature Purpose:
The Exhibitor Profile Page (Web) is the digital showcase for each exhibitor allowing each exhibitor to:
-
Present their brand identity with banners, logos, and videos.
-
Display their products and downloadable marketing content.
-
Highlight team members available to interact through meetings and messaging
Working with this Feature:
As an Organiser Admin in the Admin Panel:
Please refer to the Exhibitor Management help articles
As an Exhibitor in my Frontend Profile:
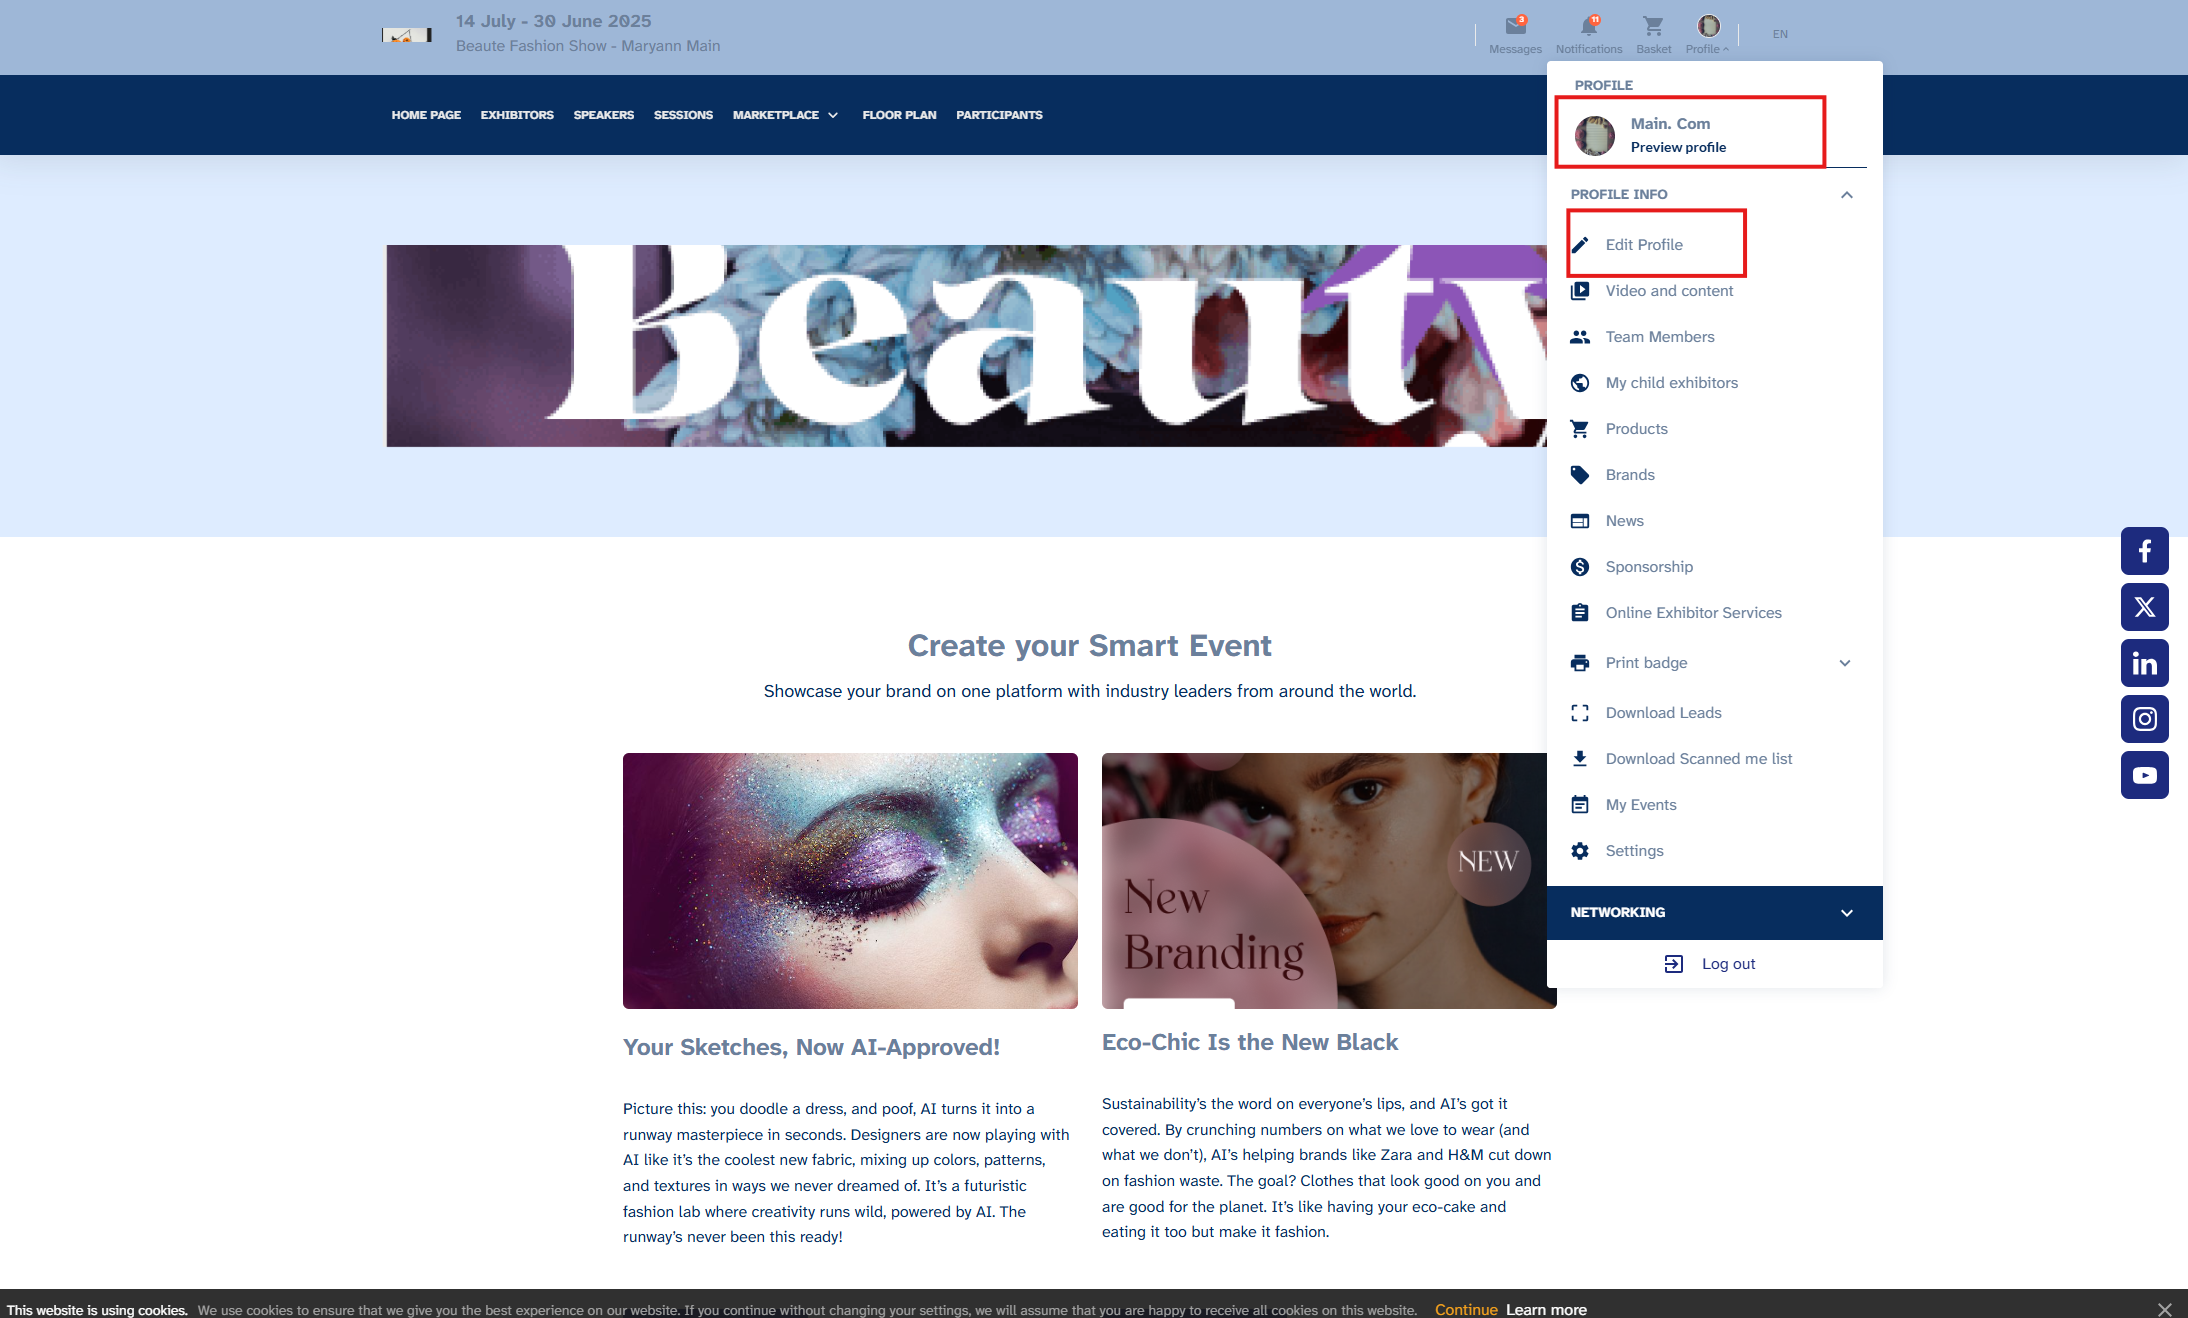
1. Accessing the Exhibitor Profile
This is where exhibitors control and customise their profile. The steps they follow are:
-
Log in to the event platform.
-
Go to the top navigation and click on the pencil icon on " Edit Profile" or “Profile” usually a circled header.
-
Click "Edit Profile" to begin customisation.
2. Adding Company Details
-
Logo:
-
Exhibitors can upload a square logo (500x500px recommended) under the Profile Details tab. The logo will appear on their profile page and in the exhibitor list.
-
Organisers also have the option of adding default logos lo by navigating to Registration settings > Exhibitors > Additional settings
-
-
Banner:
-
Wide banner image (1200x400px recommended) to serve as the header of the profile
-
-
Company Description:
-
Concise paragraph introducing the company
-
-
Categories:
-
Product categories (selected by the exhibitor if permitted by the organiser) that are used for filtering, recommendations and matchmaking
-
-
Contact Details:
3. Adding Video
-
Exhibitors can embed videos from YouTube or Vimeo directly into their profile. These videos can showcase your company’s story, product demos, or promotional materials.
-
Organisers can set whether or not a video is required
4. Adding Marketing Content
-
Exhibitors can also upload marketing content under the "Video and Content" tab
5 . Adding Products
Functionality: This section allows exhibitors to add and manage products they want to showcase to attendees. Each product can be marked as Active, Inactive, or Sponsored (if allowed by the Organiser).
Steps:
-
Navigate to the Products section in the dashboard.
-
Click “Add Product” to create a new listing.
-
Product Details: Enter product name, description, price, and upload product images.
-
If the product is ready for display, set it as Active. If it’s temporarily unavailable, mark it as Inactive.
-
To highlight a product and give it extra visibility, mark it as Sponsored. Sponsored products will appear with a distinct frame on the product page to make them stand out.
-
Once done, click “Save” or “Publish” to make the product visible to event attendees.
6. Adding Team Members
-
Go to "Team Members".
-
Click "Add Team Member".
-
Enter name, job title, email, and profile image.
7. Events and Speaking Sessions
-
Automatically populated if exhibitor is linked to a session or is part of an Exhibitor Event in accordance with all visibility and permission settings
|
BLOCK NAME |
ABOUT THIS BLOCK |
|
Sessions we speak at |
|
|
Sponsored Sessions |
|
8. Adding Brands
-
Go to "Brands" tab (available only if enabled).
-
Add logo, description, and associated products.
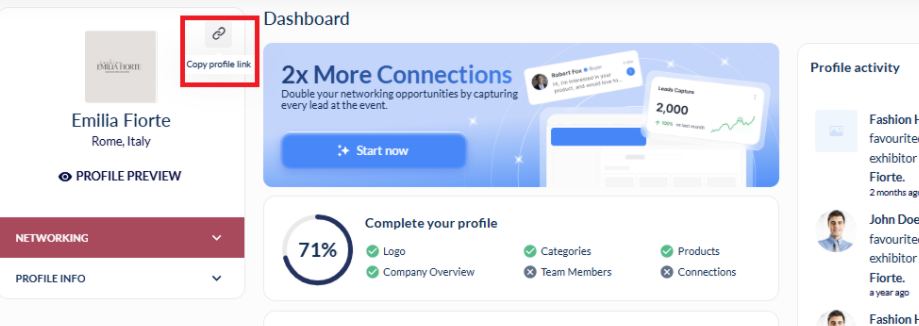
9. Copy Public Profile Link
-
By clicking on the link icon in the upper left of their profile, the exhibitor can copy a link to their public profile which they can then share with others.
-
If logged in as an admin team member, the user will have the added option of downloading a spreadseheet that contains these links, along with User Name or Company Name for each link
-
Their own Company profile link
-
Their own Team Member profile link
-
Their Child Company Profile link(s) - if any
-
Their Child Company(s) Team Member profile links - if any
-