Feature Purpose:
To create multiple exhibitor categories, each with their own settings and permissions, in the admin panel
Working with this Feature:
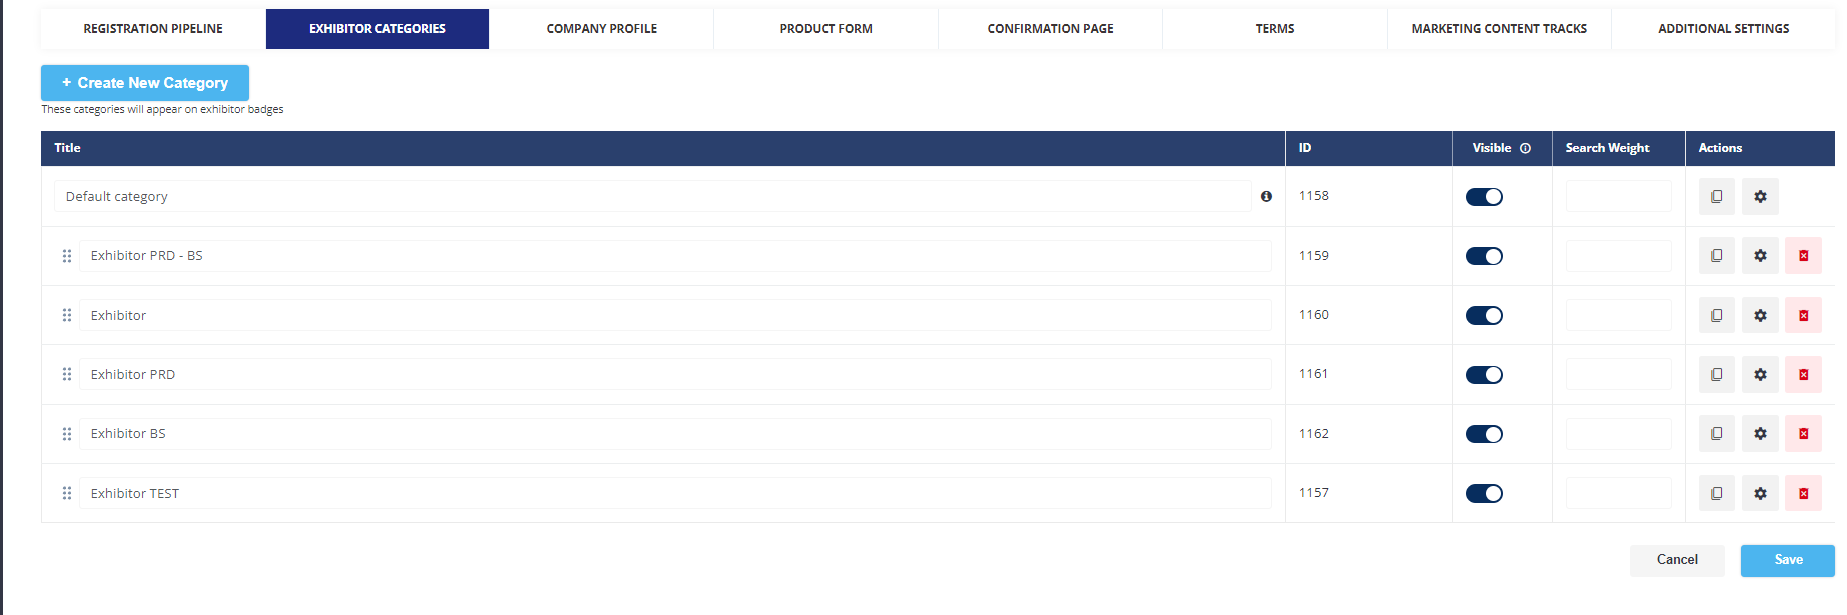
Exhibitor categories can be created and controlled in the admin panel from page - /admin/registration/ecategories.
-
To create a new category, click the “+ Create New Category“ button. After this the new category will appear in the top of the categories list. To make new category live need to press the “Save“ button under the list of categories.
-
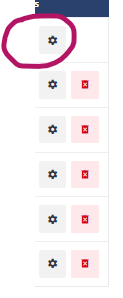
An existing category can be cloned using the “clone“ button in the “Actions“ column

-
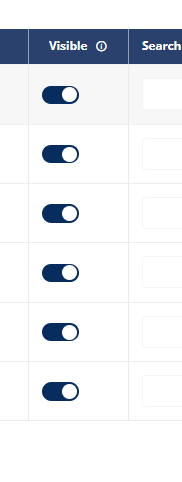
Using the “Visible“ toggle, users of the category can be hidden/made visible on the platform
-
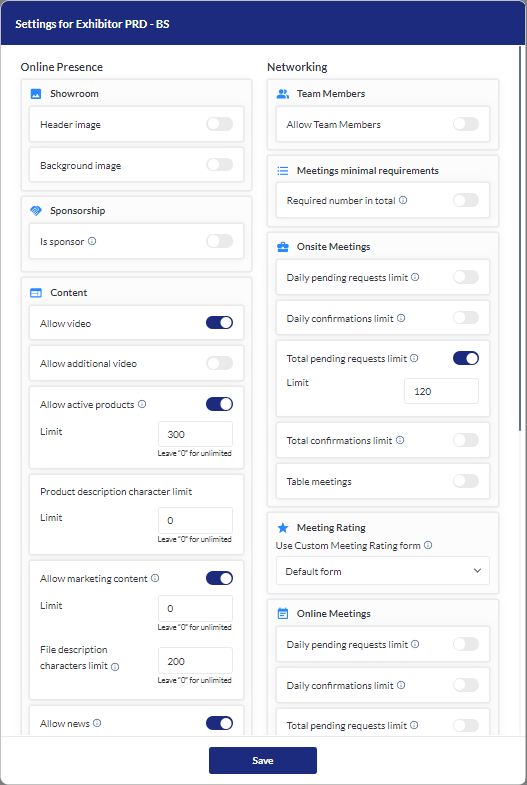
The full list of category settings is available by clicking the Gear button in the “Actions“ column – this opens the category settings pop-up.
-
The category settings pop-up contains settings that refer to Online Presence and Networking as shown in the screenshot below the able
|
Online presence |
Networking |
|---|---|
|
|
.
Troubleshooting:
-
The “Search weight” setting refers to search on the platform. The higher the value in this field, the higher position exhibitors and their associated content will have in platform search results.
-
Default category can be renamed but cannot be moved- it will be always pinned at the top of the list.
-
Almost every setting in the exhibitor category settings pop-up has its corresponding setting in the exhibitor profile edit on the “Exhibitor Settings“ tab should you wish to make exceptions for an individual exhibitor(s) in a category
-
Exhibitors without a category are automatically assigned to the Default category and obtain the properties and permissions of the default category. Exhibitors can be reassigned to other categories from the Default category
-
All categories can be re-ordered in the list using the drag-and-drop mechanism.