Skip table of contents

Email Sender

The email sender is one of the marketing tools that can be used by the organizer to send out event-related information to the end user.

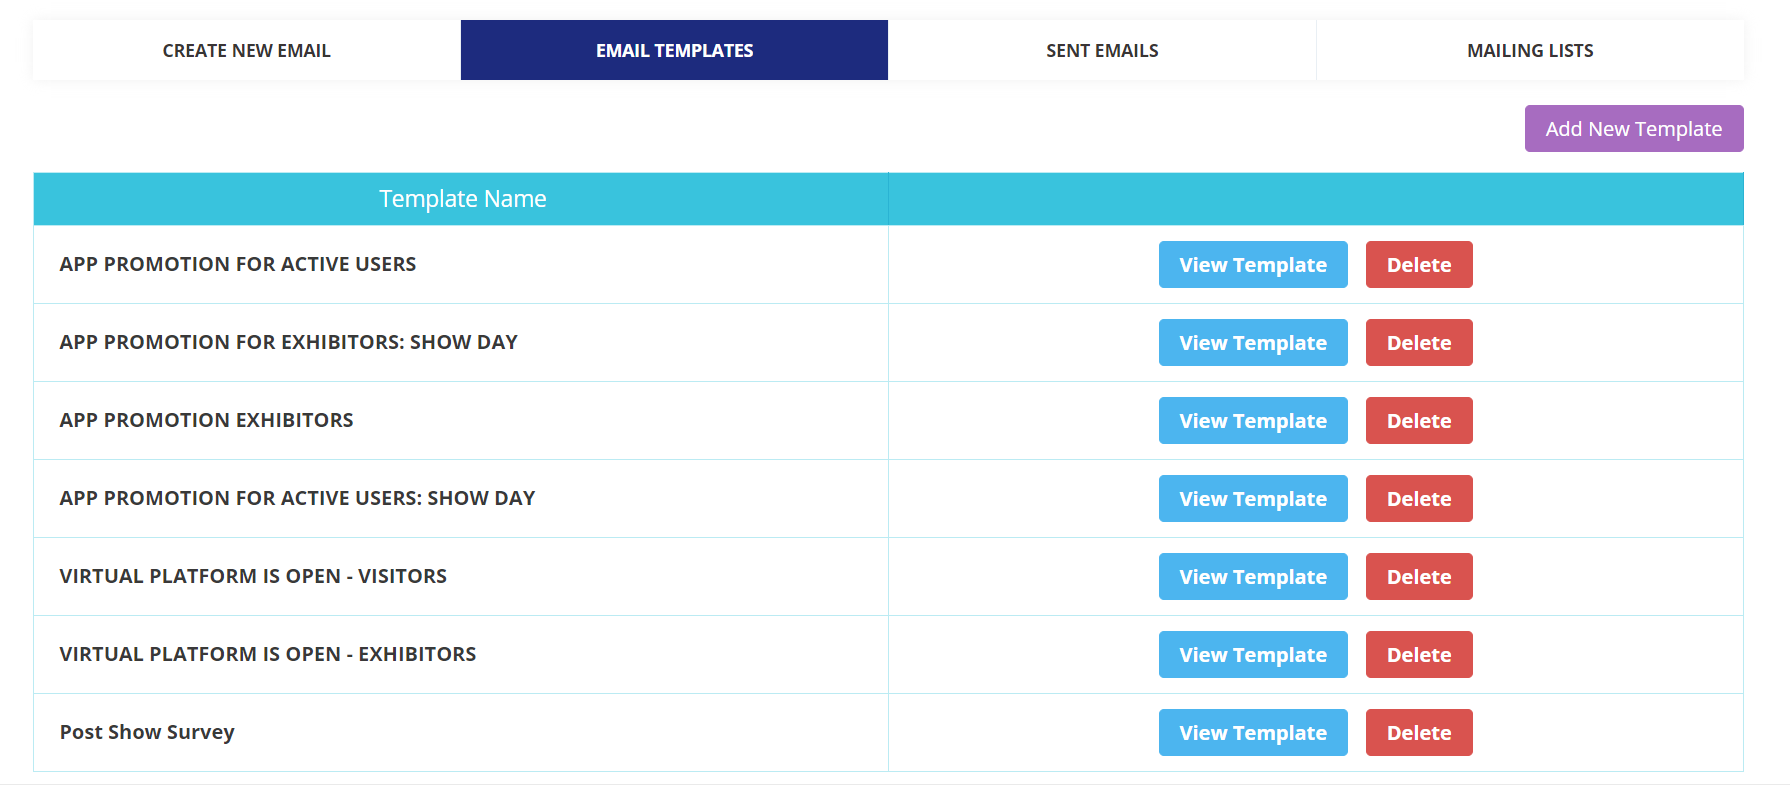
It sends out the email in real-time and can’t be scheduled before hand hence the email template should be first drafted using the Email Template → Add New Template

Email template: Email Sender

Email Templates

From here you can view all previously created templates or create NEW TEMPLATES as well

To create a NEW TEMPLATE

  1. Click on Add New Template, and draft the content that you wish to send to your users.

  2. On the left, you have options like block, content and style.

Drafting Email Template

Block: You can click on any of the blocks you wish to use for your email templates and add the details based on the block selection. You can add images, text or button blocks to make your email look professional and user-specific

Content: Further allows you to customize the content i.e. adding links to buttons, and changing the image sizes & position.

Style: Allows you to change the background colours, text fonts etc.

You can show a live preview, test it to a specific email and download the template. Once you’ve fully customized the template to how you want, ensure you save it. 

Variables that can be included in the email template

image-20240209-132204.png

Variable available under Email Sender

Platform Link: This variable will redirect the user to the event from where they can log in and access event details

Exhibitor Role: If included in the email will display the role assigned to the team member like Admin role and regular Team member

Print Badge Link: It redirects the user to the print badge option on the front end, from where they can print their badge

Bar/QR Code: If included in the email will show the badge QR/Bar code based on which type of badge is enabled for the event

User Login: It displays the username for the user

Activation Link: If included in the email redirect the user to their profile and allows them to activate their profile.

Confirmed Meeting Actual Count: This variable will show the count of the meetings already scheduled and confirmed

Confirmed Meetings Required: This variable will show the count of confirmed meetings the user should have for his profile

Confirmed Meetings Left: This variable will show the count of meeting that are still left to be scheduled

Create new email

After drafting and saving the email template you can now go to Create NEW EMAIL, select the email template you wish to use, give your campaign a name, add the Subject and other details as you in the image below. Now choose whom to send and then send.

Email Sender emails will be sent in real-time.  It does not have a scheduling option while Campaigns does

In case of private event, ONLY approved accounts will be sent an email from the above target visitors group, the un-approved accounts will not receive the emails.

Email Sender

Marketing Emails can be created in multi-language but it will only work if the user has pre-selected the language preference in the registration form, else the email will be send in the default language only.

Sent emails 
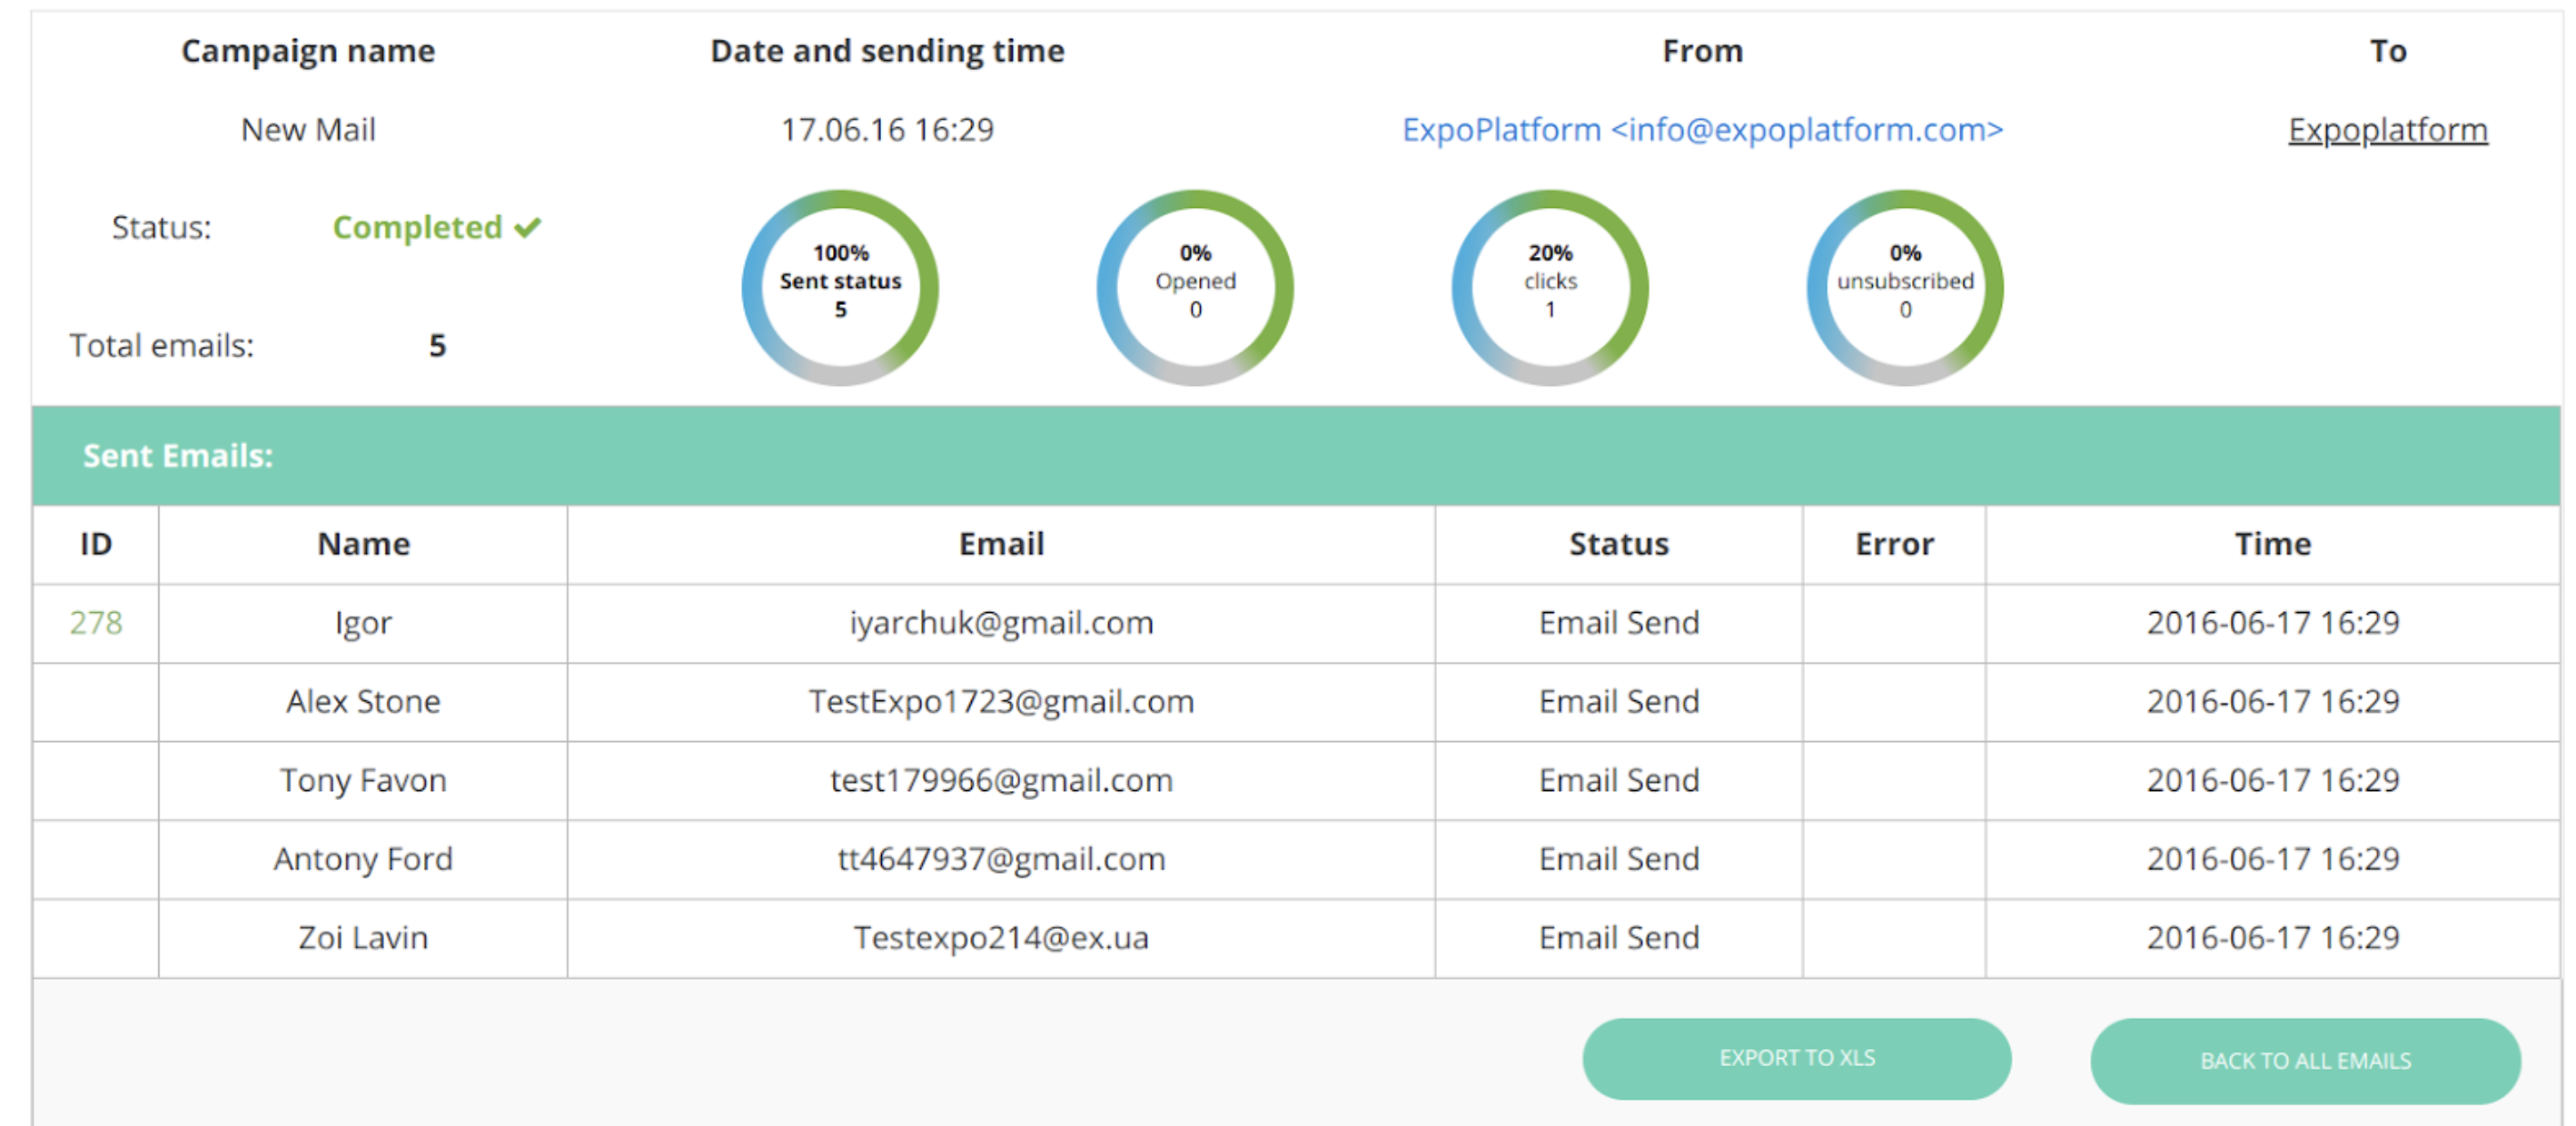
From the initial view, you’re able to look through the emails that have been sent, you can also filter by date or template. When clicking through to a sent email you’ll see the screen below. This section shows the statistics of the email that was selected. You can also export this to an XLS.

Statistics

Mailing lists 
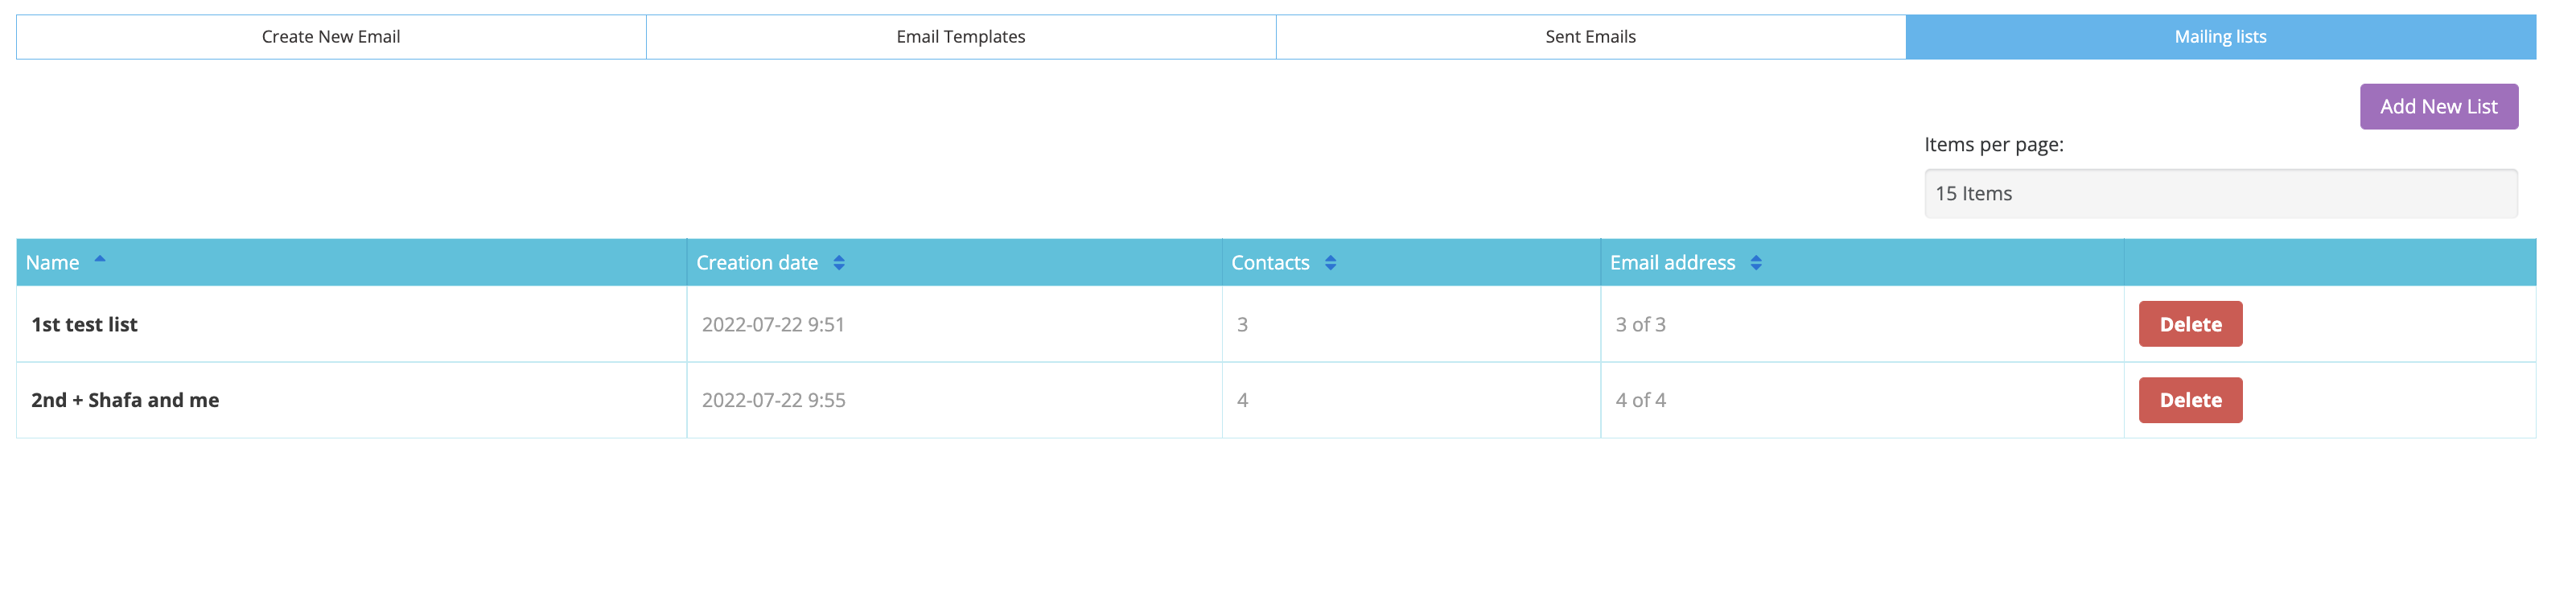
You can create custom email lists to whom you wish to send the email Below you can see the example with two already created lists.

Mailing List

To create the new list click on “Add New List”. a new window will appear, herein you can add user details manually or upload the XLS file.

How to add a mailing list

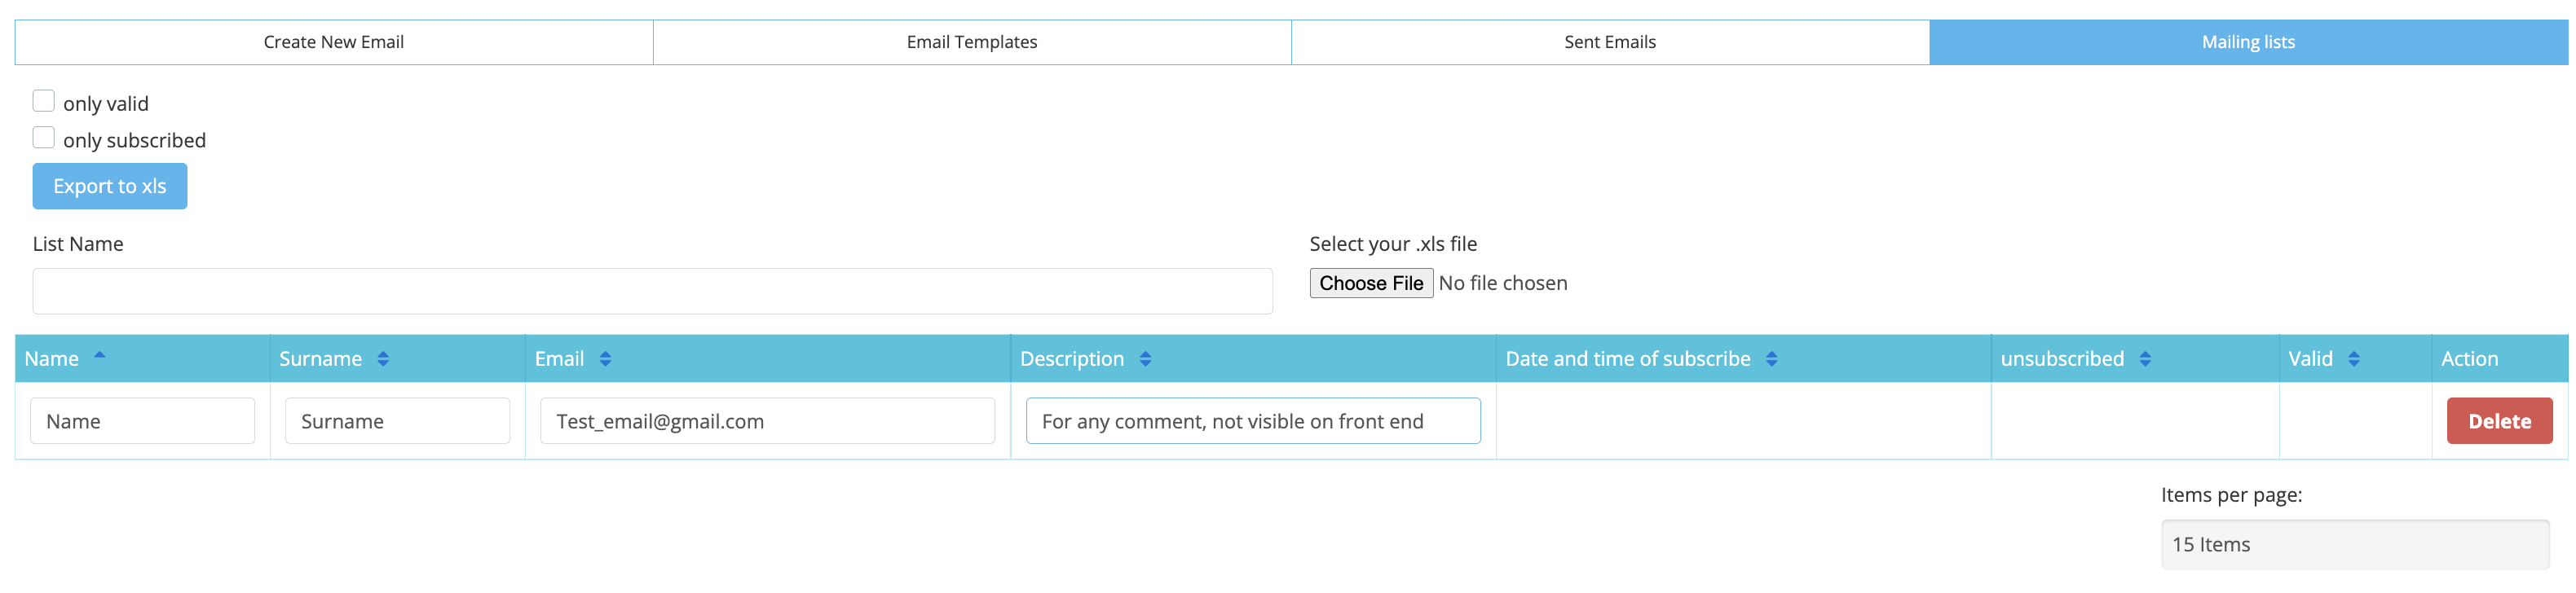
In the above image you can find the example of adding a new contact, the Name, Surname, and Email should be indicated. The description column can be used as an internal comment field, information from it will not be populated on the platform. The information in other columns will be created by the system automatically.

Mailing List XLS

Required fields in .xls file are Name, Surname, and Email, other fields like- Description, Date of subscribe, Time of subscribe, Subscribed, Valid - get generated automatically after upload.

Barcode, QR and print badge and Activation Link variables will only be fetched email if the account already exists in the platform; otherwise, these details won't be shared with a custom list users that don't exist, and the variables won't be pulled.

JavaScript errors detected

Please note, these errors can depend on your browser setup.

If this problem persists, please contact our support.