Checkin App
The check-in app helps the organizers to record and maintain the attendance of the participants who are attending the live event by either scanning the badges or by their email addresses.
You can download the check-in app from the Play and App store
Play Store https://play.google.com/store/apps/details?id=com.expoplatform.checkin
App Store: https://apps.apple.com/app/id1383171981
Check-in App works only in Online Mode as it requires nemerous server side checks to check the user for a specific session / event.
After the app is installed on your device, click to open the app.
You will be asked to enter your API URL. This URL can be found in your browser when you are connected to ExpoPlatform as an admin.
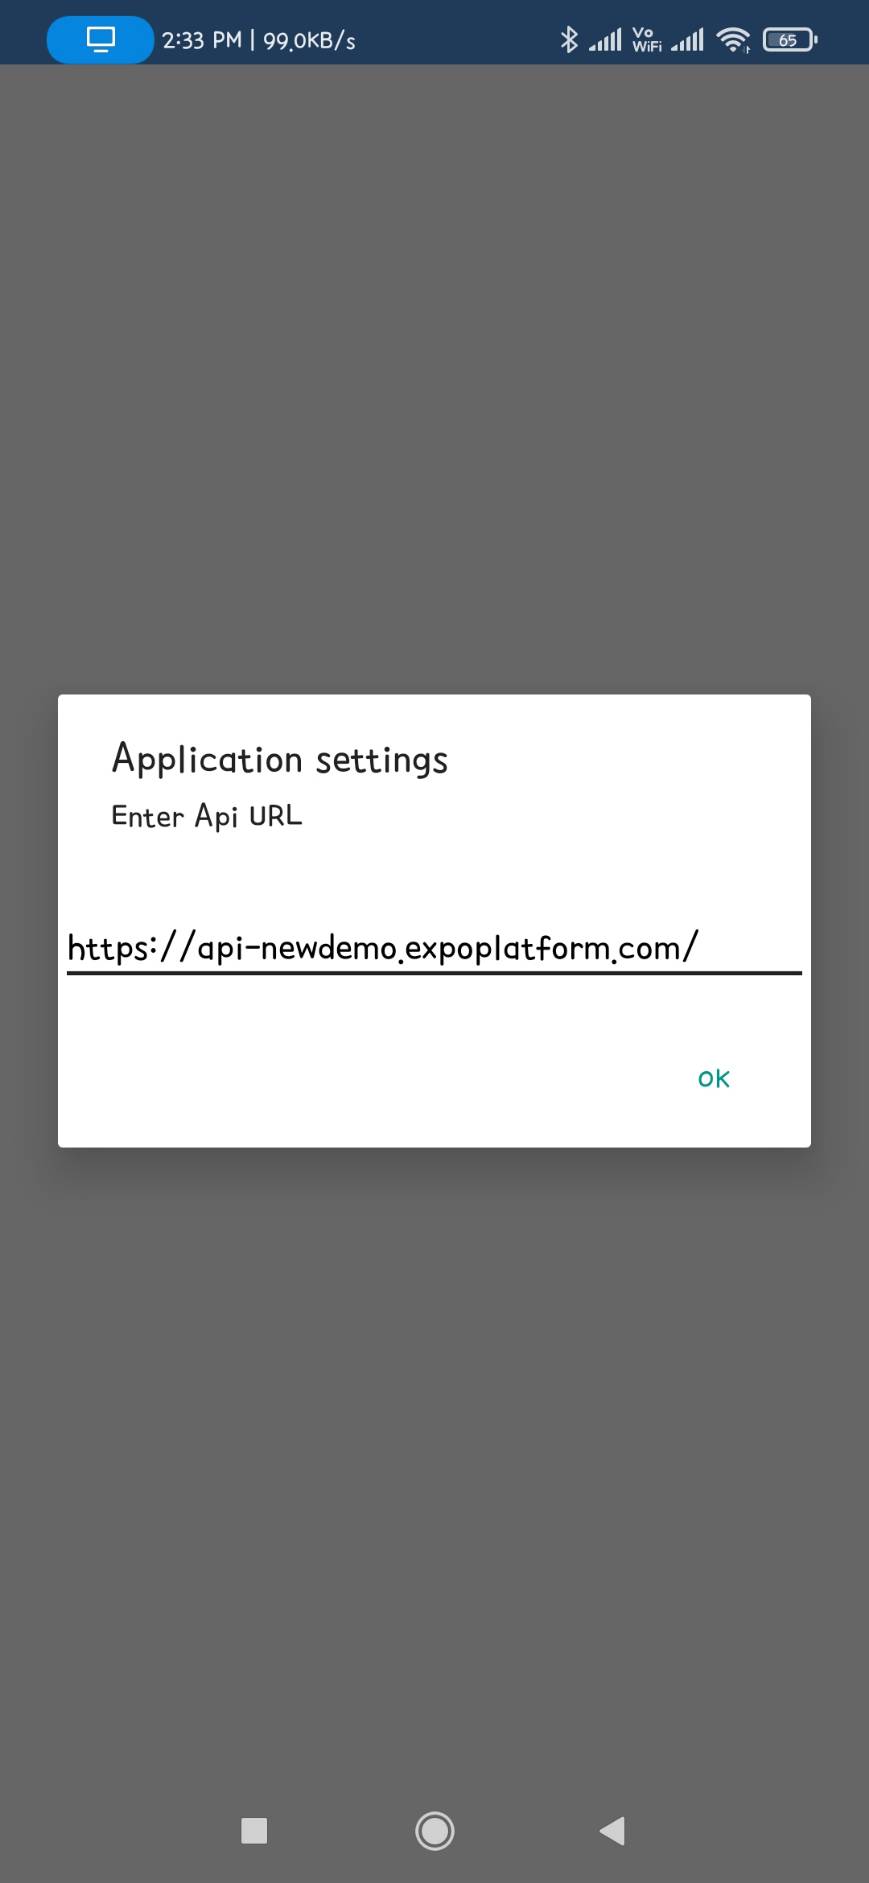
Check In App
2. Select your Event from the list and log in by using your Admin credentials
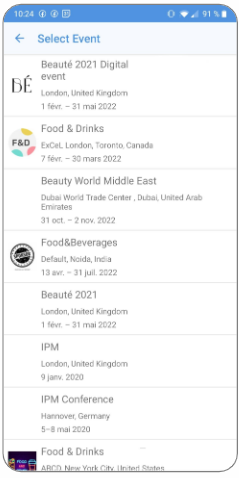
Select Event
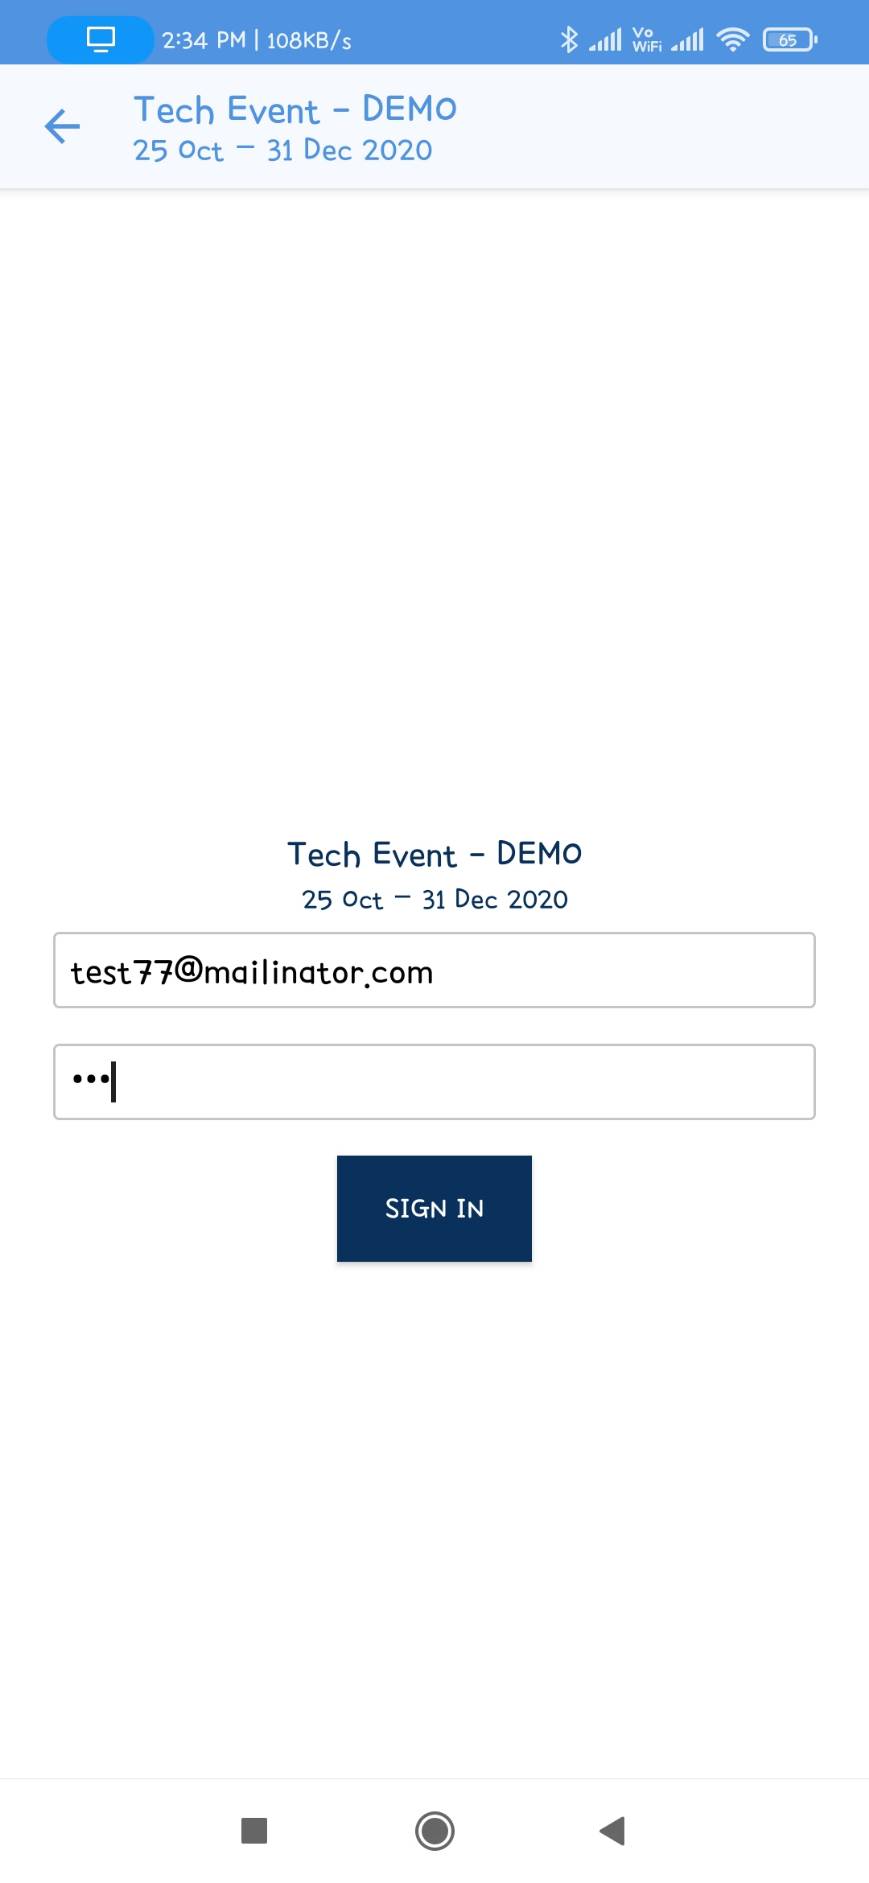
Login with your Admin Credentials
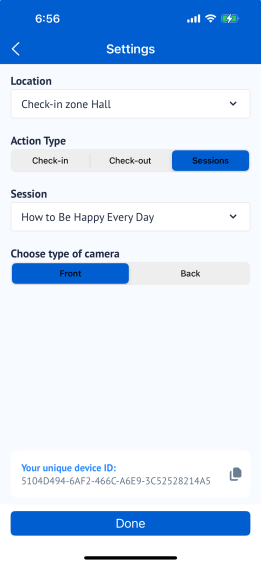
Now select the check-in location, Check-In Zone {all available halls, stands marked as check-in zone + custom zones}, select Action Type(Check In or Check Out), Select Camera type then click on Done to move to the next screen
If the organiser chooses session check-in action - a new selector will appear with the list of sessions/exhibitor events/speed networking sessions
If the organiser chooses session in action type and doesn’t choose a session, Done button on the bottom of the app will remain inactive
Go to Onsite → Check-In → Check-In Zone
Organisers can use this to see the Check-In list and can also set up Check-In zones which could be used for session attendance tracking as well. These can be added manually as well or else will pre-populate from the floor plan based on the ‘Check-in zone’ marking.
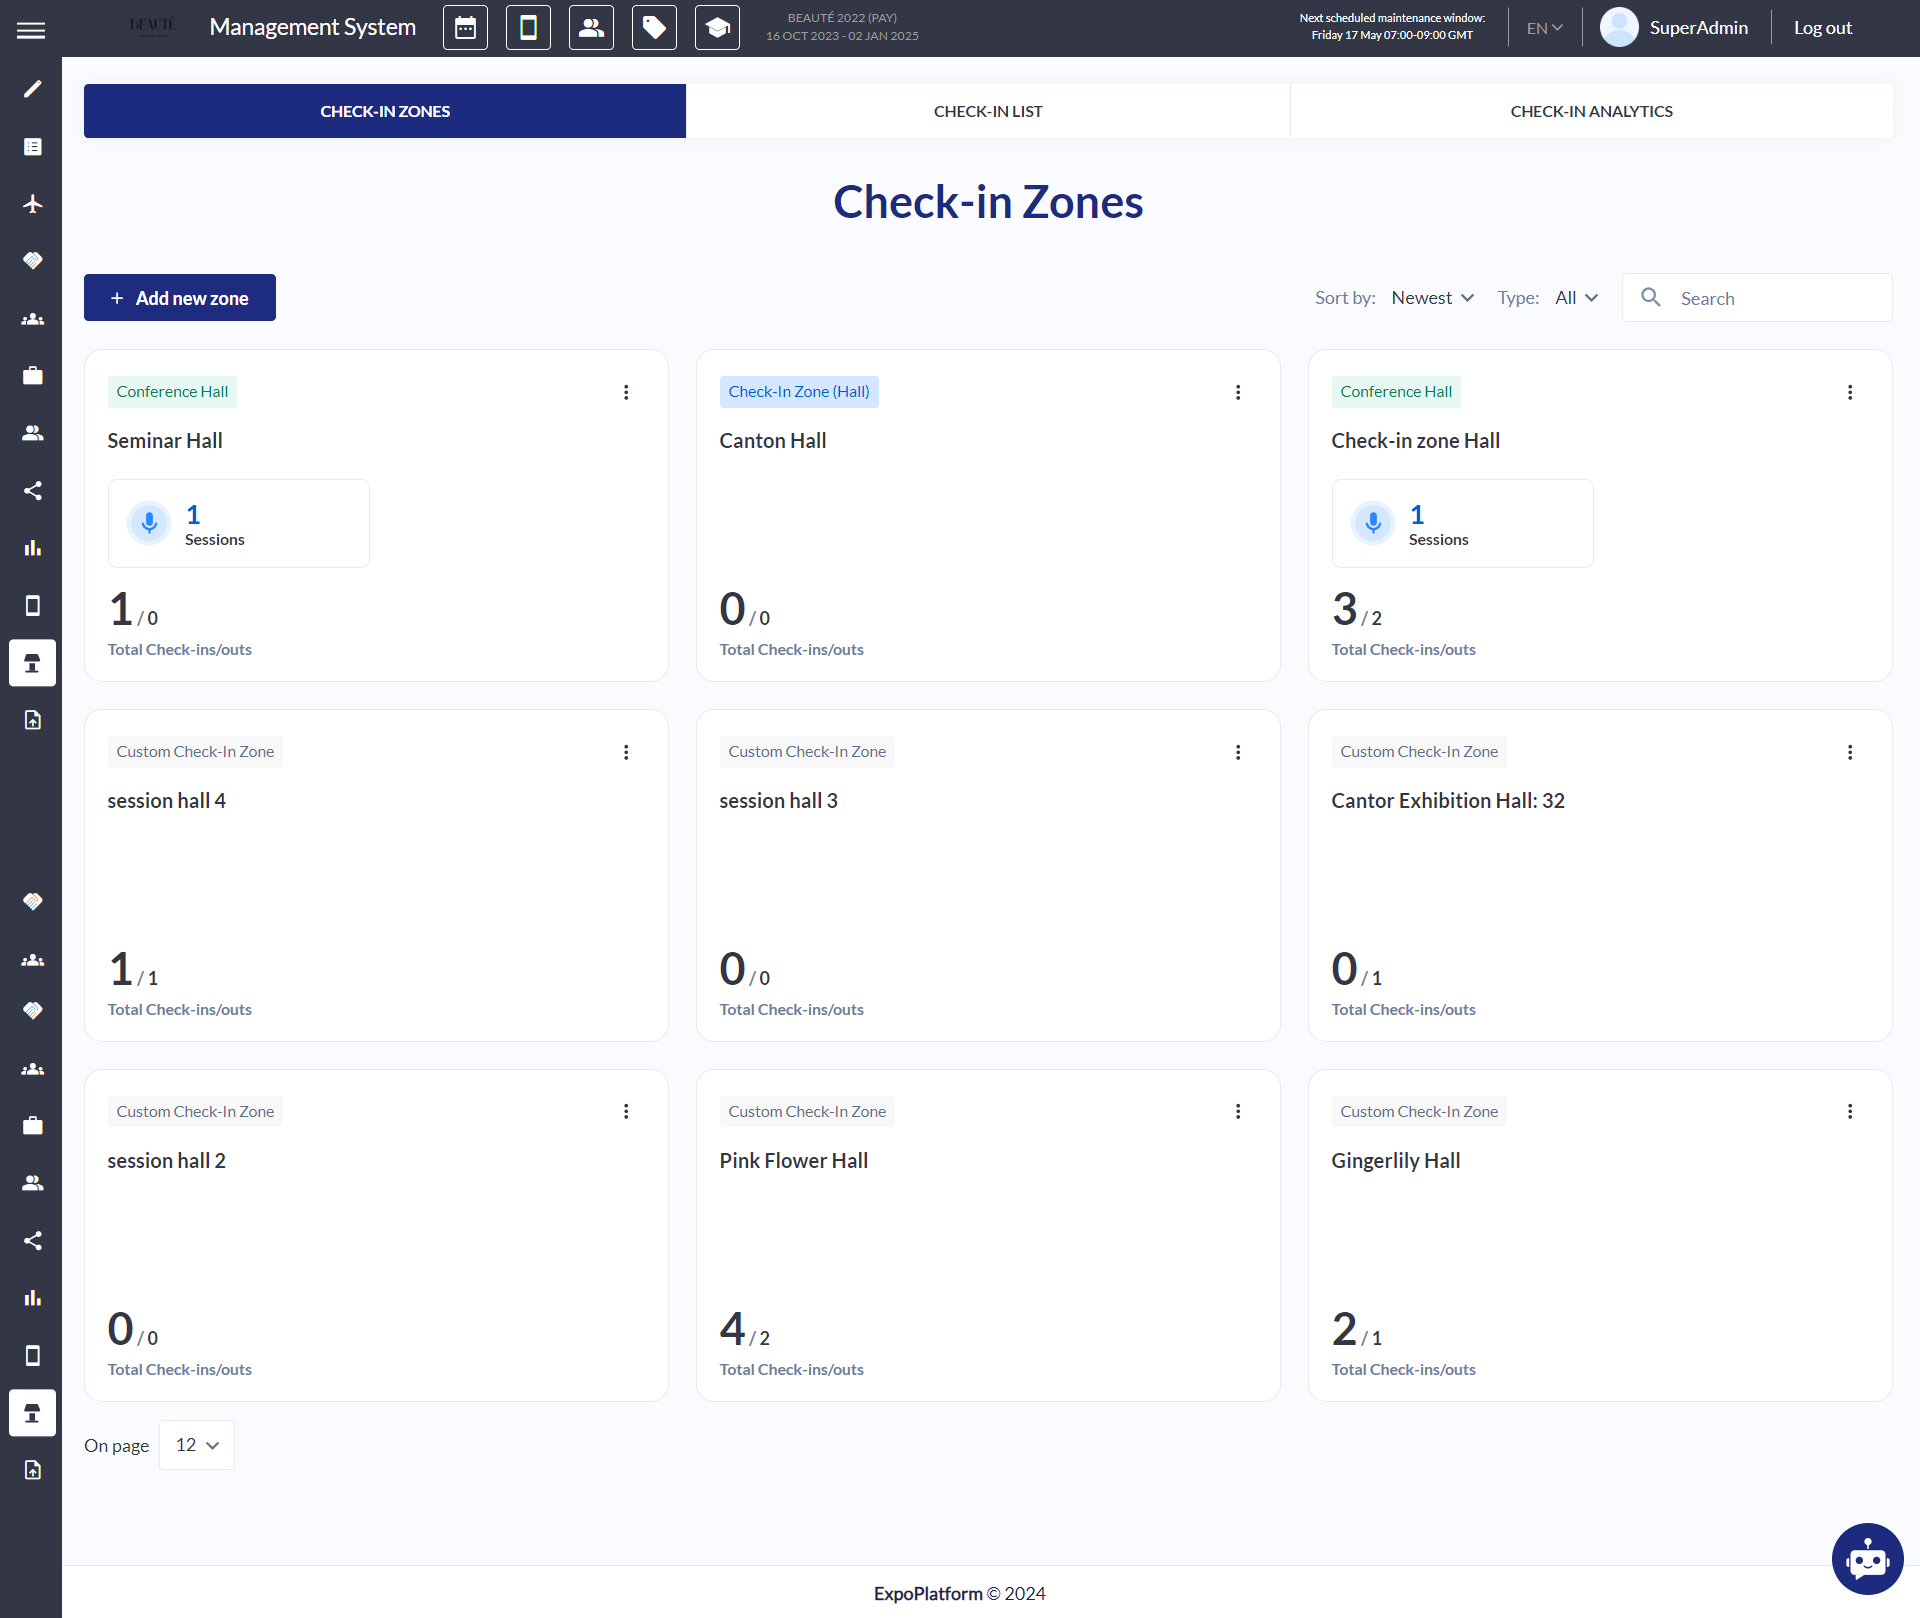
Check-In Zone
After clicking on Done button, it will take organisers to another screen from where they can scan the user details
Choose the object to scan
Faces: available when integrating with a dedicated 3rd party. A PIN code is required.
Badges (most common): You also get the option to manually enter the barcode.
List: you can search within the attendee list by name and email.
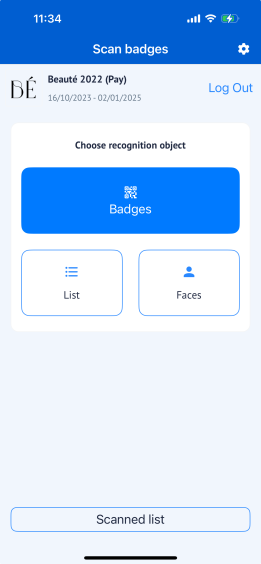
Scanning the user details
Scan Logic: If the "check-in" action is chosen on the settings screen, the server needs to send and save the "IN" action. If the "check-out" action is chosen on the settings screen, the server needs to send and save the "OUT" action.
While scanning for a session or exhibitor event, the server checks if this object exists in user's schedule, if it’s not in the schedule, the scan gives the error message "This session needs to be added to the schedule first for this user to check-in".
For speed networking, there is no such check, and all users who were scanned will be checked in in this type of session.
Success/error screen after scan: It shows a message indicating whether the scan was successful or not. In case of a duplicate scan, it displays a message about the duplicate scan in the current location on the current day.
After the attendance is recorded the organizers can extract this data from Data-> Import/Export-> Check List. Read More about Custom Check In Report

Organizers can now scan the QR or Bar codes of any colocated shows using the Check-In App. Provided the setting to scan users from any or colocated show is enabled on Admin Panel → Networking & Matchmaking → Contact Sharing

Organizer have the capability to scan all codes. however,we do not collect all data. If an event utilizes a vendor or badge system that is unrelated to ExpoPlatform and not integrated with our platform, we will only collect the timestamp and the code of the badge. For us to collect additional data, the vendor/badge must be integrated with our system.
The Check-In Report will have the additional column scanned code & event name added that will capture the value of the code and event name respectively.
Codes that have no relation to the platform, only the scanned code will be shown along with the timestamp and no other details will be recorded, however, for codes that are recognized by ExpoPlatform- every data will be recorded and shown in the Check-In Report
