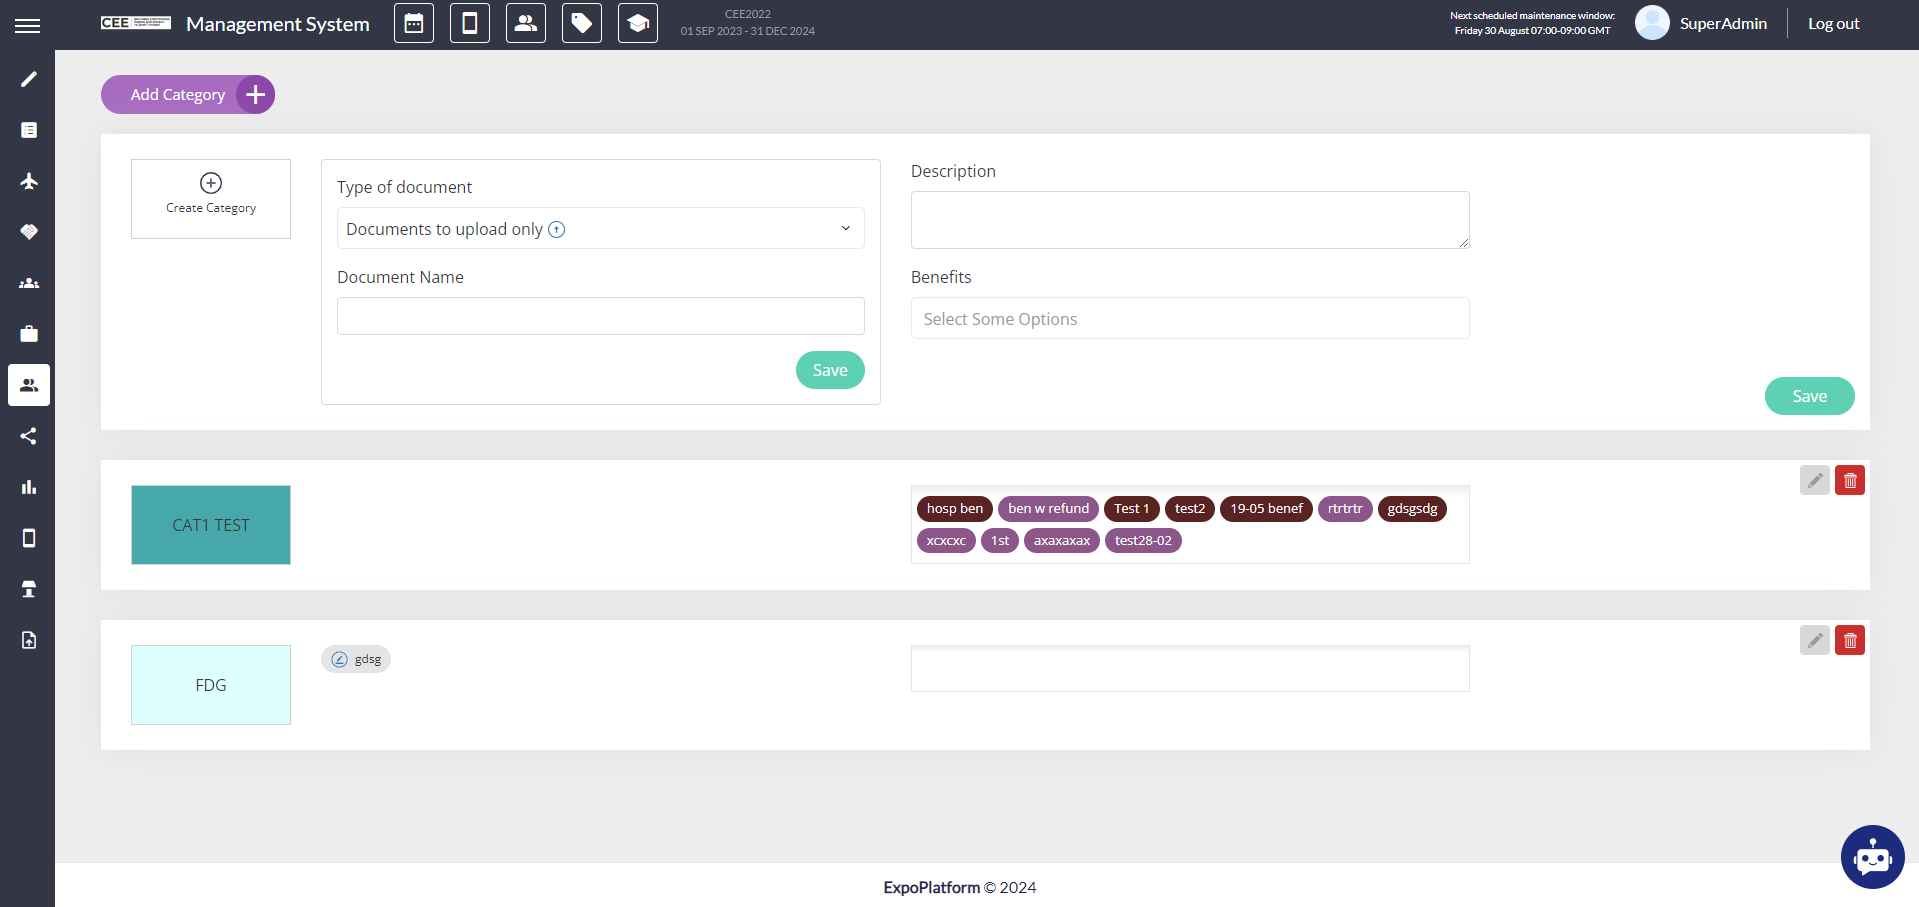
Buyer category management can be performed in the admin panel at /admin/hostedbuyers/categories:
-
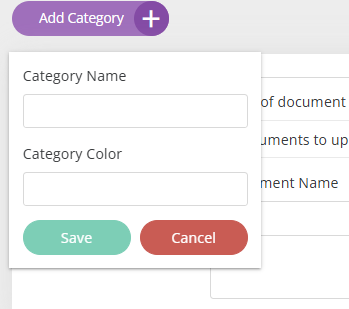
To add a category click the “Add category“ button. After this the category add/edit form will appear.

-
To create a category you need to enter at least a category name and category colour. To set these click the “Create category“ button and fill in fields “Category name“ and “Category colour“. In the pop-up click “Save“ to save name and colour.
-
In the same form category description can be added.
-
This will be used on the frontend at /newfront/profile/benefits when at least one document is attached to the category.
-
-
Benefits can be assigned to the category. To learn more about benefits please visit our Benefits article.
-
Assigned benefits display on the frontend at /newfront/profile/benefits. Each benefit type is separated from another.
-
-
Documents can be attached to the category.
-
Attached documents appear on the frontend at /newfront/profile/benefits in the “Documents“ table.
-
Attached documents can be:
-
Documents to upload only
-
Documents to download only
-
Documents to download and upload
-
Documents to sign.
-
This type requires creating the document in the document builder. For all other types, just upload a file or enter the file name.
-
-
-
-
To edit a category click the Pencil icon. After this the edit for with category prefilled data will appear. To save changes click “Save“.
-
To delete a category click the Basket icon. Category will be deleted after approval in the warning pop-up. Deleting a category automaitcally unassigns this category from all buyers who already had this category.