Feature Purpose:
Basic Site Management allows administrators to create and manage event websites directly within the ExpoPlatform system. This feature is crucial for setting up visually rich, content-driven pages that act as the public-facing hub for attendees, sponsors, and partners. Whether you're launching a brand-new site, making structural updates, or publishing multilingual versions, Basic Site Management provides intuitive tools that eliminate the need for external website builders or technical knowledge.
Working with the Feature:
Below are the key actions available in Basic Site Management, explained in detail.
1. Create Website
This is the starting point when building a new event website.
Steps:
-
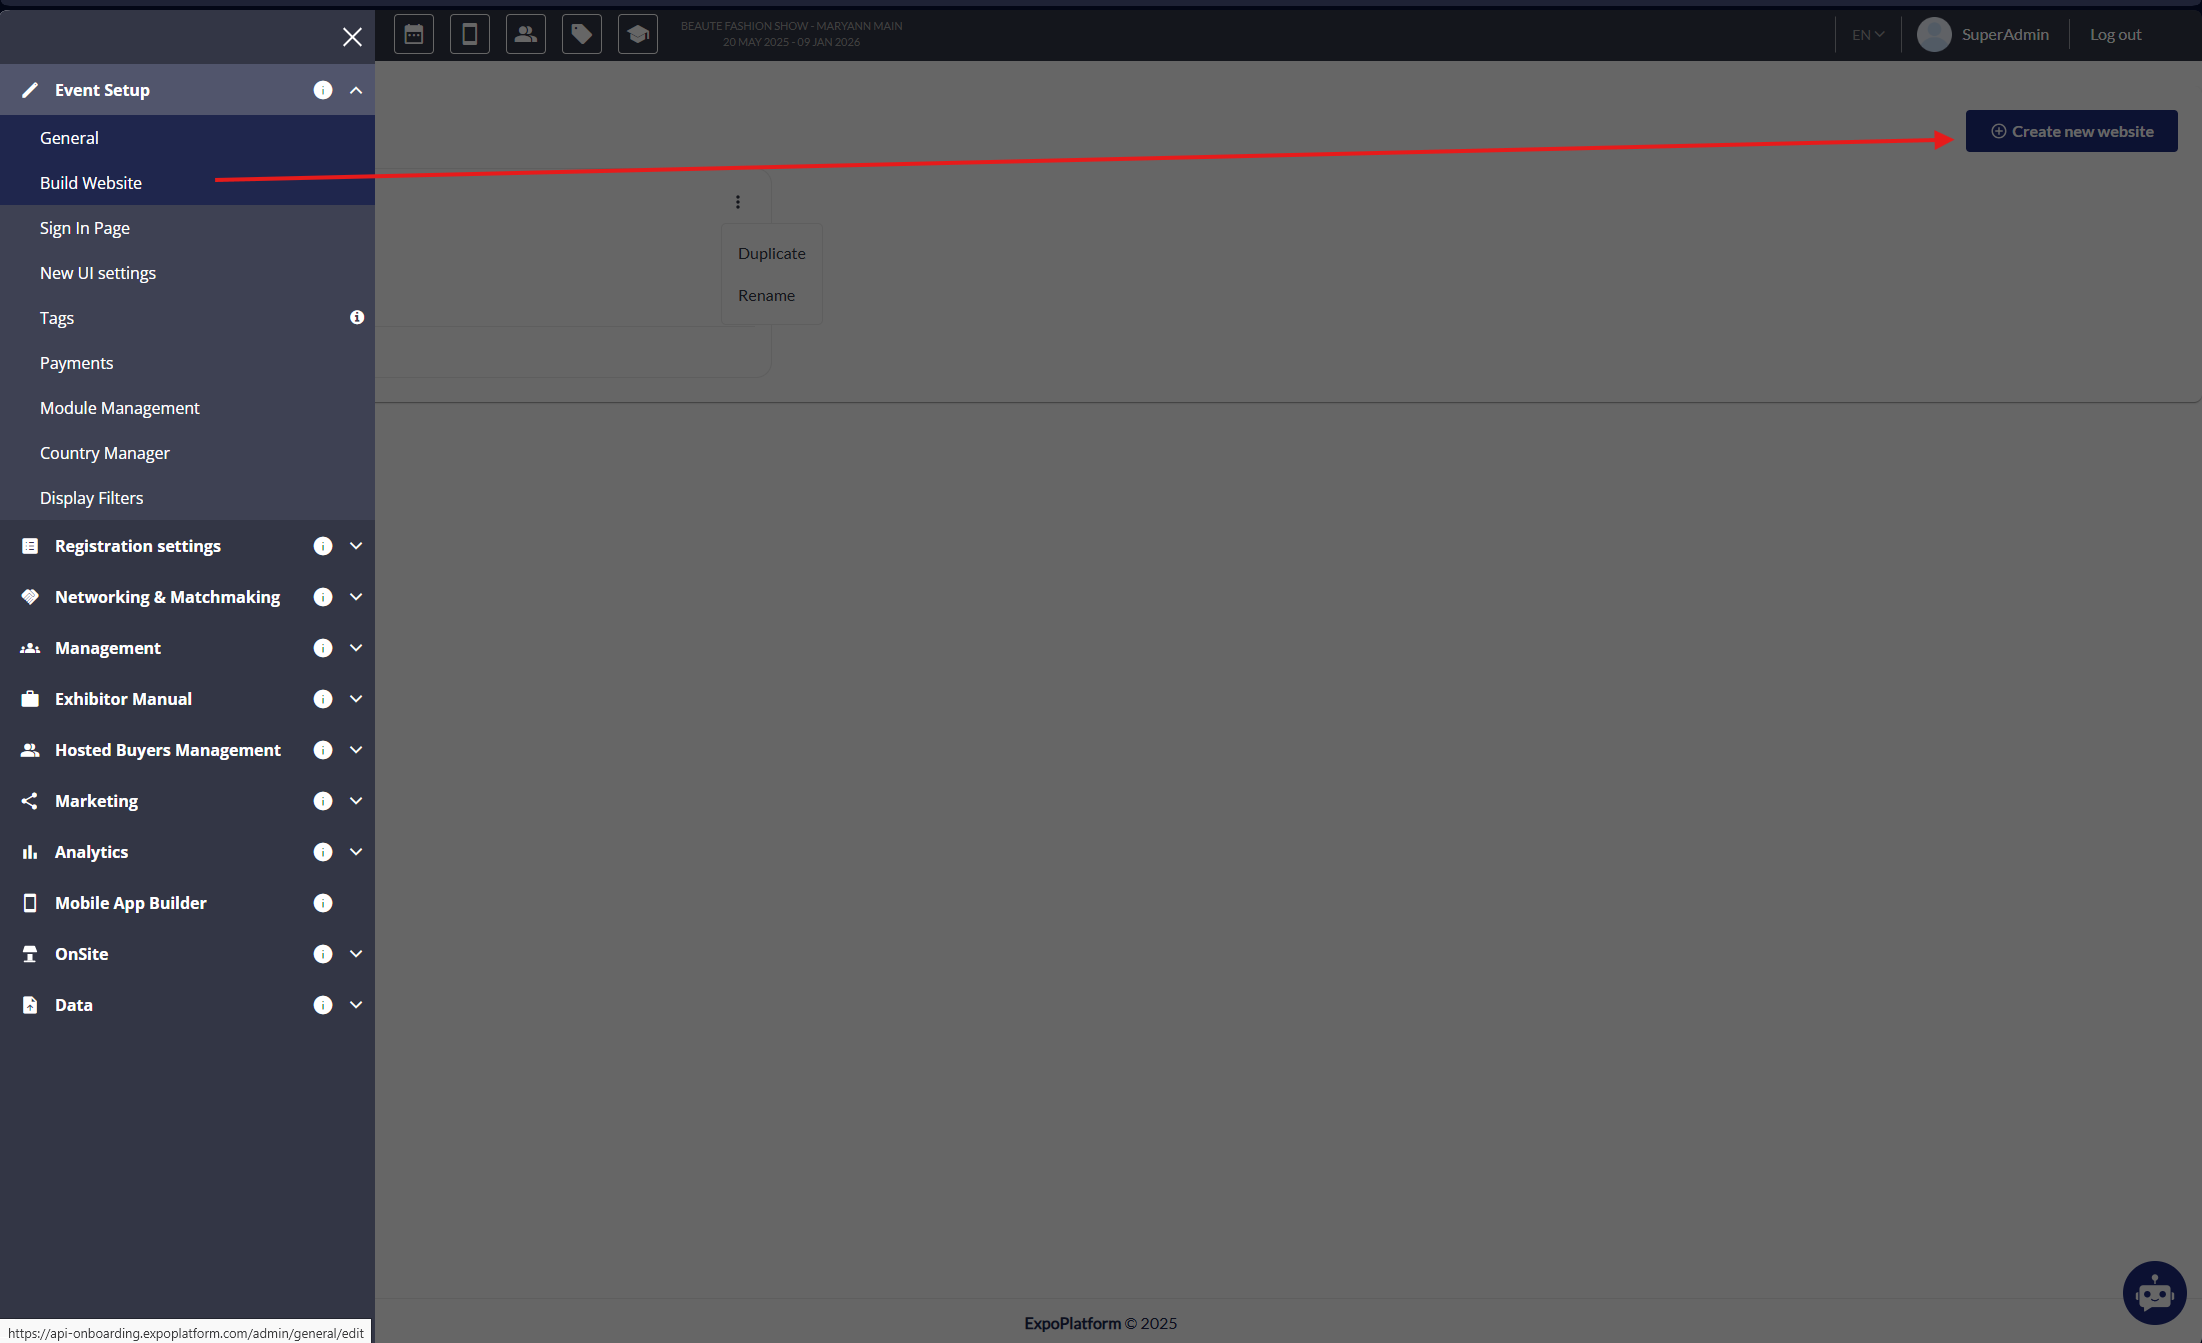
Navigate to the admin panel and open the Website Builder section.
-
Click on the Create Website button.
-
Enter a name for your website. This will not be visible for end user but important for versioning.
-
Once created, click Edit to open the website in the visual editor.
Builder Features:
-
Use drag-and-drop blocks to add content (text, video, image, HTML).
-
Customize typography, colours, buttons, and layout per your branding
Screenshot shows The "Create Website" modal and the default blank page layout upon opening the editor.
2. Select Website
If you're managing multiple sites (e.g., one for each event or language), this option allows you to switch between them.
Steps:
-
Duplicate the existing website
-
Select the one you want to edit or view.
-
The editor will reload with the selected website content.
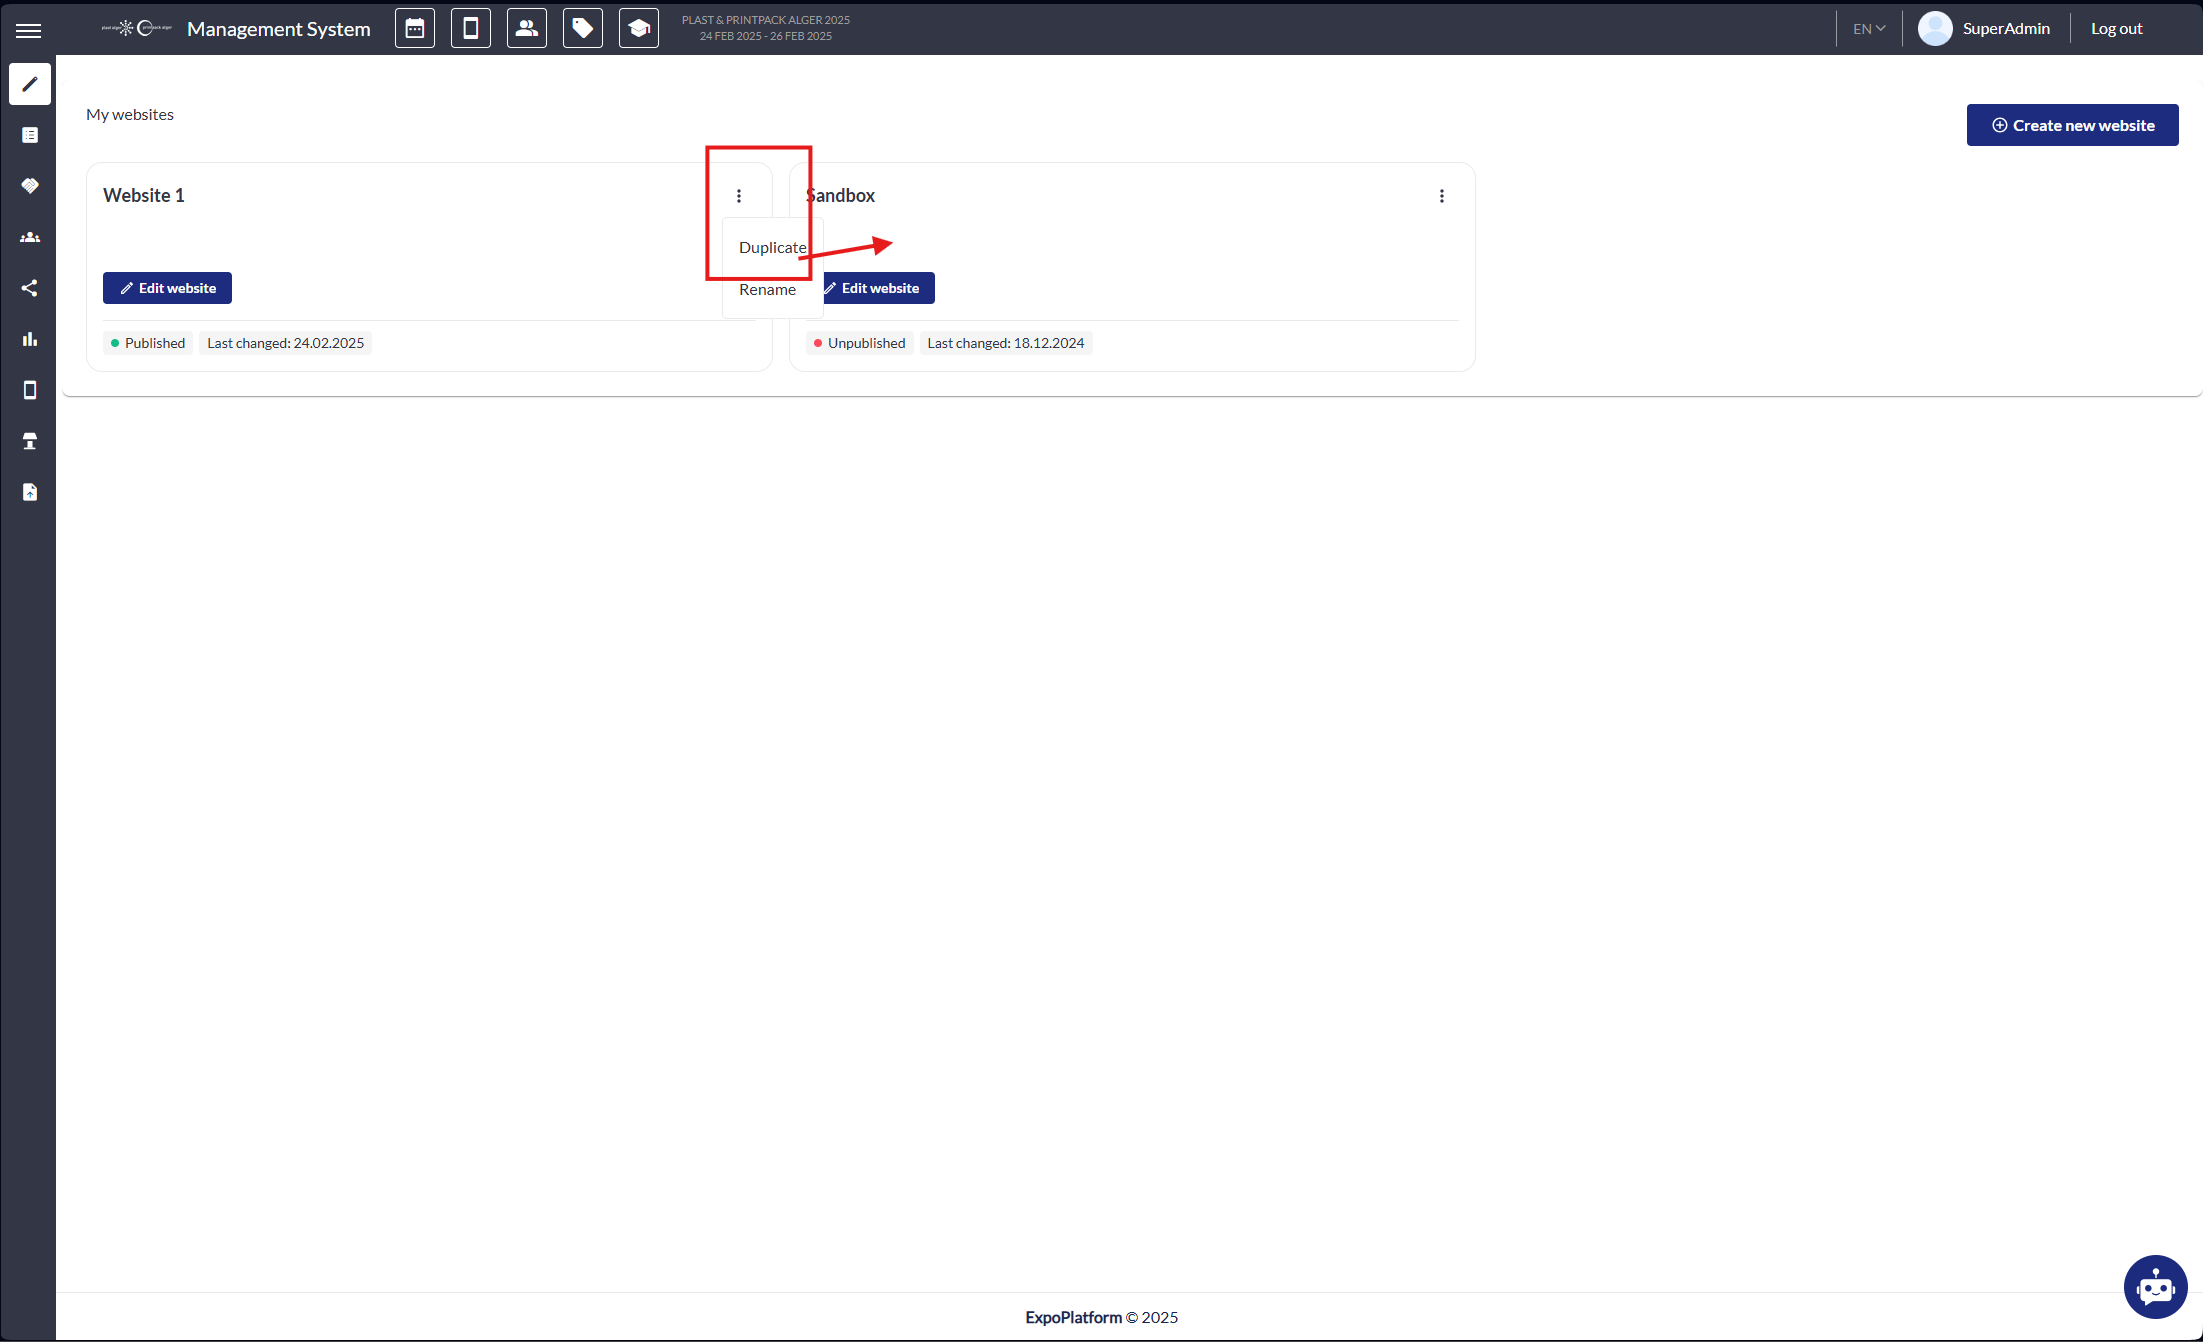
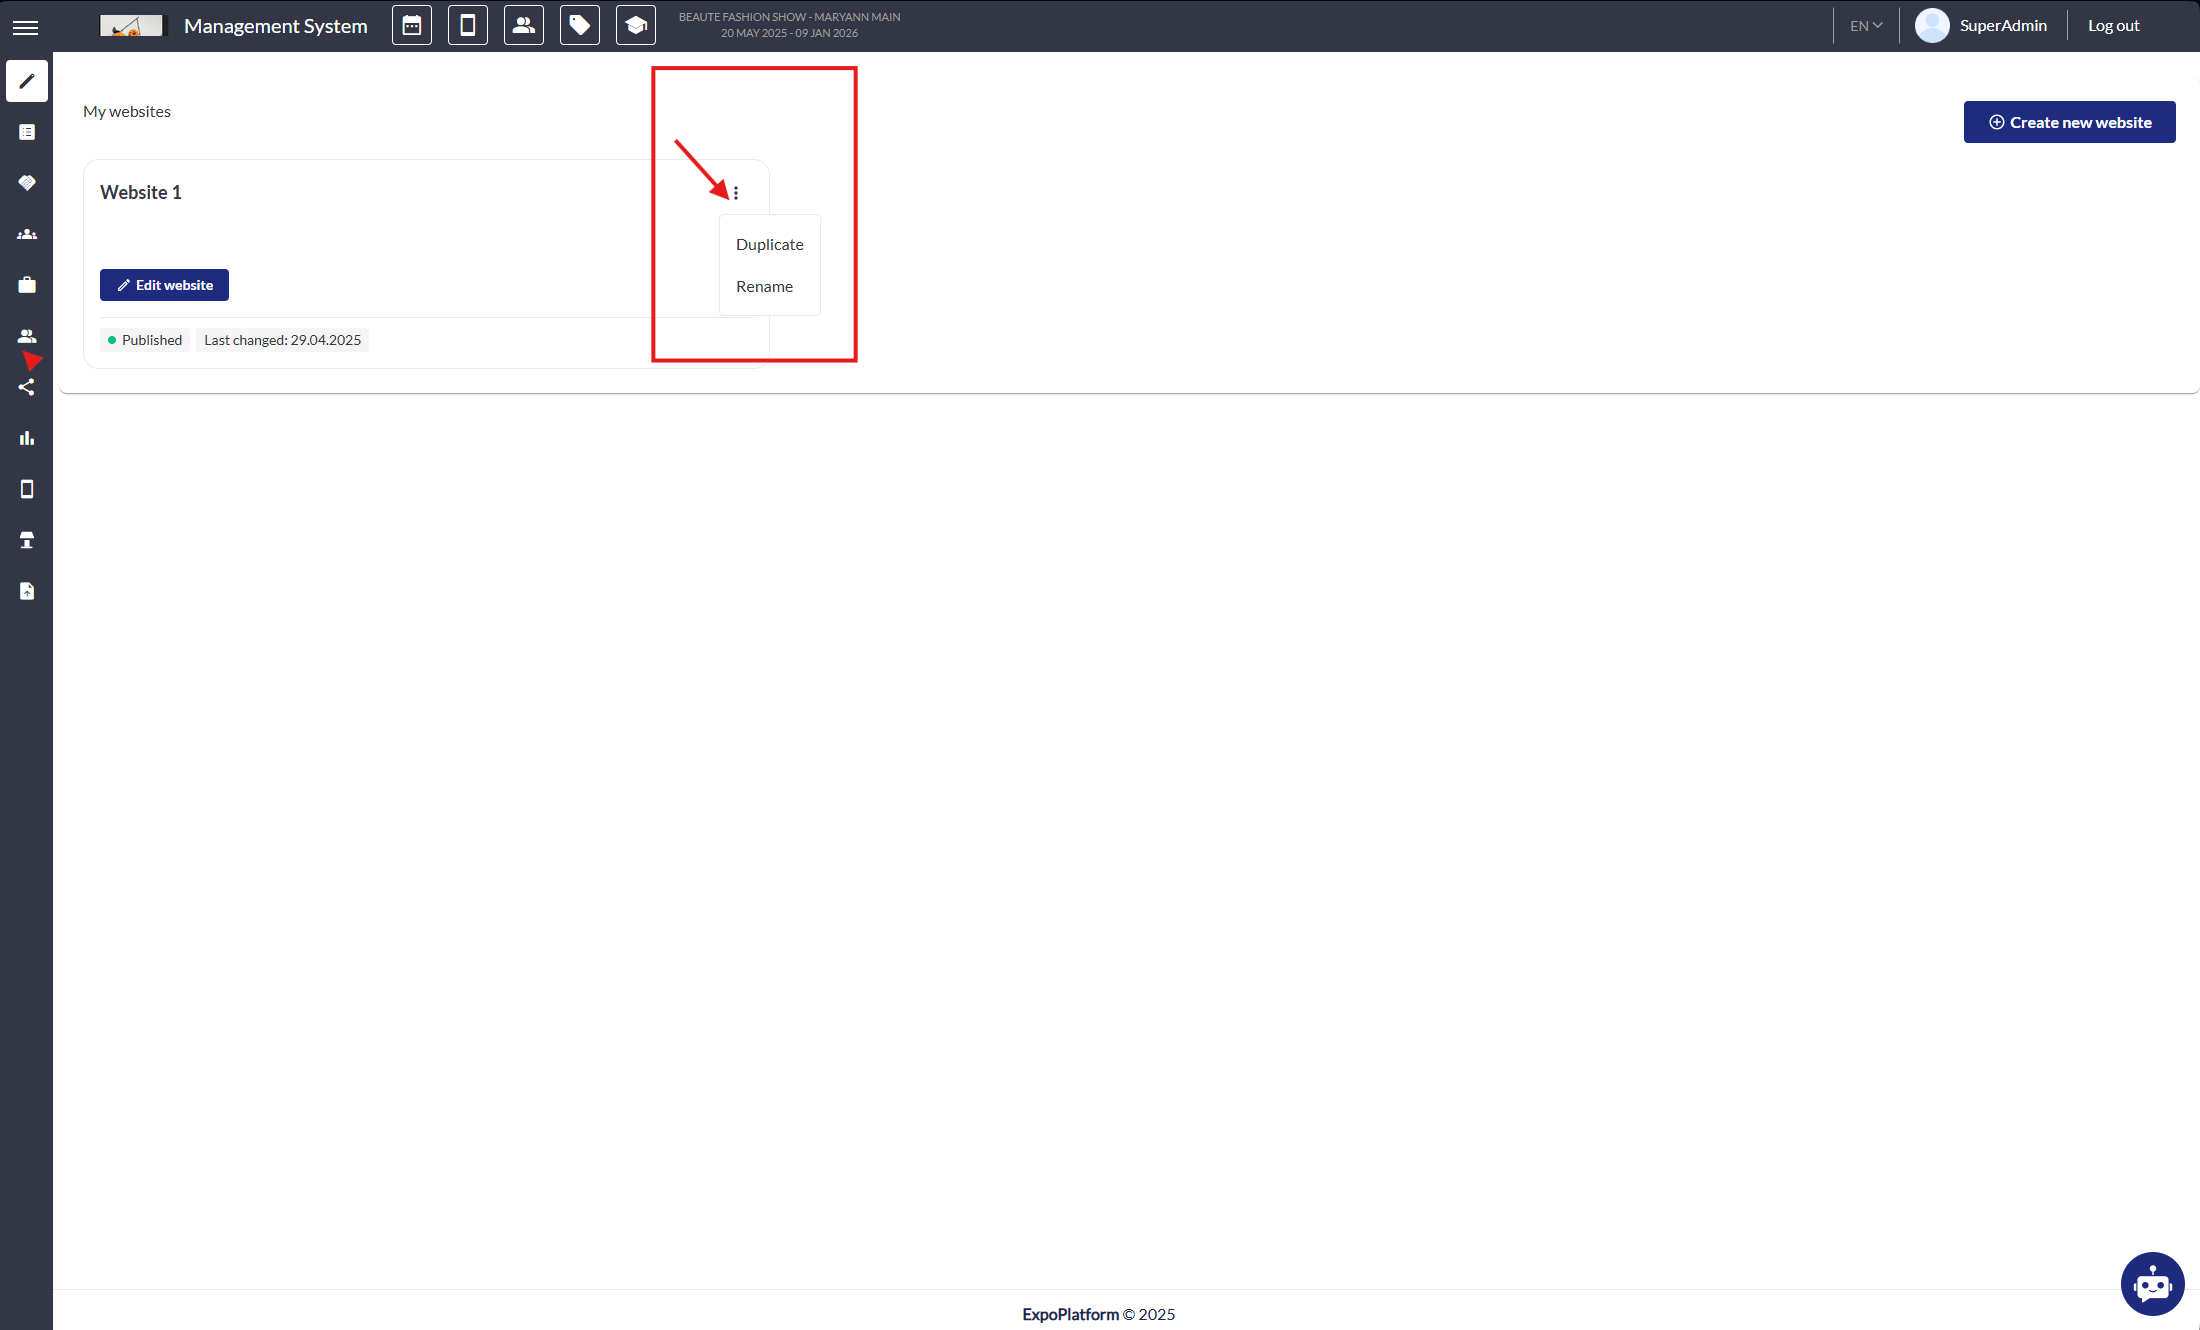
Screenshot shows duplicated/ multiple websites with names and edit options.
3. Clone Website
Cloning is useful for reusing an existing layout or structure for a new event without building from scratch.
Steps:
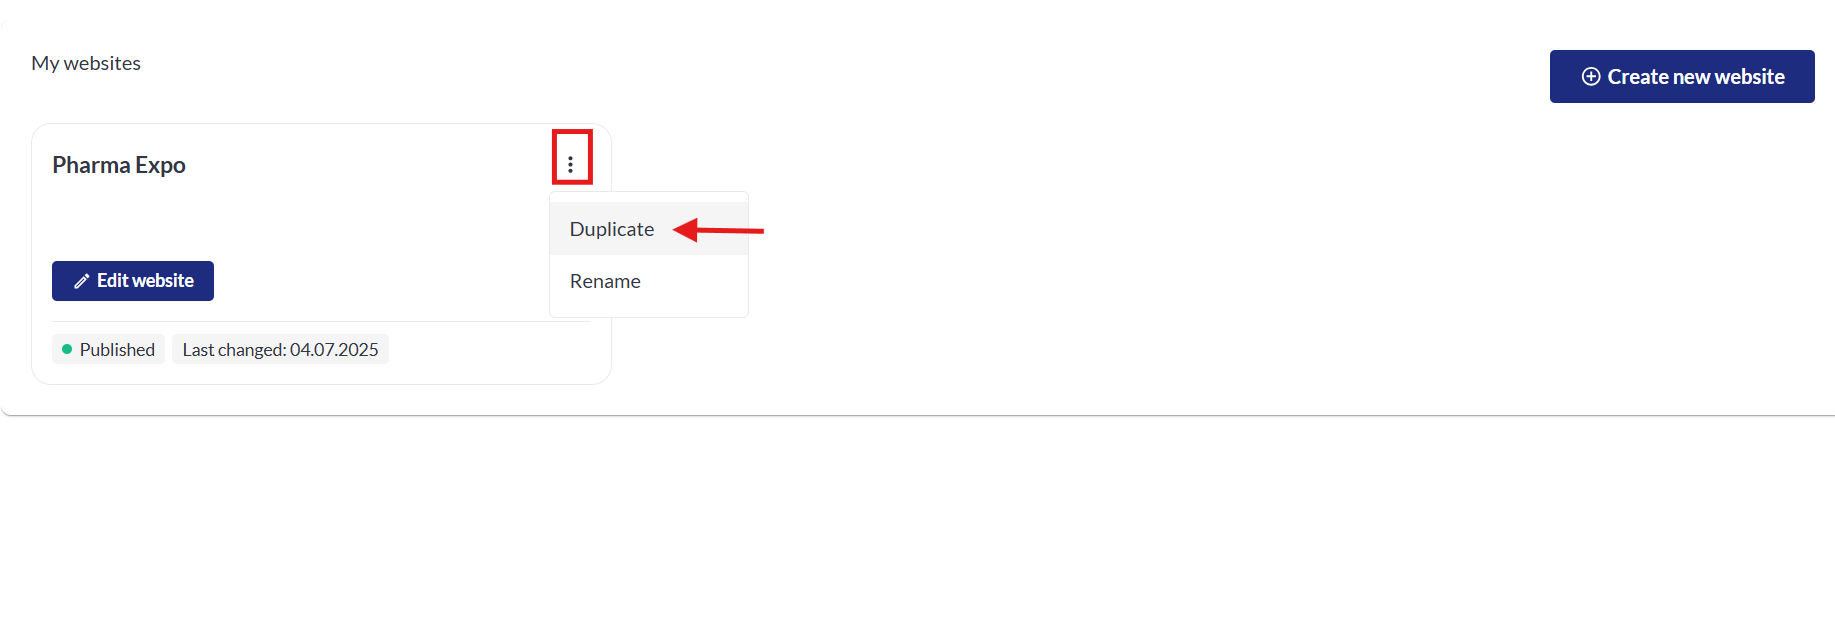
-
Select the website version you want to duplicate
-
Click on duplicate.
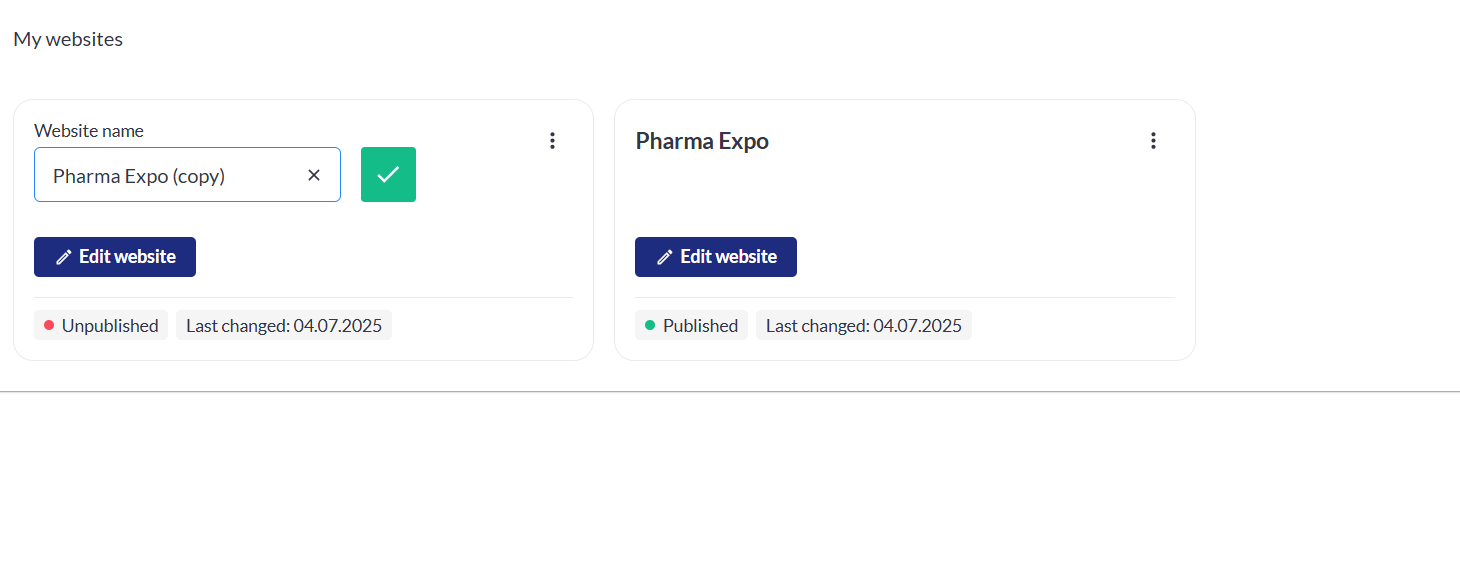
-
Enter a new name for the cloned version.
-
Save
-
Open it in the editor and begin customizing.
When cloning a event, the website is also cloned with the exception of custom CSS and Javascript custom module.
4. Delete Website
This option permanently removes a website.
Steps:
-
Select the website you want to remove.
-
Click on Delete Website.
-
Confirm the action in the popup warning.
Once deleted, this action cannot be undone. There is no recycle bin.
Screenshot shows the delete confirmation modal.

5. Rename Website
Renaming helps keep multiple websites organized, especially if using similar structures for different regions, events, or test versions.
Steps:
-
Click the Rename icon next to the website title.
-
Enter the new name.
-
Click Save to apply changes.
Screenshot Indicates the navigation of “Rename” option
6. Publish Website
Publishing makes your website live and accessible to your event audience.
Steps:
-
Once editing is complete, click Publish Website.
Notes:
-
Any changes made after publishing will remain in draft until re-published.
-
Publishing affects all pages of the selected website on the frontend too.
Screenshot illustrates the navigation to publish and save changes
7. Save Website
Saving stores your changes in the system without making them live.
Use case:
-
You're midway through designing a page and want to return later.
-
You're testing different layouts before finalizing.
Steps:
-
Click Save Website at any point while editing.
-
All changes are stored in the backend as a draft.
8. Published Info
This provides insight into the live status of the website.
Includes:
-
Direct URL of the published site.
-
Time and date of last publish.
-
Publishing user
9. Full Screen Mode
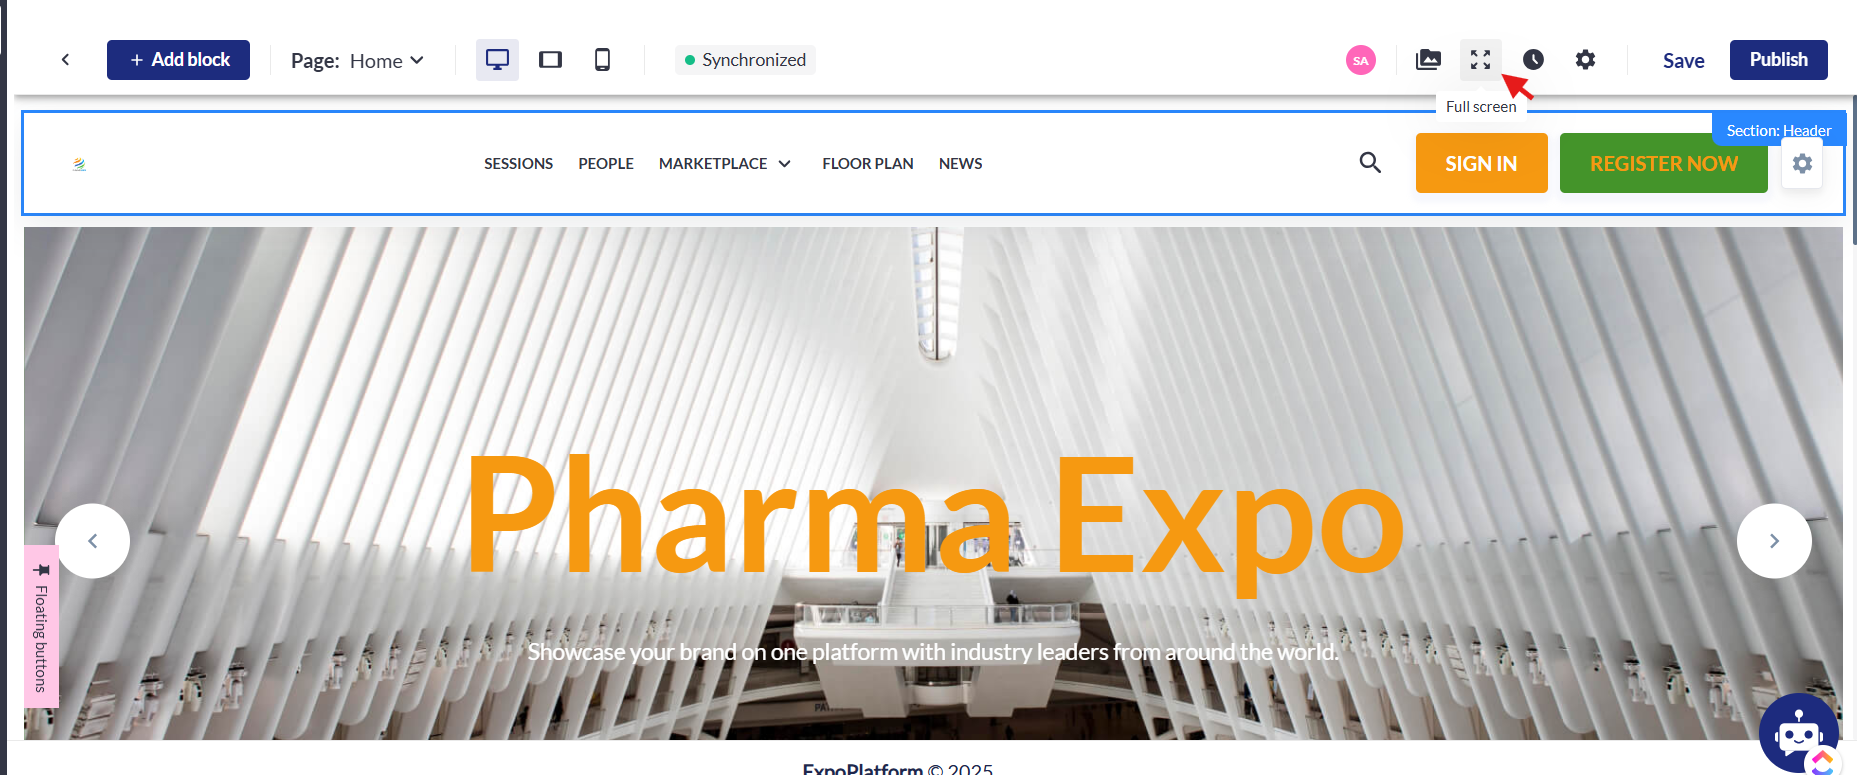
This enhances the editing experience by giving more workspace.
Steps:
-
Click the Full Screen toggle icon in the builder.
-
The left-hand and top navigation panels collapse, allowing full focus on the content layout.
-
Click again to return to the standard view.
Useful for:
-
Designing complex page layouts.
-
Reviewing full-page visual balance.
Additional Related Features
Multi-Language Support
You can create separate website versions for each supported language. Each language version can be edited independently or kept in sync with the main version.
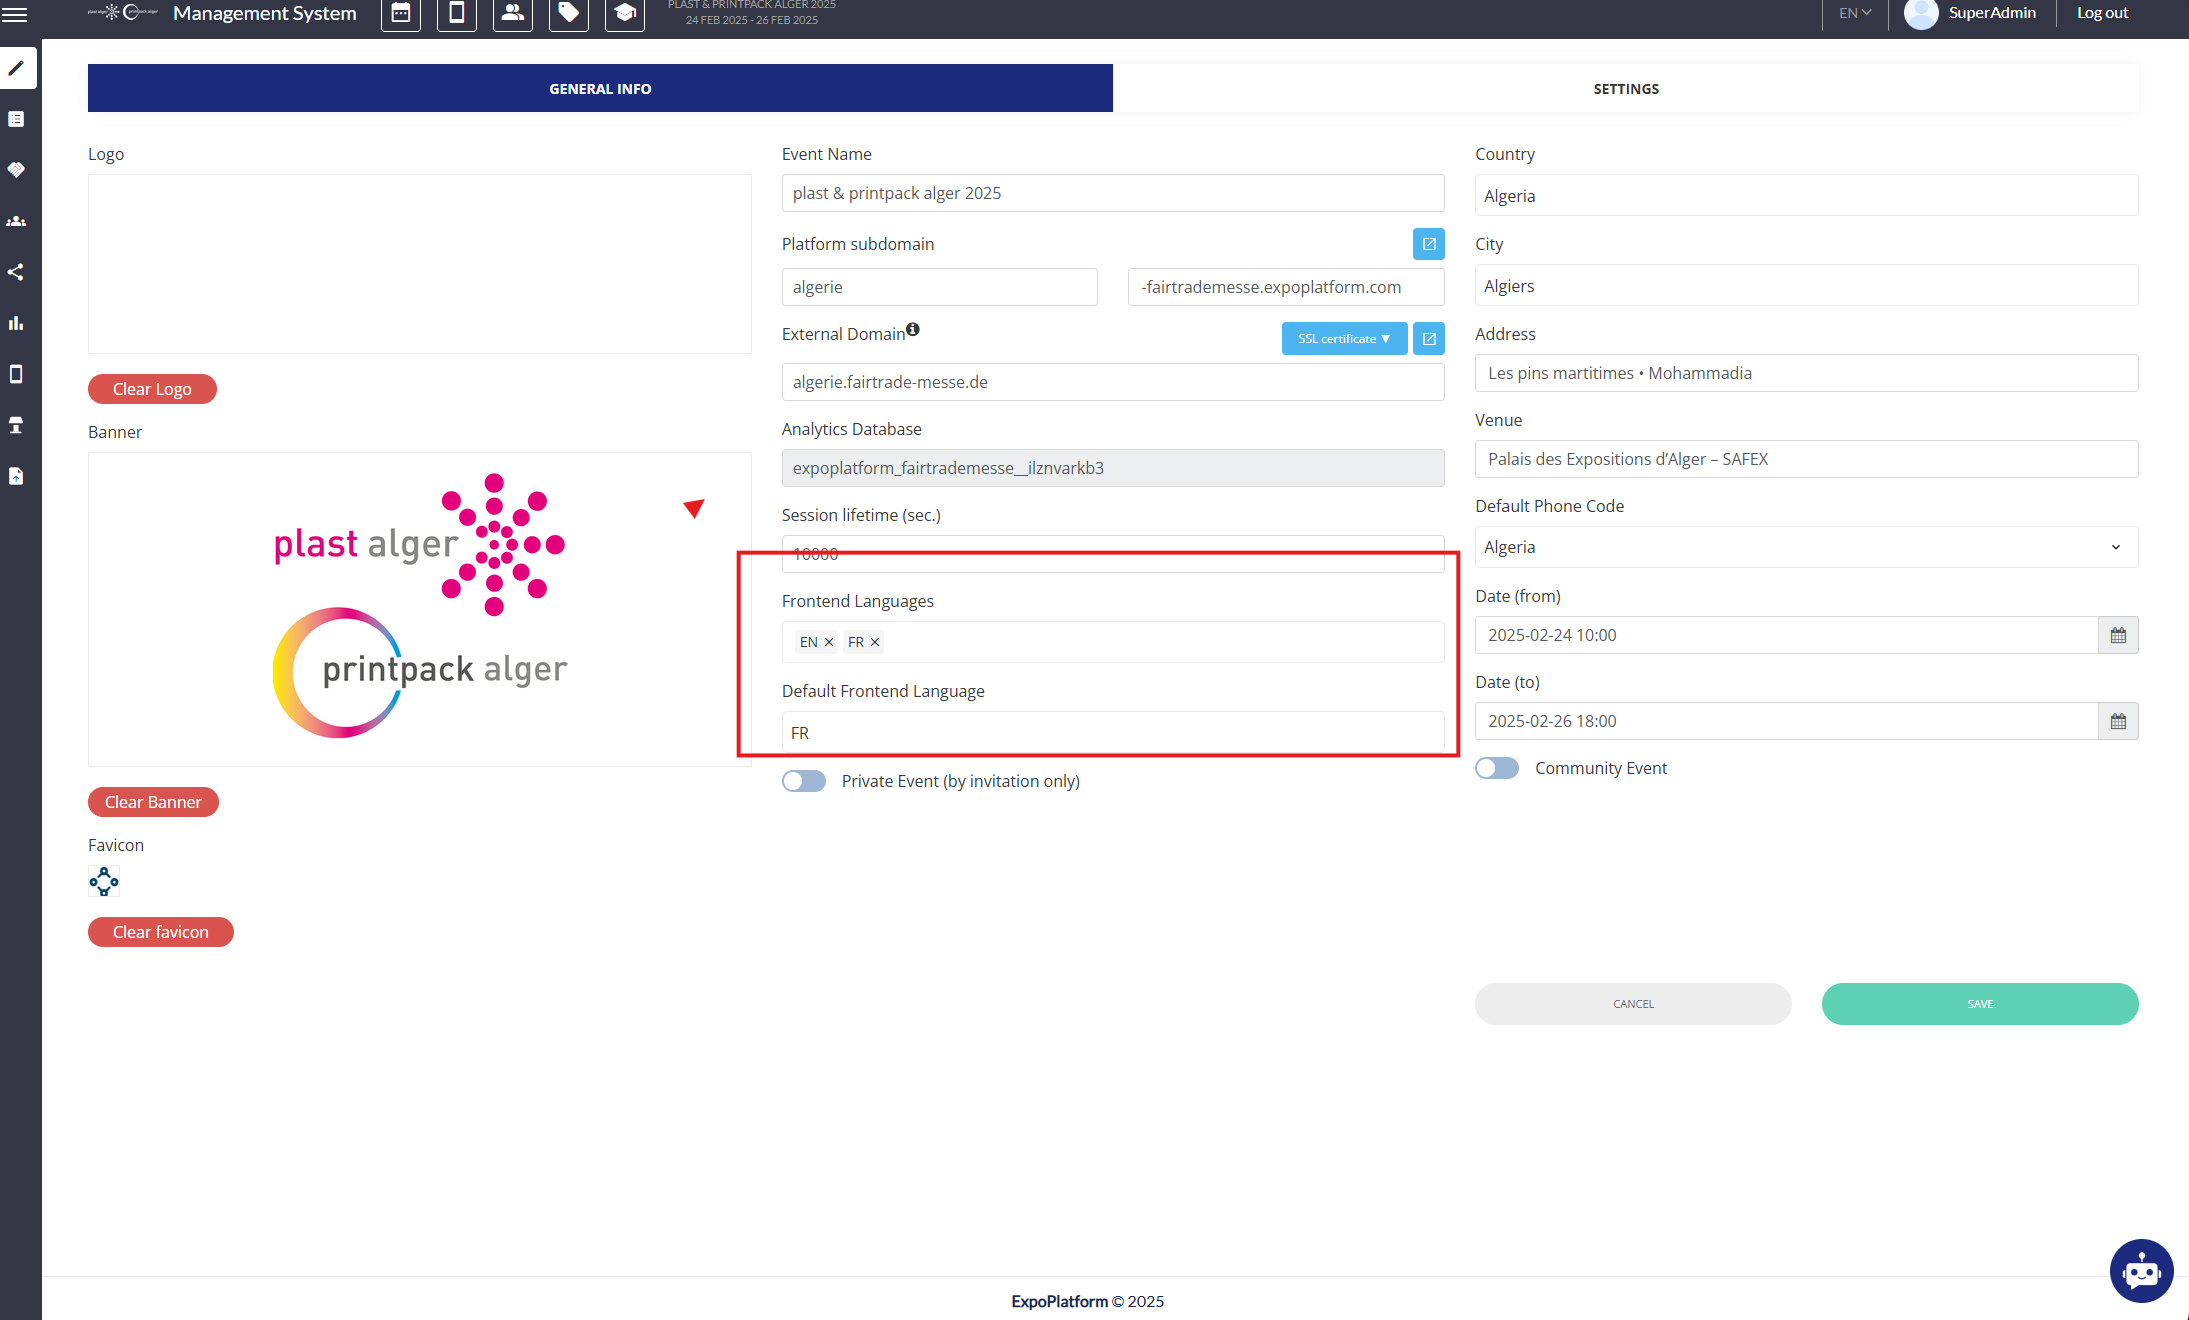
Global Settings
Update colors, fonts, and SEO metadata from a centralized settings tab. These settings apply across all pages of the site.
Page Management
You can manage internal pages (Agenda, Speakers, News, etc.) via the page menu. Create new pages, rearrange them, or apply SEO and menu visibility settings.
Troubleshooting:
Issue: Changes not visible after publishing.
-
Solution: Ensure you've clicked on Publish Website after making changes. Simply saving won't update the live site.
Issue: Unable to clone or delete a website.
-
Solution: Check user permissions. Only users with appropriate access rights can perform these actions.
Issue: Website not displaying correctly on mobile devices.
-
Solution: Use responsive templates and preview the site on different devices before publishing.
Issue: Accidental deletion of a website.
-
Solution: Regularly back up your websites. If deletion occurs, restore from the latest backup.