
Badge Setup
Badges for each participant category can be set up by going to Registration Settings → Badges.

Vertically laid-out badges can be built using the badge builder. Building a badge consists of several steps:
Choose badge size - badge size can be set to the right of the badge design. Unticking the Show Badge Only option at the bottom of the page will enable an A4 badge design, where the badge size is fixed to A5
Upload a background image - a background image for the badge can be uploaded just below the size selection. The size of the image should be identical to the badge size that you have selected.
Select badge information - On the left hand side, there are a number of different fields that can be displayed on the badge. Each field has a pencil icon next to it, as well as a toggle which determines whether the field will appear on the badge.
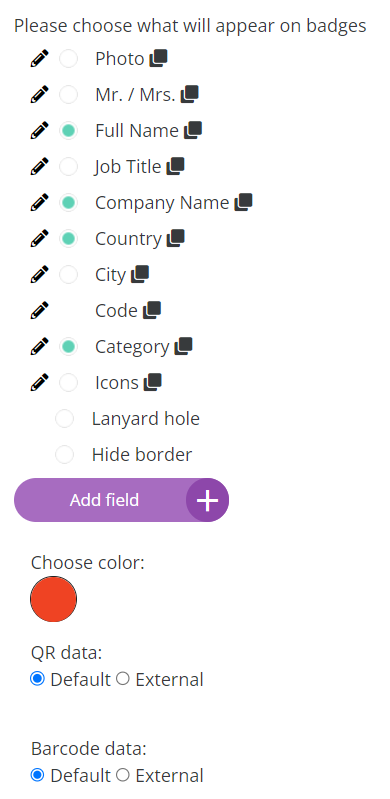
The Add field” option allows organisers to add any field from the registration pipeline/contact details section: custom marketing questions, custom fields, etc.
Additional sections (like custom page, hospitality, etc will NOT be available)

Edit Badge Fields
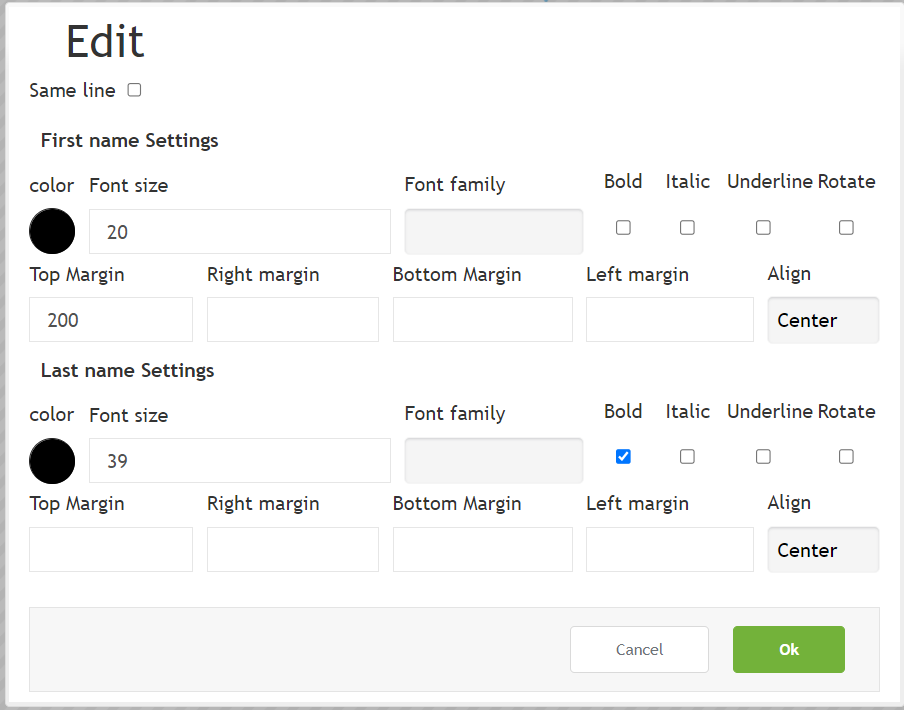
The edit options allow the user to change font colour, font size, font type, and font style. Bottom and top margins can also be set to regulate where on the badge the item should appear(badges for printing only. Top & bottom margin selection not available for digital badges).
Badges for printing field options:
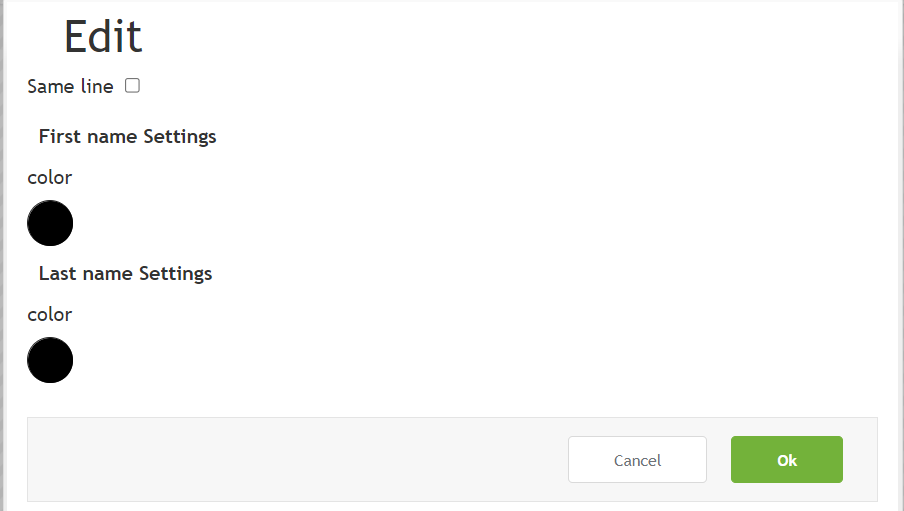
Full name field edit:
Editing Badge fields
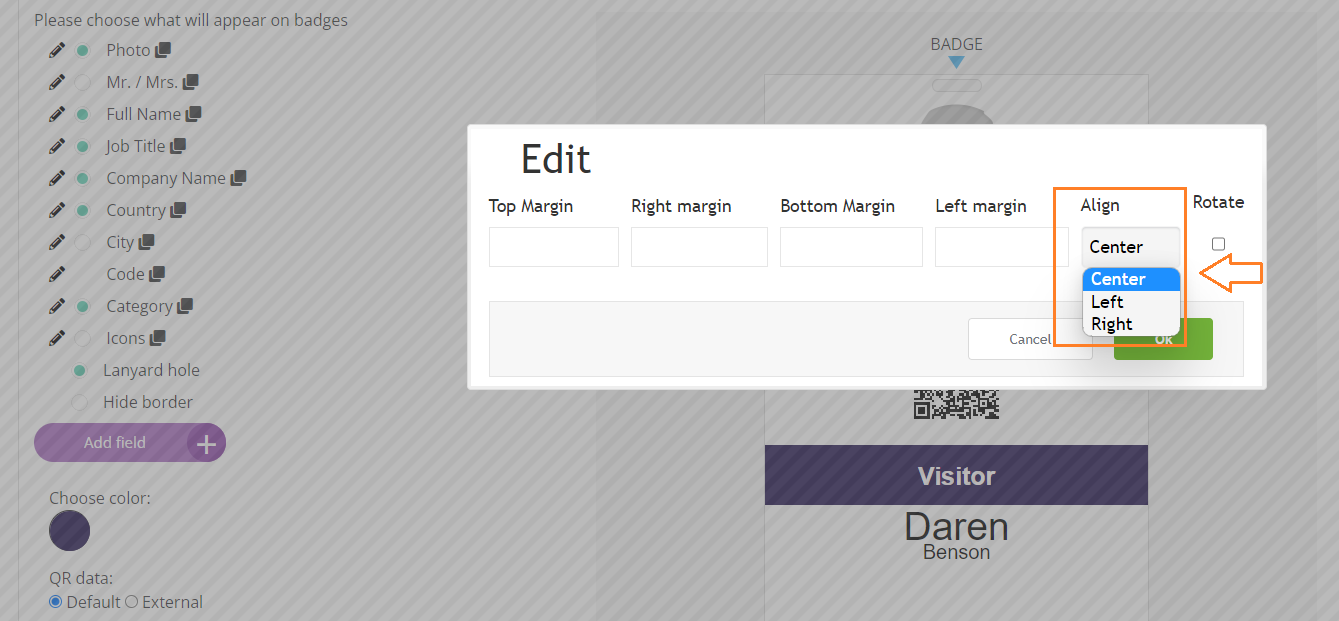
The Badge builder allows you to align the fields on your badge with ease. This feature ensures that your badge looks clean and organized, with all the fields in the correct position.
By following the steps outlined in this document, you can easily enable this option and apply it to your badge fields.
Log in to the admin panel and navigate to the "Registration Settings" section.
Click on "Badges" and select the tab "Badges for printing".
In the Badge Template, select the field you would like to align by clicking on the pencil icon (Let's take “Photo” as an example in this case).
Align >> Select the option to align (Center, Left, or Right) >> Save.
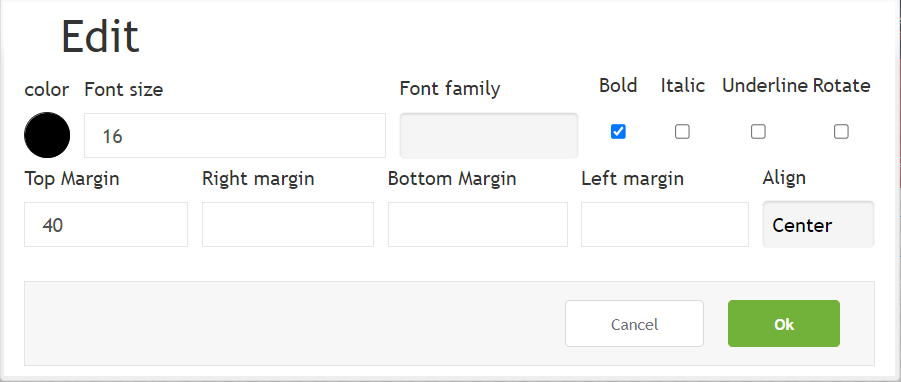
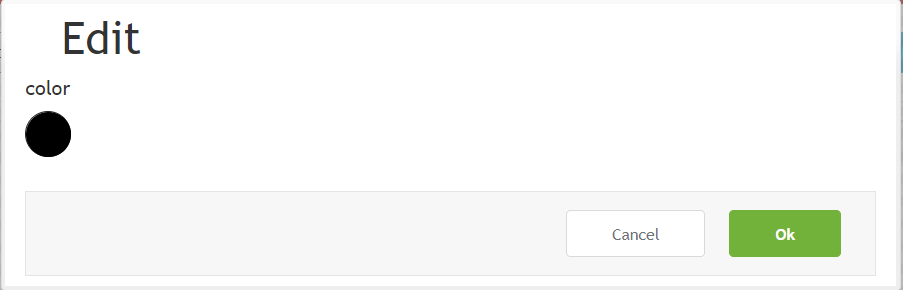
Other fields edit:
QR Code resizing
In the Badge builder, you can resize the QR code to fit your design preferences. This means that you can make the QR code bigger or smaller, depending on the size and layout of your badge. With this feature, organiser can create a QR code that is prominent and easy to scan or a QR code that is more subtle and blends in with the design of your badge.
Management System → Registration Settings → Badges → Code pencil icon.
Set the size of the QR code by typing the size in percent. This allows you to specify the exact size you want the QR code to be, according to your design requirements → Ok.
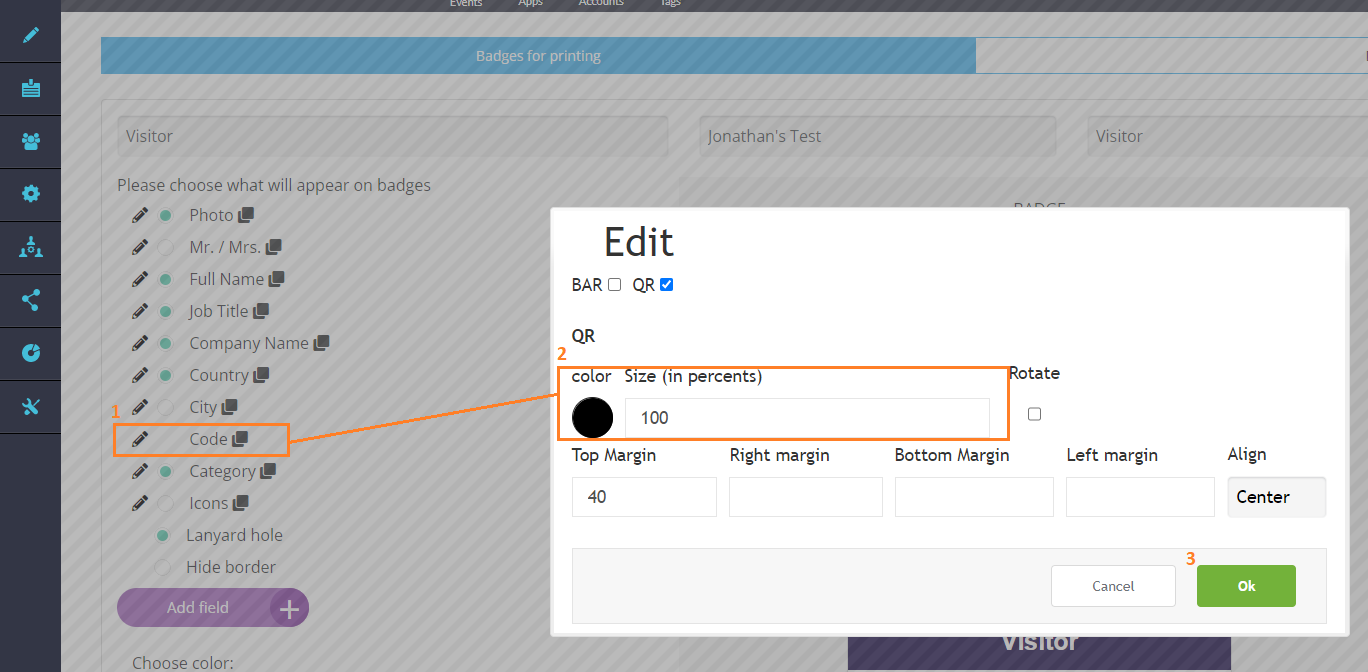
Resizing QR code
Digital badge field options:
Full name field edit:
Other fields edit:
If using an A4 badge, please scroll down to add text and images to the empty sections of the A4

You may wish to include joining instructions, sponsor logos, other relevant information, etc.
Expoplatform currently supports 2 types of badges - Barcode based and QR based.
External QR or barcode comes into the picture when the registration is happening outside ExpoPlatform and organizers want to use the badge from the 3rd party platform to ExpoPlatform.
In such an event, the visitor details tagged to a particular badge on the 3rd party platform are passed to ExpoPlatform in the respective field via external_barcode or external_qr code. The badges on EP are configured using these values. Now, as these values exist in the ExpoPlatform database attached to a record, these values are recognized by the EP mobile application and can be used for scanning and lead generation.
An External Badge QR code should always belong to a single user and cannot be assigned to multiple users.
Also, here is the link to the playbook which can guide you with the steps involved in designing badges.